
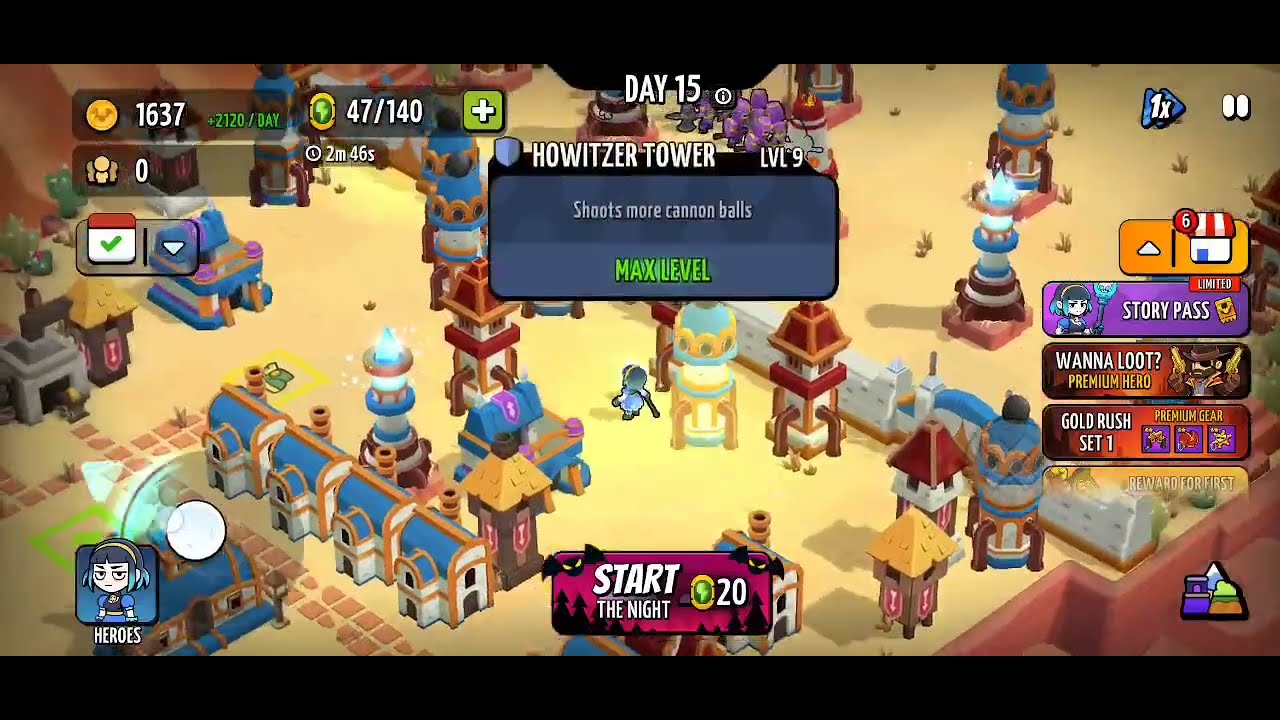
To hold off late-game monster swarms with Morana in Vampirio: Defend & Survive, build a compact, layered perimeter around your town center, place automated towers in overlapping clusters behind wall nodes, and station Morana directly behind your primary chokepoint rather than roaming the open map.
Layering Fortifications Around Morana
Morana relies on physical barriers to concentrate monsters into dense groups where her area control and high-tier defensive structures deal maximum damage. A single flat perimeter around your entire settlement will collapse under high-density waves. Instead, use natural terrain to funnel enemies through tiered barriers.
| Defense Layer | Construction Focus | Primary Function | Morana Positioning |
|---|---|---|---|
| Outer Perimeter | Reinforced stone walls and spikes | Absorb initial charges and slow incoming siege units | Directly behind the main gate segment |
| Mid-Tier Choke | Funneling walls and obstacles | Compress wide hordes into narrow kill corridors | Active range to cast crowd-control skills across the gap |
| Inner Citadel | Hardened bastion core | Protect the town center if outer walls fall | Fallback anchor line to block leaks |
Focus stone investments into double-thick gate segments rather than spreading upgrades evenly across the whole outer rim. Funneling the horde into a designated gate keeps incoming damage localized where Morana can defend it directly.
Tower Placement and Kill Corridors
Walls only delay monsters; automated towers provide the damage needed to clear waves before barriers break. Cluster defensive towers close to your fortified chokepoints rather than scattering them across the interior courtyard.
- Overlap Fields of Fire: Position towers so at least two to three structures target the space immediately outside your main gate.
- Anchor Behind Wall Nodes: Place projectile and area-of-effect towers directly behind reinforced wall segments to keep them out of direct melee reach while maintaining maximum line of sight.
- Manage Threat Distribution: Use Morana to engage high-threat enemies near the wall to draw pressure away from structural joints, letting automated towers burn through the packed horde.
- Intercept Bypassing Foes: If siege units or flying monsters target your backline, step Morana out to peel them off your defensive towers immediately.
Handling Breaches and Elite Waves
Late-game night phases introduce elite champions and specialized siege monsters capable of dealing heavy burst damage to static walls. Surviving these spikes requires specific tactical priorities:
- Target Siege Units First: Direct Morana’s basic attacks and high-damage skills onto elite siege monsters. Leave basic swarming minions to your overlapping tower fire.
- Body-Block Breached Walls: If an outer wall segment collapses, do not pull back to the inner citadel immediately. Move Morana into the gap to physically block the entrance while fallback towers eliminate the lead attackers.
- Pace Skill Usage: Save Morana's most impactful crowd-control and defensive skills for the second and third sub-waves, which typically carry the highest concentration of elite units.
- Repair Between Waves: Track wall durability gauges during combat pauses and spend daytime resources to restore damaged wall segments before night falls.
Daytime Resource Priorities
Maxing out a defensive stronghold requires strict economic choices during daytime building phases. Upgrading non-essential utility buildings late in a run starves your defenses of stone and essential materials.
Prioritize building resources in this order:
- Upgrade primary gate segments and wall funnels to maximum durability.
- Level up automated towers covering the primary chokepoint.
- Repair damaged perimeter segments.
- Fund secondary fallback barricades around the inner citadel.
A small, fully maxed fortress centered on Morana's operational radius will survive late-stage monster swarms far better than a sprawling, partially upgraded town perimeter. Focus all available materials into your central kill zone to prepare for the final stand.

Free Vampirio: Defend & Survive Codes
Current active codes and how to redeem them.

Michael Smith
Michael covers live-service games, events, reward systems, and efficient daily routines, turning frequent updates into clear actions for players.
COMMUNITY
Player Comments
53 players commented on this guide.
This saved me time in the early game.
The explanation is clear, especially for beginners.
Good guide for Vampirio: Defend & Survive players. The strategy part was useful.
I tried this today and it worked better than my old setup.