
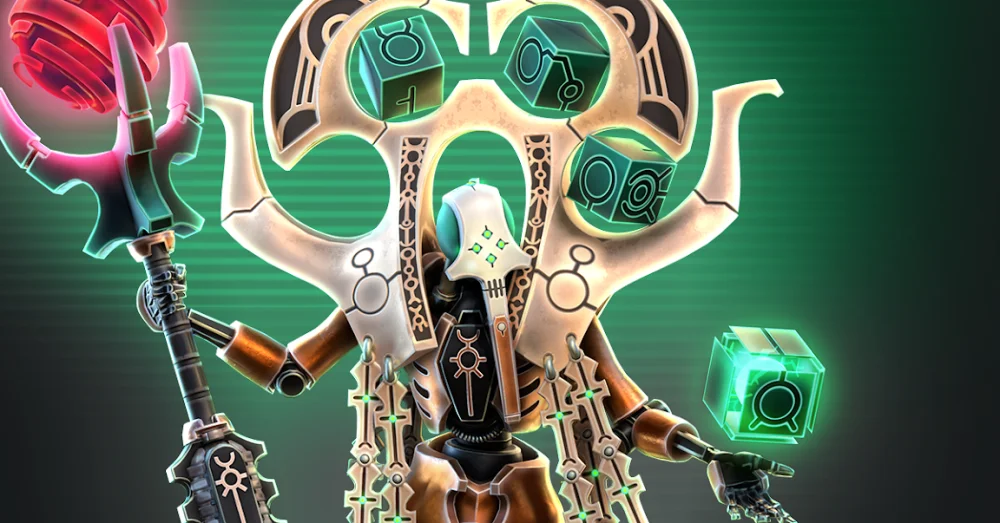
To succeed in Warhammer 40,000: Tacticus, you must treat your roster not as a collection of individual heroes, but as a strategic engine driven by faction-specific synergies and campaign requirements. The most effective way to progress is to prioritize units that serve multiple roles: completing campaign missions, excelling in Arena combat, and providing utility in Guild Raids. By focusing your early resource investments on "multi-purpose" units—those that are required for campaigns but also possess high-impact active or passive abilities—you avoid the common trap of stalling your progress due to an under-leveled or restricted roster.
The Foundation: Understanding Faction-Based Progression
Warhammer 40,000: Tacticus is built on a rigid campaign structure. You cannot simply level your favorite characters and expect to clear all content; the game gates your advancement behind specific faction requirements.
- Campaign Gating: Campaigns (Indomitus, Indomitus Mirror, Fall of Cadia, etc.) require specific factions. If you ignore a faction, you will eventually find your energy and upgrade materials bottlenecked because you cannot access the nodes required to farm gear for your other units.
- The Resource Loop: Higher-tier gear requires materials found in later campaign nodes. Therefore, your goal is to push as far as possible in your current campaigns while building a secondary "campaign-ready" squad for the next faction.
- The Imperium Anchor: Most new players start with the Indomitus campaign. Space Marines are durable and forgiving, making them the perfect "anchor" for learning positioning and hex-control mechanics.
Strategic Roster Management: The Three-Pillar Approach
To maintain a competitive edge, categorize your units into three functional pillars. A balanced account requires attention to all three to ensure you are never "locked out" of content.
- The Campaign Core: These are units required to unlock and progress through campaigns. They may not always be your "best" units, but they are your "necessary" units. Keep them leveled just enough to clear the 3-star requirements for campaign nodes.
- The Carry Squad: These are your high-investment characters—usually high-rarity units with game-changing abilities (e.g., summoners or heavy damage dealers). These units carry you through difficult late-game spikes and Guild Raids.
- The Specialist Bench: Characters used for specific tasks, such as clearing high-armor enemies in Rogue Trader missions or providing buffs/heals in long-duration encounters.
Navigating Late-Game Difficulty Spikes
As you move into Act 4 and beyond, the game shifts from "brute force" to "tactical precision." You will encounter high-threat enemy spawns that can wipe a team in a single turn if not managed correctly.
Managing High-Threat Spawns
- Prioritize Crowd Control: Use units that can stun, freeze, or reposition enemies. In higher difficulties, you cannot afford to trade damage; you must prevent the enemy from acting.
- Summoner Abuse: Units that create extra bodies on the field (summons) act as "meat shields." They draw AI aggression, allowing your primary damage dealers to pick off threats safely.
- Armor Shredding: As enemy armor values scale, flat damage becomes less effective. Prioritize units with "Pierce" or "Armor Shred" capabilities to maintain consistent damage output against heavy targets.
Leveraging Faction Synergies
Synergy is the difference between a stalling account and a thriving one. You should look for two types of synergy: Ability-Based and Role-Based.
Ability-Based Synergy
Look for pairs or trios that amplify each other. For example, a character that applies a "Mark" or "Debuff" on an enemy followed by a character with a high-damage, single-target attack (like a sniper or heavy weapon user).
Role-Based Synergy
- The Tank-Heal Loop: Always pair a high-health unit (Space Marine Intercessor or similar) with a dedicated healer. The AI will prioritize attacking the target with the lowest current health percentage, so you can "bait" the AI into attacking your tank while you keep them topped off.
- The Summoner-Buffer Combo: Use a character that buffs summon damage (e.g., Archimatos) in combination with characters that spawn large groups of units. This turns an average summon into a massive wave of high-damage output.
Common Mistakes to Avoid
- Over-Investing in "Starter" Trap Units: Not all common units remain viable. While you must level them for campaign progression, don't waste legendary upgrade badges on units that fall off in the mid-game.
- Ignoring Guild Raids: Guild Raids are the primary source of rare upgrade materials (like legendary badges and shards). Even if your roster is small, participate in every raid. The rewards are essential for breaking late-game progression plateaus.
- Neglecting Equipment Upgrades: Many players focus entirely on character level and rarity, forgetting that equipment (Armor, Weapons, and Accessories) provides massive stat boosts. A character with high-level gear can often outperform a higher-level character with poor equipment.
Practical Decision-Making: When to Spend Resources
When you receive new shards or upgrade materials, use this hierarchy to decide where they go:
- Campaign Essential: Does this unit unlock a new campaign node? If yes, prioritize.
- Guild Raid Utility: Does this unit deal high damage to bosses? If yes, prioritize.
- Arena Dominance: Is this unit "meta" for defending or attacking in the Arena? If yes, consider.
- Personal Preference: Does this unit fit your playstyle? Only invest once the above three are satisfied.
Expert Insight: The Rogue Trader Milestone
As you approach Act 4 and the Rogue Trader roster optimizations, the game demands more specialization. At this stage, you must move away from "all-rounder" teams. Look for units that specifically interact with the environment or offer unique movement options. Rogue Trader missions often feature tight corridors or complex objectives where mobility and "hit-and-run" tactics are superior to standing and fighting.
By adhering to this faction-focused strategy, you ensure that your progress in Warhammer 40,000: Tacticus is deliberate and efficient. Always assess your next campaign requirement before spending energy or resources, and remember that in the 41st Millennium, victory is earned through the calculated management of your forces.
Free Warhammer 40,000: Tacticus ™ Codes
Current active codes and how to redeem them.

Sarah Williams
Sarah specializes in RPG and collection games, explaining team building, character growth, and beginner-friendly ways to avoid expensive early mistakes.
COMMUNITY
Player Comments
58 players commented on this guide.
Nice guide. I am checking the other Warhammer 40,000: Tacticus ™ articles next.
This helped me understand strategy much better.
This guide answered the exact question I had.
This saved me time in the early game.