
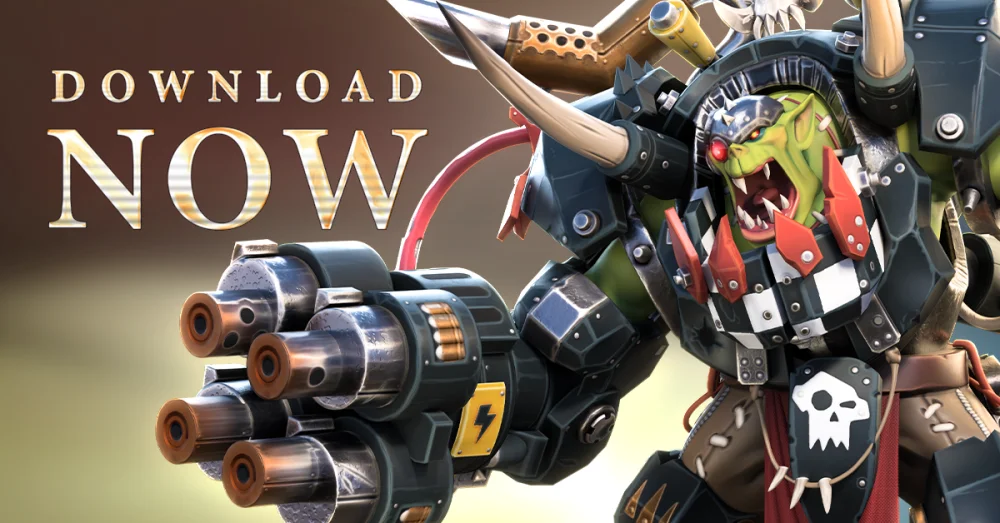
In Warhammer 40,000: Tacticus, success in the late-game campaigns and challenging guild raids often hinges on your ability to manage unit longevity against overwhelming odds. By adopting the tactical doctrine of the Death Korps of Krieg—a philosophy centered on endurance, attrition, and calculated sacrifice—players can turn seemingly impossible defensive scenarios into grinding victories. This guide explores how to integrate these lore-accurate principles into your roster management and battlefield positioning to maximize your tactical effectiveness.
The Doctrine of Attrition: Why Defense Wins Games
In many tactical games, players prioritize high-burst damage output. However, in Warhammer 40,000: Tacticus, particularly when facing high-threat enemy spawns in Act 4 or Legendary events, pure offense often leads to squishy units being caught out of position. The "Krieg Doctrine" shifts the focus to exhaustion.
By forcing enemy AI to waste their cooldowns on high-armor, high-health units, you effectively lower the enemy's damage-per-turn potential. You are not looking to win in one turn; you are looking to survive the initial wave, stabilize, and win the war of attrition. This is critical for missions where enemy units possess "Overwatch" or "Deep Strike" mechanics that punish aggressive, unshielded advances.
Strategic Sacrifice and Roster Management
A hallmark of the Death Korps of Krieg is the pragmatic acceptance that individual units are assets to be spent for the greater strategic goal. In Warhammer 40,000: Tacticus, this means identifying your "expendable" buffers.
- The Buffer Role: Deploy units with high health pools or self-healing capabilities to bait enemy attacks. By placing these units in the primary threat range of high-damage enemies, you force the AI to target them instead of your critical support or damage-dealing characters.
- Cooldown Management: Pay close attention to enemy ability timers. If an enemy has a devastating area-of-effect (AoE) ability, use a single unit to trigger that ability while the rest of your squad remains safely spaced. Once the ability is spent, the threat is neutralized for several turns, allowing your damage dealers to move in safely.
Perfecting Trench Warfare Positioning
Krieg-style play requires a fundamental shift in how you use the map. Instead of rushing for center-map objectives, prioritize "interlocking fields of fire" and terrain density.
Defensive Formations
- Chokepoint Control: Use your most durable units to plug narrow corridors. In Warhammer 40,000: Tacticus, a single unit blocking a path can prevent multiple melee enemies from reaching your backline.
- Cover Synergy: Always end your turn behind high-cover terrain. Even a small bonus to your armor or block chance can be the difference between surviving a round and being wiped.
- Support Overlap: Position your healers or armor-buffing units directly behind your front line. This creates a "wall" that forces the enemy to chew through multiple layers of defense before reaching your vulnerable units.
Synergizing Imperial Guard Assets
To successfully implement this strategy, your squad composition must focus on synergy rather than individual power. When building your Imperial Guard-focused roster, look for the following:
- Damage Mitigation: Prioritize characters that grant invulnerability turns, armor buffs, or damage reduction to allies.
- Reinforcement/Summoning: Units that can summon additional entities (such as guardsmen or drones) are invaluable. These summons act as free "expendable" buffers, soaking up enemy hits and providing the perfect "Krieg-style" fodder to delay enemy advances.
- Armor Shredding: Since you are playing a slower game, you must ensure that your limited attacks count. Include units capable of reducing enemy armor so that your sustained fire remains effective even against high-tier tanky units.
Comparing Defensive vs. Aggressive Strategies
It is essential to understand when to switch gears. The Krieg-inspired attrition strategy is not a "one size fits all" solution.
| Strategy | Best For | Risk Factor |
|---|---|---|
| Attrition/Defensive | High-difficulty campaigns, Guild Raids | Time-limit failure, 3-star objective loss |
| Aggressive/Burst | Early-game farming, "Kill count" missions | Squishy units getting focused and killed |
If a mission has a strict turn limit for a 3-star rating, a purely defensive posture will likely fail you. In these cases, you must identify when the "Krieg" approach is too slow and pivot to a more aggressive composition that trades longevity for raw, immediate damage.
Common Mistakes to Avoid
- Over-extending the Front Line: A common error is pushing one unit too far forward. This leaves your support units exposed to flanking maneuvers. Always move as a cohesive block.
- Neglecting Active Abilities: Players often save abilities for the "perfect moment." In an attrition build, your abilities are tools for survival. Use them early to mitigate damage and prevent a "snowball" effect where your squad is overwhelmed by sheer numbers.
- Ignoring Terrain Bonuses: Never end a turn in the open if you can reach a cover hex. In higher-tier content, the difference in damage taken between open ground and cover is often the deciding factor in whether your unit survives the turn.
Conclusion: The Path to Victory
Mastering the Death Korps of Krieg doctrine in Warhammer 40,000: Tacticus is about discipline. By valuing survival over speed and positioning over aggression, you will find that even the toughest late-game difficulty spikes become manageable. Remember: you do not need to be the fastest player to secure the win; you simply need to be the last one standing. Focus on building an Imperial Guard roster that leans into these defensive strengths, protect your high-value assets, and let your enemy exhaust themselves against your unyielding wall of fire.
Free Warhammer 40,000: Tacticus ™ Codes
Current active codes and how to redeem them.

Michael Smith
Michael covers live-service games, events, reward systems, and efficient daily routines, turning frequent updates into clear actions for players.
COMMUNITY
Player Comments
71 players commented on this guide.
The tips are practical and easy to follow.
This saved me time in the early game.
The explanation is clear, especially for beginners.
This guide answered the exact question I had.