
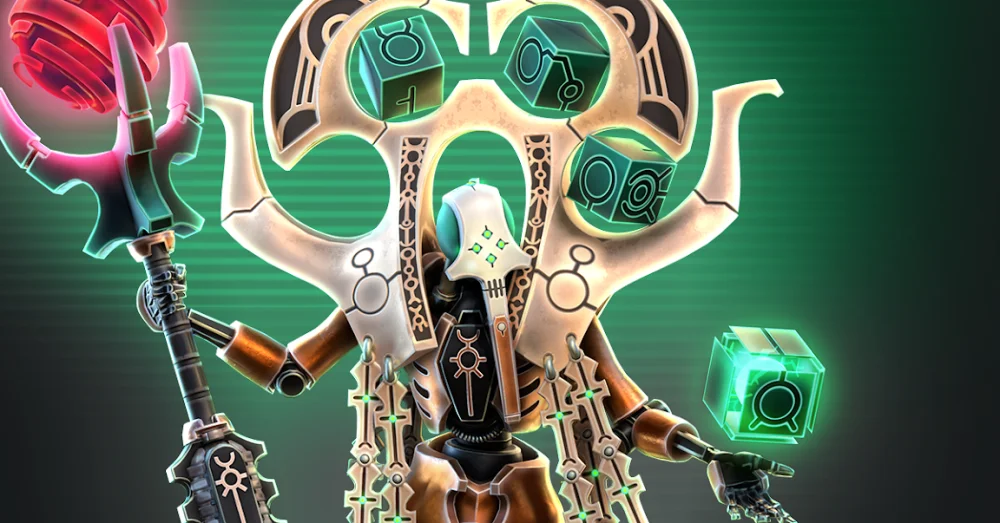
In Warhammer 40,000: Tacticus, the arrival of Ramus has fundamentally shifted the internal dynamics of the Dark Angels faction. No longer relegated to purely defensive endurance, the faction now possesses a high-impact offensive anchor capable of dictating the flow of engagement. Ramus is a specialized combatant who rewards forward-thinking players who can manage cooldowns and exploit enemy formations.
This guide provides the tactical framework required to transition Ramus from a new unit to the cornerstone of your competitive Warhammer 40,000: Tacticus roster.
Decoding Ramus: Combat Mechanics and Utility
Ramus functions as a "zone-pressure" unit. Unlike glass-cannon strikers that rely on evasion, Ramus is built with the durability signature of the Dark Angels but sacrifices some of the passive utility of his peers for raw, targeted damage output.
His combat potential is anchored in his ability to punish static enemy formations. Many players make the mistake of using Ramus as a frontline initiator; however, his true value lies in his role as a punishment engine. He is designed to clean up high-threat targets that have been softened by your secondary units or to force opponents out of "turtling" positions. When evaluating his stats, note that his armor penetration is high, making him particularly lethal against mid-tier armored infantry who rely on cover to mitigate damage.
Strategic Skill Utilization: The Active/Passive Loop
Ramus’s kit is not "fire-and-forget." To maximize his impact, you must synchronize his active ability with the board state.
- Active Ability Management: Ramus’s active is most effective when the enemy is clustered. Use it to break defensive lines or to secure a kill on a high-threat support unit hiding behind a frontline tank.
- Passive Ability Windows: His passive often triggers based on proximity or health thresholds. Learning the exact range at which his passive activates is essential for "baiting" the enemy. By positioning him just within an enemy's range, you can force them to commit to an attack that triggers your passive defense, leaving them vulnerable to a counter-attack on your following turn.
- Cooldown Cycling: Never burn Ramus’s active ability if it does not guarantee a net positive in board state (e.g., a kill or a major positional displacement). If the cooldown is active, play him defensively. If his cooldown is ready, switch to an aggressive stance.
Positioning for Maximum Tactical Impact
In Warhammer 40,000: Tacticus, hex positioning is the difference between victory and a squad wipe. Ramus requires a "pincer" approach to reach his full potential.
- The Anchor Point: Use your tankier units (like existing Dark Angels Terminators) to hold the center of the map, drawing fire away from Ramus.
- The Flank: Position Ramus on the outer edges of the engagement. His mobility allows him to cut off enemy escape routes.
- Terrain Advantage: Always seek high ground or heavy cover for Ramus. While he is sturdy, he is not immune to focus fire. Using him to "peek" from behind cover allows you to fire at enemies without exposing him to a full team retaliation.
Integrating Ramus into Dark Angels Synergies
The Dark Angels faction excels at endurance, but they often lack the "finisher" required to close out games against high-sustain teams. Ramus fills this gap. To build the optimal squad, consider these three pillars:
- Frontline Tanks: You need units capable of absorbing damage for two turns while Ramus maneuvers into position. If you are lacking in tank units, prioritize upgrading their armor stats before investing in Ramus’s offensive gear.
- Crowd Control (CC) Enablers: Pair Ramus with units that provide movement debuffs. If you can root an enemy in place, you negate their ability to kite Ramus, effectively handing him a free target for his high-damage output.
- Heal/Support Support: Because Ramus draws significant aggro due to his damage potential, having a dedicated healer is non-negotiable. Keeping him at "green health" ensures that his passive abilities remain active and prevents the enemy from sniping him with a lucky burst of damage.
Common Mistakes and How to Avoid Them
Even elite players often misplay Ramus by falling into these traps:
- The "Over-Commit" Error: Placing Ramus in the middle of the enemy formation in Turn 1. Even with his durability, he will be overwhelmed by focused fire. Wait for the enemy to commit their units first.
- Ignoring Cooldowns: Using his abilities when the enemy is spread out. Ramus shines when he can hit multiple targets or finish off a high-value unit. If the board is sparse, save his energy for when the enemy is forced to group up to contest an objective.
- Failing to Adapt: Attempting to play Ramus the same way against every faction. Against mobile factions (like Aeldari), you must play him as a defensive counter-puncher. Against slow, tanky factions (like Death Guard), you can afford to play him as an aggressive spearhead.
Advanced Tactics: Managing Threats and Milestones
As you push into Act 4 challenges and high-tier missions, Ramus’s utility changes. Enemies here have higher health pools, meaning his ability to burst targets becomes more important than his sustained damage.
When facing High-Threat Spawns (Elite campaign modifiers), use Ramus to prioritize the spawning unit immediately. His ability to hit through cover or provide zone-denial is critical in missions where enemy reinforcements are constant. If you allow these high-threat units to survive, your defensive line will eventually collapse regardless of how well you position your team.
Decision Checklist: When to Prioritize Ramus
Players often ask if they should prioritize upgrading Ramus over other units. Consider these factors:
- Roster Depth: If your roster lacks a high-damage, single-target threat, prioritize Ramus immediately.
- Game Mode Focus: If you are focused on Arena or Tournament play, Ramus is a high-tier pick for his ability to punish meta-heavy defensive teams. If you are focused on early-game campaign progression, consider leveling your core tanks first.
- Resource Allocation: Ramus scales exceptionally well with gear upgrades. If you have the surplus materials, invest in his offensive items first to maximize his "hammer" potential.
By viewing Ramus not just as a unit, but as a catalyst for your team’s offensive strategy, you will find that he is one of the most rewarding characters in Warhammer 40,000: Tacticus. Master his cooldowns, respect his positioning requirements, and he will carry you through the toughest milestones the game has to offer.

Free Warhammer 40,000: Tacticus ™ Codes
Current active codes and how to redeem them.

James Brown
James focuses on Android gaming on PC, emulator setup, controls, performance tuning, and practical troubleshooting for longer play sessions.
COMMUNITY
Player Comments
138 players commented on this guide.
This guide answered the exact question I had.
Nice guide. I am checking the other Warhammer 40,000: Tacticus ™ articles next.
This saved me time in the early game.
Good guide for Warhammer 40,000: Tacticus ™ players. The strategy part was useful.