
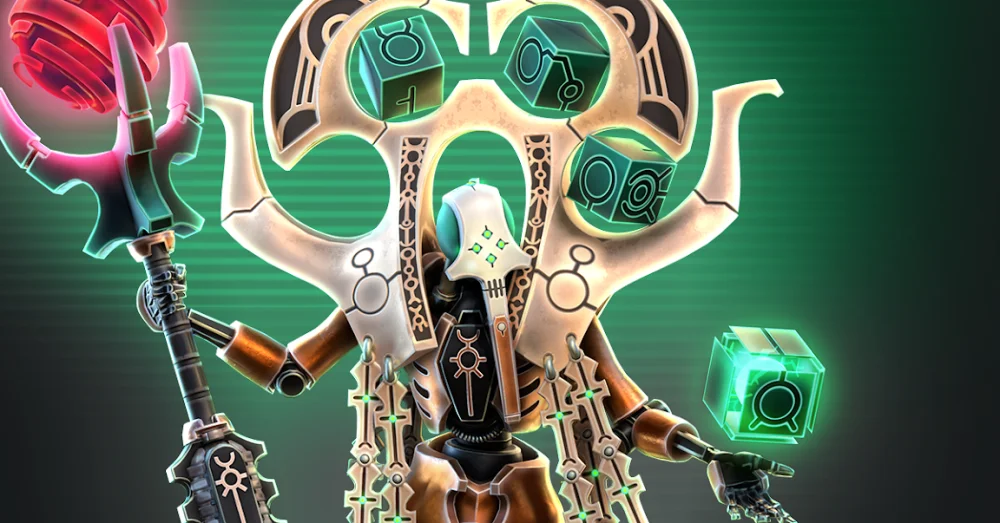
Guild Raids in Warhammer 40,000: Tacticus are the ultimate testing ground for your roster’s power, synergy, and tactical planning. Unlike campaign nodes or arena battles, Guild Raids require a shift in mindset: you are not fighting to survive the encounter, but to maximize your damage-per-turn (DPT) before your squad is inevitably wiped out. Success in this mode relies on transitioning from general-purpose teams to specialized "boss-killer" compositions that exploit specific mechanics.
The Core Philosophy: Damage Buffing Over Sustainability
In most Warhammer 40,000: Tacticus modes, healers like Isabella or Aleph-Null are essential for three-star victories. In Guild Raids, however, they are often a hindrance. Because the bosses possess massive health pools and devastating attacks, your squad will eventually fall. Your goal is not to stay alive for ten turns, but to make every hit landed in the first four or five turns count for as much as possible.
To achieve this, you must prioritize "force multipliers"—characters who increase the damage dealt by your primary attackers.
- Damage Buffers: Characters like Eldryon are non-negotiable for high-level raiding. His "Doom" ability applies a massive flat damage increase to every single hit landed by your allies against the target. Because this buff is applied per hit, it scales exponentially with multi-hit units.
- Defense Shredders: Bosses often have high armor values that reduce your damage to negligible levels. Characters who can apply "Armor Shred" or "Pierce" modifiers are essential to ensure your primary damage dealers can penetrate the boss’s defensive layers.
- The "Doom" Synergy: Always pair your high-damage, multi-hit units with buffers like Eldryon or Aethana. A unit that attacks three times is inherently more valuable in a raid than a unit that attacks once, because they benefit from the flat damage buff three times per turn.
Understanding the Token Economy and Raid Schedule
You receive three raid tokens per day. These tokens are your most valuable resource for guild contribution. Because they do not stack indefinitely, efficiency is paramount.
- The "One-at-a-Time" Rule: Never use all your tokens on a boss that is at 5% health unless your guild leader has instructed you to do so. Overkilling a boss wastes the potential damage you could have applied to the next boss in the rotation.
- Consistency: Even if your roster is low-level, using all three tokens daily is mandatory for active guilds. Your total contribution is what allows the guild to hit higher tiers, which provides significantly better gear and Shard rewards for every member.
- Syncing with Guild Focus: Check your guild’s Discord or in-game chat regularly. High-level guilds rotate their focus to ensure that members are not wasting attacks on bosses that are already effectively dead.
Strategic Squad Composition: Building for the Boss
Not all bosses are created equal. You must tailor your team to the specific target. For example, a boss with high armor requires a different approach than a boss that summons swarms of minions.
Essential Archetypes
- The Anchor: A high-damage dealer who benefits most from buffs. Think characters like Ragnar or Maugan Ra.
- The Enabler: A buffer/debuffer who makes the anchor hit harder. Eldryon is the gold standard here.
- The Support: A utility character who might provide a movement buff or clear environmental hazards that interfere with your positioning.
When evaluating a new recruit for your raid team, ask yourself: "Does this character contribute more to the total damage than an extra hit would?" If the answer is no, keep them for campaign play and leave them out of your raid roster.
Avoiding Common Mistakes
Even veteran players often fall into these traps when preparing for raids:
- Over-investing in Survivability: Do not bring a healer unless the healer provides a significant offensive buff (like Isabella’s passive interaction with certain units). If you aren't outputting damage, you are wasting a slot.
- Ignoring Active Abilities: In raids, passive abilities that trigger on every attack are generally superior to active abilities that require a turn to "set up." If a character needs to spend a turn positioning instead of attacking, calculate if their subsequent damage output justifies that lost turn.
- Neglecting Roster Depth: Having one "perfect" team is good, but having a deep roster is better. As you progress, you will need to field multiple teams for different boss types (e.g., Flying-heavy vs. Ground-heavy).
Scaling for Late-Game Challenges
As you move into Act 4 and higher-level raid tiers, the difficulty spikes become pronounced. Bosses will start to hit harder and have more armor. At this stage, you must transition from "good enough" teams to meta-defined compositions.
Look at the top-scoring players in your guild. Observe their compositions. Are they using specific combos, like the "Double-buff" strategy (stacking multiple damage amplifiers)? Are they using characters with abilities that hit multiple times, like Sho’syl’s drones? Mimicking these high-level structures is the fastest way to improve your individual contribution.
Summary Checklist for Raid Readiness
- Level Your Buffers First: Prioritize upgrading the active abilities of your damage-boosting characters. A level 35 Eldryon is infinitely more useful to your guild than a level 35 damage dealer without his "Doom" buff.
- Test Your Lineup: Spend time in the "Practice" mode before burning your real tokens if you are unsure about a new composition.
- Communicate: If you are unsure which boss to hit, wait for the guild lead. A wasted token is a lost opportunity for the entire organization to earn better rewards.
- Analyze the Boss: Read the boss’s abilities before starting. If the boss has a mechanic that punishes melee units, swap in your ranged damage dealers even if they are slightly lower level.
By focusing your resources on these force multipliers and maintaining a disciplined approach to your daily tokens, you will quickly see your damage numbers climb. Guild Raids are a marathon, not a sprint; consistent, incremental improvements to your squad composition will yield massive results over time.

Free Warhammer 40,000: Tacticus ™ Codes
Current active codes and how to redeem them.

Emily Johnson
Emily writes practical mobile strategy guides with a focus on resource planning, base progression, and the early decisions that shape a long-term account.
COMMUNITY
Player Comments
46 players commented on this guide.
This saved me time in the early game.
I wish I had read this before upgrading the wrong thing.
Nice guide. I am checking the other Warhammer 40,000: Tacticus ™ articles next.
Good guide for Warhammer 40,000: Tacticus ™ players. The strategy part was useful.