
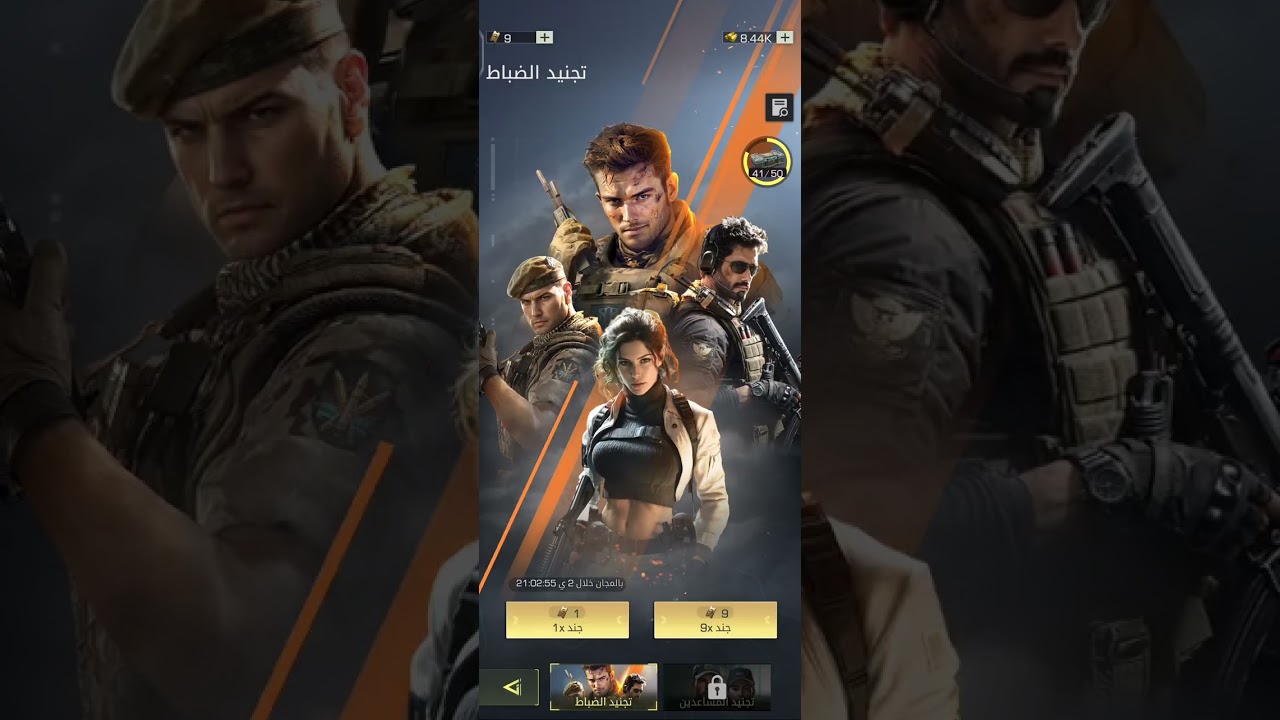
To dominate the competitive landscape of Warline: Sniper Strike, players must move beyond reactive play and embrace proactive offensive pacing. Success in this tactical shooter requires a sophisticated blend of real-time strategy (RTS) resource management and the precision of a high-stakes sniper simulator. By synchronizing your sniper’s high-value shots with the tactical deployment of ground squads, you can dismantle enemy defensive formations, create openings in the lane, and force your opponent into a cycle of costly resource exhaustion.
The Mechanics of Synchronized Offense
The most common error among intermediate Warline: Sniper Strike players is the "staggered death" approach—deploying units individually as soon as energy allows. This feeds your opponent steady, manageable targets. Instead, you must master the synergy between your sniper and your infantry.
Your sniper acts as the "breaker." In any given engagement, identify the highest-threat unit in the enemy line—usually a heavy trooper or an anti-armor specialist. By eliminating this target milliseconds before your infantry enters their effective range, you remove the enemy’s ability to "trade" efficiently. When your troops arrive at a weakened defensive line, the opponent is forced to either commit their own reinforcements prematurely or lose the lane entirely.
Identifying and Exploiting Lane Weaknesses
Warline: Sniper Strike is a game of lane economy. If an opponent heavily invests in one lane, they are inherently weak in another. You must resist the "tunnel vision" of reinforcing a losing lane.
The Shift Strategy
When you identify a lane bottleneck—where the enemy has established a stationary defensive position—do not try to "brute force" through it. Instead:
- Soft-Pressure: Deploy a single, low-cost unit to the contested lane to draw the enemy’s attention and force them to commit energy.
- The Pivot: Immediately shift your focus to the under-defended lane.
- The Sniper Reposition: Move your sniper to a line of sight that covers the new target area. Because your sniper is mobile, you can exert pressure on multiple lanes without needing to commit your full army, forcing the opponent to split their defense thin.
Managing Deployment Pacing for Resource Efficiency
Resource efficiency is the heartbeat of a winning streak. "Dumping" your entire energy pool into one massive wave is a high-risk gamble that can be neutralized by a single well-placed area-of-effect (AoE) ability or a sniper headshot.
Instead, employ a "Rolling Wave" strategy:
- The Vanguard: Send one durable unit to soak up initial fire.
- The Support: Deploy your damage-dealing infantry only once the enemy has committed their defensive abilities.
- The Reserve: Always keep 20-30% of your energy in reserve. This is not for hoarding; it is for reactive coverage. If the opponent decides to counter-push your exposed lane, your reserve energy allows you to deploy an immediate defensive stabilizer, preventing a total collapse of your map control.
Advanced Sniper Positioning and Map Control
In Warline: Sniper Strike, your sniper is not just a damage dealer; they are a zone-control asset. A static sniper is a predictable one. As your infantry pushes forward, your sniper must move with them to maintain optimal firing angles.
Tactical Positioning Checklist
- Elevation Advantage: Always seek high ground. The increased field of view allows you to spot flanking maneuvers earlier and improves your chance of landing critical shots on shielded units.
- The Crossfire Setup: Position your sniper slightly off-axis from your advancing squad. When the enemy engages your squad, they will turn to face them, inadvertently exposing their flanks to your sniper. This creates a "no-win" scenario for the defender.
- Retreat Lanes: Never push your sniper to the front line. Always ensure there is a clear "retreat path" to your backline. If your sniper is caught in the open during an enemy counter-push, you lose your primary tool for breaking their momentum, which often leads to a quick loss of map control.
Adapting to Counter-Plays: When to Pivot
Even the most perfectly executed strategy will face resistance. The mark of a veteran player is knowing when to abandon an offensive push. If you notice the enemy successfully neutralizing your waves without losing significant ground, you are likely suffering from "Resource Attrition."
If your opponent is trading units 1-for-1 and holding their lane, stop the push. Continuing to feed units into this lane is a losing game. Transition into a "Defensive Hold," using your sniper to pick off stragglers while you regain your energy reserves. Use this time to observe the enemy’s patterns—are they over-committing to the lane? Are they ignoring the other side of the map? Use the intelligence gained during your defensive reset to plan your next, more surgical strike.
Common Mistakes to Avoid
- Over-committing to a dead lane: If you haven't made progress after three waves, the lane is lost for now. Switch focus.
- Neglecting the Sniper’s Mobility: Many players keep their sniper in the starting corner. This limits your threat range and makes you predictable.
- Ignoring the "Emergency Reserve": Spending all your energy leaves you vulnerable to a counter-push. Always maintain enough energy for at least one defensive unit to prevent a base-race loss.
- Forgetting to Target Medics/Engineers: In Warline: Sniper Strike, support units are the backbone of a defense. Your sniper should prioritize these high-value targets over basic infantry. Removing the "healer" or "builder" makes the rest of the enemy line crumble significantly faster.
By mastering the rhythm of your sniper and the flow of your infantry, you transform Warline: Sniper Strike from a chaotic brawl into a controlled, decisive victory. Remember: the goal isn't just to shoot the enemy; it’s to force them to spend resources in ways that benefit your overall map strategy.

Free Warline: Sniper Strike Codes
Current active codes and how to redeem them.

Sarah Williams
Sarah specializes in RPG and collection games, explaining team building, character growth, and beginner-friendly ways to avoid expensive early mistakes.
COMMUNITY
Player Comments
131 players commented on this guide.
The explanation is clear, especially for beginners.
Good guide for Warline: Sniper Strike players. The strategy part was useful.
Can you add more details about strategy in a future update?
This guide answered the exact question I had.