
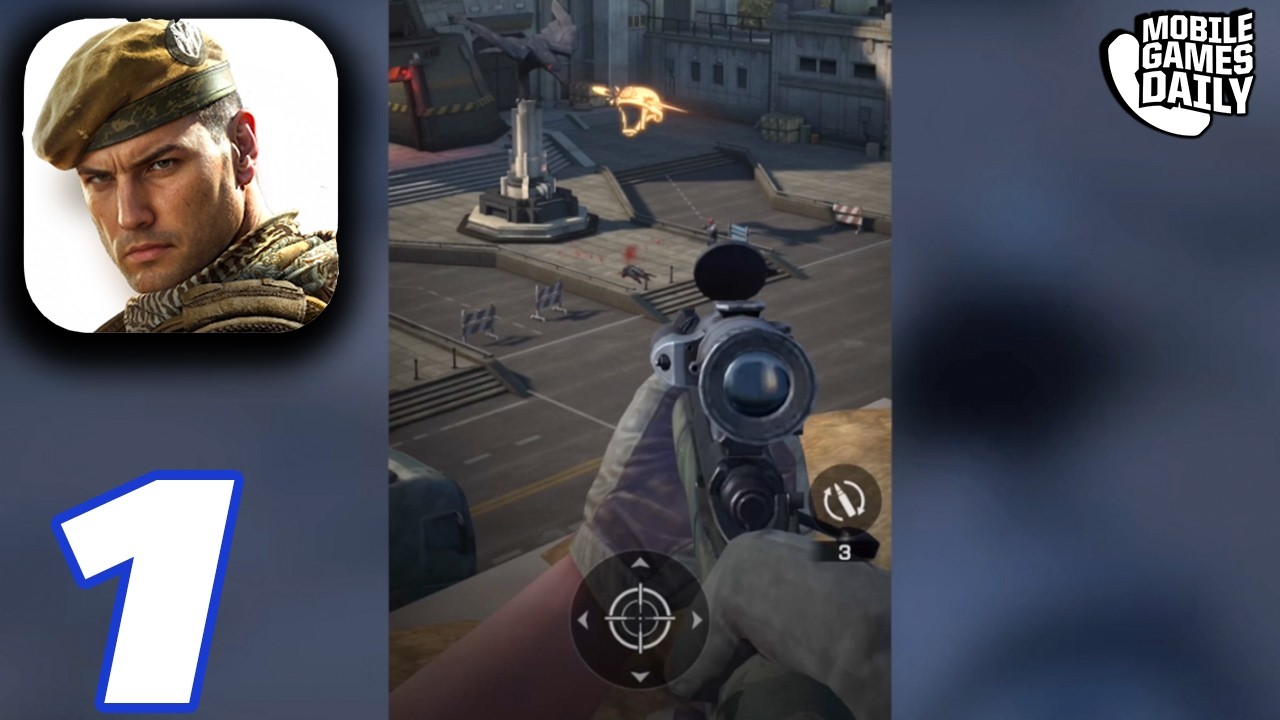
Success in Warline: Sniper Strike requires a sophisticated blend of twitch-reflex marksmanship and calculated real-time strategy. Unlike traditional shooters or lane-based defense games, this title demands that you treat your sniper rifle as an extension of your ground squad’s tactical viability. To dominate the global front, you must stop viewing your sniper and your infantry as separate entities and start managing them as a single, cohesive combat system.
The Synergy of Sniper Support and Infantry Shielding
The fundamental mechanic of Warline: Sniper Strike is the interplay between your long-range suppression and your frontline presence. Your sniper is capable of erasing high-value targets, but it lacks the physical presence to hold territory. Conversely, your infantry units are durable but often lack the stopping power to handle elite enemy formations.
Tactical Synchronization:
- The "Opening" Strategy: Use your sniper to eliminate the strongest unit in an approaching enemy wave. By doing this, you create a "power gap" in their formation.
- The Follow-Up: Immediately deploy your infantry into that gap. By spawning units exactly where the enemy’s strongest threat just stood, you prevent the remaining low-tier enemies from advancing, effectively stalling their momentum.
- The Buffer Zone: Your infantry exists to buy time for your sniper’s reload cycle. Never allow your infantry to be the only thing standing between the enemy and your base; always ensure a follow-up shot is queued for when your ground units inevitably take damage.
Strategic Resource Management: The Energy Economy
Resource management in Warline: Sniper Strike is not just about how many units you can spawn, but when you choose to spawn them. Every unit costs energy, and energy is your most precious currency. Beginners often fall into the trap of constant spawning, which leaves them defenseless against high-threat waves.
Optimizing Your Energy Flow:
- Passive Observation: Before committing resources, observe the first few seconds of an enemy wave. If your sniper can handle the threat solo, hold your energy.
- Energy Buffering: Maintain a "Reserve Floor" of 30% energy. This ensures you can deploy a counter-unit immediately if the enemy surprises you with a specialized tank or fast-moving infantry unit.
- Tiered Countering: Do not deploy your most expensive units to clear "trash" mobs. Use your sniper for low-tier swarms and save your elite ground units specifically for when the enemy deploys heavy armor or specialized support units that can withstand a sniper bullet.
Leveraging Sniper Precision for Battlefield Control
Your sniper rifle is your most versatile tool, serving as both an offensive weapon and a defensive reset button. When the battlefield becomes congested, it is easy for your units to become overwhelmed by sheer numbers.
Precision Targeting Tips:
- Prioritize Clusters: Aim for the center of an enemy clump. A single shot that hits multiple targets is exponentially more valuable than a shot that kills one high-health target.
- Reload Discipline: Your sniper’s reload time is the most dangerous window in the game. Before taking a high-risk shot, ensure you have enough ground units on the field to sustain the line for the 2–3 seconds you will be effectively "offline."
- The Executioner’s Role: Always reserve your "big" shots for enemies that threaten your infantry’s survival. If a group of enemies is about to engage your soldiers in melee, prioritize the sniper shot on those specific attackers to maximize your squad's longevity.
Positioning: The Mid-Screen Advantage
In Warline: Sniper Strike, positioning is dictated by the lanes. The most effective way to play is to maintain the "Mid-Screen Equilibrium." If your infantry is pushed too far forward, they exit your sniper’s effective line of sight and become easy targets for enemy reinforcements. If they are too far back, you lose control of the map and surrender ground to the enemy.
Maintaining the Line:
- The Hold Point: Aim to keep your frontline battle near the middle of the screen. This gives you the maximum reaction time to snipe incoming threats before they reach your units.
- The Retreat Mechanic: If your units are losing health rapidly, stop spawning. Let the enemy push forward slightly into the center of the map. By allowing them to enter this "kill zone," you force them to walk into your sustained fire, effectively resetting the combat dynamic in your favor.
Avoiding Common Tactical Mistakes
Even experienced players often fall into predictable patterns that the enemy AI can exploit. Avoiding these errors is the difference between a clean win and a base collapse.
- The "Mass Spawn" Error: Never dump your entire energy pool at once. If the enemy responds with a counter-unit that your current squad cannot handle, you will be left with no resources and no way to adapt. Always stagger your spawns.
- Ignoring Unit Counters: Take time to learn which infantry units perform best against specific enemy types. Sending light infantry against heavy enemy armor is a waste of energy. Always save your heavy-hitter units for the specific threats they were designed to neutralize.
- Over-Extending: It is tempting to push toward the enemy base as soon as you get the upper hand. However, doing so often causes your units to drift into the enemy's spawn zone, where they are immediately surrounded. Stay disciplined, clear the lanes systematically, and push only when you have a clear, overwhelming unit count advantage.
Final Strategic Advice
Mastering Warline: Sniper Strike is about recognizing that you are the commander, not just the shooter. Your sniper is the scalpel, and your infantry is the hammer. Use the scalpel to surgically remove the threats that would break your hammer, and use the hammer to hold the space that allows your scalpel to work. By maintaining a 30% energy reserve, prioritizing cluster-clearing shots, and holding the mid-screen, you will find that even the most difficult waves become manageable exercises in tactical efficiency. Keep your eyes on the battlefield, manage your cooldowns, and never commit all your forces until the lane is clear.

Free Warline: Sniper Strike Codes
Current active codes and how to redeem them.

Emily Johnson
Emily writes practical mobile strategy guides with a focus on resource planning, base progression, and the early decisions that shape a long-term account.
COMMUNITY
Player Comments
46 players commented on this guide.
This helped me understand strategy much better.
The tips are practical and easy to follow.
This saved me time in the early game.
Can you add more details about strategy in a future update?