
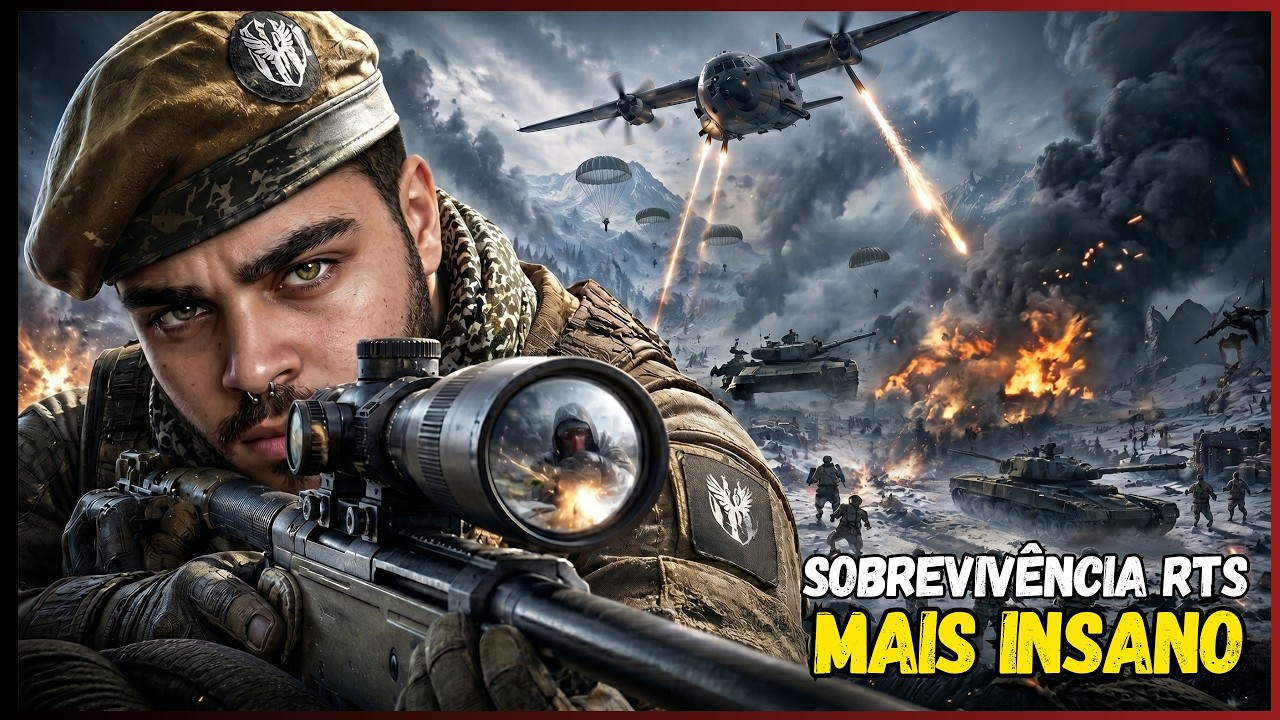
To win engagements in Warline: Sniper Strike, deploy your infantry units slightly ahead of your sniper to absorb incoming fire, while holding an energy reserve to react to enemy counter-pushes. Succeeding on the battlefield requires coordinating real-time resource spending with precision combat execution across active lanes.
Frontline Synergy and Sniper Positioning
Your primary combat formation relies on using standard infantry as a sacrificial frontline shield. Positioning infantry ahead of your sniper creates the space needed for your sniper to take clean, high-damage shots without taking direct damage.
Always keep your sniper slightly behind the main infantry line. If your frontline collapses, your sniper becomes exposed and can be quickly overrun by enemy infantry rushes.
| Unit Role | Primary Function | Positioning & Tactical Trigger |
|---|---|---|
| Infantry Squads | Frontline shield / draw enemy fire | Deployed in front to absorb damage and dictate lane flow. |
| Sniper | Precision high-damage targeting | Placed behind infantry to attack safely from maximum range. |
| Anti-Tank Squads | Armor counter | Swapped into the deployment line when enemy armor appears. |
| Heavy Artillery / Support | Line breaker | Triggered using saved energy reserves when the enemy line buckles. |
When observing enemy army compositions, adjust your frontline immediately. If the enemy deploys armored vehicles, shift your production from basic infantry to anti-tank squads. Failing to adapt to heavy armor will cause your lane to break.
Managing Energy Economy and Counter-Attacks
Avoid dumping all your energy resources into a single lane during the early phase of a match. Spending your full reserve on an initial push leaves your Command Hub defenseless against unexpected counter-attacks or flankers.
Maintain an energy reserve during combat pushes to handle two main scenarios:
- Offensive Breaks: Spending saved energy on heavy artillery support or high-impact sniper strikes right as the enemy line begins to buckle.
- Defensive Resets: Repositioning units or summoning defensive squads when the enemy pushes back.
If an enemy assault overpowers your push, pull your remaining infantry back toward your base perimeter rather than deploying units randomly. This retreat forces the enemy to overcommit near your base defenses, allowing your sniper to pick them off from a safe distance. Once the enemy wave is repelled, immediately use your saved energy to launch a counter-attack while their base is exposed.
Multi-Lane Rotation and Deployment Strategy
Maintaining momentum requires managing unit deployment thresholds, cooldowns, and energy costs to create a continuous unit rotation. Beginners often invest all their resources into a single powerful unit, but steady low-cost pressure across multiple lanes prevents opponents from concentrating their defenses.
When your forces successfully push a lane to the enemy's side of the map, stop spending energy in that lane. Pivot your unit deployment to a neutral or weaker lane. Splitting your focus forces your opponent to divide their defenses between saving their base and retaining map control elsewhere.

Free Warline: Sniper Strike Codes
Current active codes and how to redeem them.

James Brown
James focuses on Android gaming on PC, emulator setup, controls, performance tuning, and practical troubleshooting for longer play sessions.
COMMUNITY
Player Comments
154 players commented on this guide.
Nice guide. I am checking the other Warline: Sniper Strike articles next.
This guide answered the exact question I had.
Good guide for Warline: Sniper Strike players. The strategy part was useful.
This helped me understand strategy much better.