
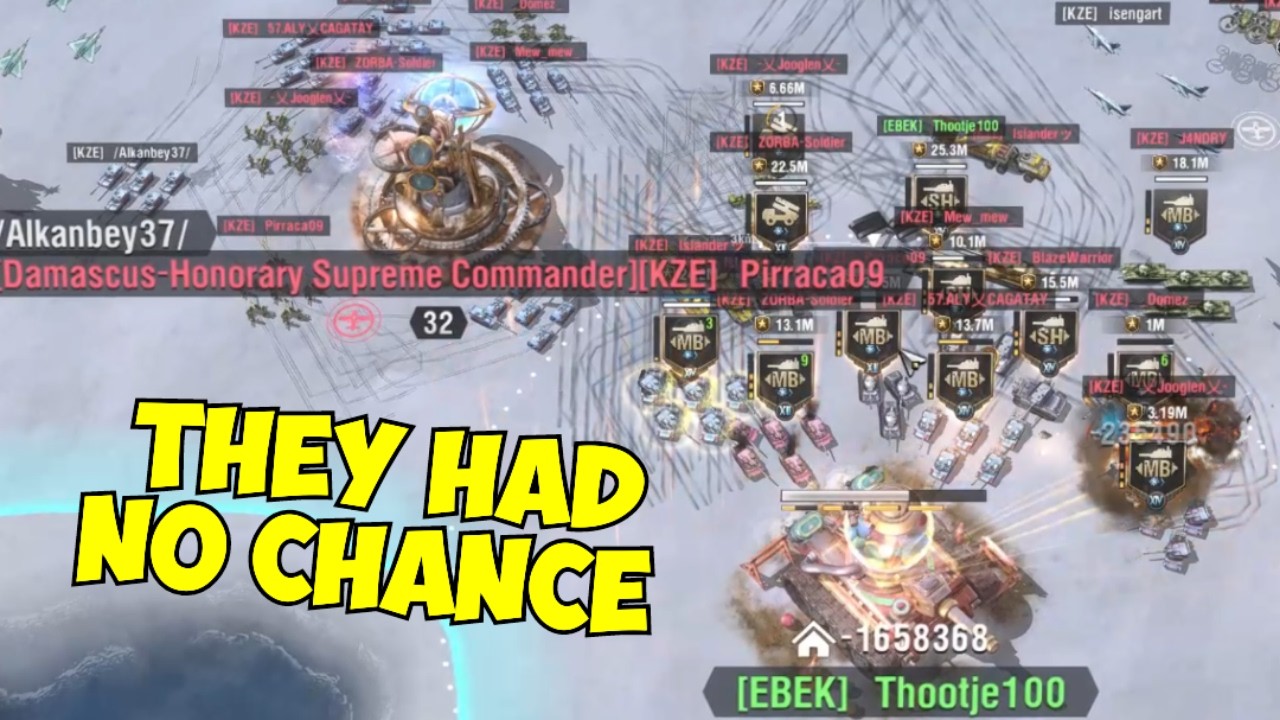
To take down an enemy alliance cluster solo in Warpath: Ace Shooter, isolate peripheral command centers, draw out active defending units onto neutral ground, and dismantle static fortifications using long-range artillery while armored units shield your siege line. Charging into the center of an alliance territory hive will lead to crossfire from watchtowers and rapid defeat by coordinated counter-attacks.
1. Scout and Isolate Outer Targets
Alliance clusters rely on overlapping defensive structures, shared turret fire, and mutual watchtower coverage. Attacking the center immediately exposes your army to fire from multiple commanders at once.
- Scan the perimeter: Locate outposts and bases situated on the outer edge of the territory where neighboring players cannot reinforce without marching across open land.
- Identify inactive commanders: Check base statuses to locate offline defenders who will not actively reposition units, swap garrisoned squads, or coordinate rallies.
- Establish a staging area: Destroying an isolated perimeter outpost breaks the territory border and creates a safe zone to position heavy artillery outside the fire range of neighboring watchtowers.
2. Deploy a Self-Sustaining Unit Composition
A solo attacker must absorb defensive fire, eliminate responding armored units, and level command center walls without allied support. Balance your unit slots to cover frontline protection, anti-armor defense, and siege demolition.
| Unit Class | Tactical Role | Primary Objective |
|---|---|---|
| Super-Heavy Tank | Frontline soak | Absorb base counter-fire and anchor your army formation |
| Main Battle Tank | Mobile screening | Intercept fast flankers and hostile light armor |
| Tank Hunter / Anti-Tank | Armor elimination | Destroy high-tier responding enemy armor |
| Howitzer Artillery | Structure siege | Shell command centers from beyond defensive turret range |
| Rocket Artillery | Area-of-effect suppression | Clear clustered defensive infantry squads and light garrisons |
Position your Howitzers behind a Super-Heavy Tank. Place Tank Hunters and Main Battle Tanks on the flanks to intercept defenders before they reach your artillery.
3. Bait Responding Units into Neutral Ground
Attacking a defended base triggers automated defenses or prompts online defenders to deploy units. Fighting defenders while taking damage from base walls accelerates unit loss.
- Fire a preliminary barrage: Hit the target command center with your artillery to force defensive responses.
- Pull back immediately: The moment garrisoned or defending units exit their base gates, reverse your frontline armor away from the base boundary.
- Engage in the open field: Drag defenders away from bunker auras and defensive structures.
- Focus fire: Use Tank Hunters and Rocket Artillery to eliminate isolated enemy units on neutral ground.
Neutralizing counter-attacking units outside their base territory allows you to return to the siege without taking simultaneous wall fire.
4. Siege the Base and Manage Garrison Defenses
Once field resistance is cleared, re-engage the target structure:
- Exploit maximum firing range: Position Howitzers at maximum operational distance so they hit walls while remaining outside the automated firing circles of defensive turrets.
- Neutralize fortified infantry: If the command center contains entrenched infantry that absorb direct shell hits, switch your target focus to Rocket Artillery to wipe out the squads.
- Hold the frontline steady: Keep your Super-Heavy Tank stationed just far enough forward to draw residual base fire away from your siege weapons until the target base durability reaches zero.
5. Prevent Attrition and Maintain Exit Routes
Solo campaigns fail when unit durability drops too low across consecutive fights or when defenders cut off your retreat.
- Rotate damaged units early: Pull critically damaged armor behind your artillery line to begin field repairs before the unit is destroyed.
- Watch for base teleports: Keep an eye on empty tiles behind your vanguard. Enemy players may teleport behind your army to flank your artillery between two bases.
- Keep retreat paths clear: Do not advance into enclosed terrain corridors. Keep an open march path toward neutral territory so you can disengage if multiple active defenders mobilize simultaneously.
- Relocate after each kill: Once a base falls, gather available resources, adjust your firing angle toward the next adjacent edge target, and avoid idling inside hostile territory borders.

Free Warpath: Ace Shooter Codes
Current active codes and how to redeem them.

Emily Johnson
Emily writes practical mobile strategy guides with a focus on resource planning, base progression, and the early decisions that shape a long-term account.
COMMUNITY
Player Comments
145 players commented on this guide.
I tried this today and it worked better than my old setup.
The tips are practical and easy to follow.
This saved me time in the early game.
Good guide for Warpath: Ace Shooter players. The base building part was useful.