
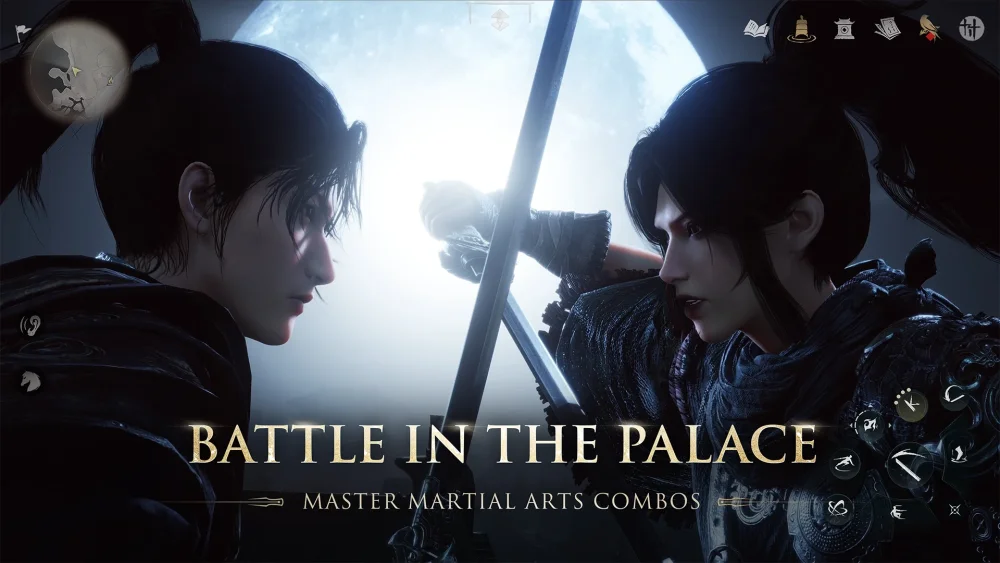
The introduction of the Gauntlet (Kenko) in Where Winds Meet marks a significant shift in the game’s combat meta. Designed for players who favor high-octane, aggressive playstyles, the Gauntlet moves away from the deliberate, rhythmic parries of traditional swordsmanship and into the realm of constant pressure and lightning-fast mobility. This guide provides an expert breakdown of how to integrate the Gauntlet into your rotation, maximize your stability damage, and navigate the challenging terrain of the Fuyan Mountain update.
Understanding the Gauntlet (Kenko) Combat Mechanics
The Gauntlet is fundamentally a "pressure-based" weapon. Unlike heavy weapons that rely on single, high-damage windows, the Gauntlet excels at maintaining a persistent offensive. Its primary mechanic is the rapid-fire combo chain, which allows you to weave light and heavy attacks into near-infinite strings if your stamina management is sound.
The most vital mechanic for Gauntlet users is the Stability Break. Many high-level bosses in Where Winds Meet utilize a hidden stability gauge. The Gauntlet is purpose-built to chip away at this bar. By utilizing the weapon’s specialized "Dash Strike," you can close the gap instantly, triggering a stun effect that interrupts enemy attacks. The key to mastering this is learning the cancel-window: you can animation-cancel your final strike into a dash, allowing you to reposition behind an enemy before they can retaliate.
Strategic Engagement in Fuyan Mountain
The Fuyan Mountain region introduces verticality that fundamentally changes how you approach combat. With the Gauntlet, you are not just fighting on a flat plane; you are fighting in 3D space.
- Vertical Mobility: Use the Gauntlet's unique aerial dashes to engage enemies on elevated platforms. Because the weapon has a shorter reach, you must use your mobility to control the engagement distance.
- Environmental Crowd Control: In tight, mountainous corridors, the Gauntlet’s sweeping strikes are superior to single-target weapons. Use these chokepoints to force enemies into a line, then execute a heavy-attack combo to hit multiple targets simultaneously.
- Stamina Discipline: The most common mistake players make with the Gauntlet is "button mashing." If you deplete your stamina, you lose your ability to dodge—the only true defense the Gauntlet possesses. Always keep 20% of your stamina bar in reserve for a panic-dodge.
Boss Engagement: The "Blind Spot" Strategy
Boss encounters are where the Gauntlet truly shines. The goal is to remain in a state of "fluid positioning." Because the Gauntlet requires you to be at point-blank range, you must treat every boss fight like a dance.
- Bait and Punish: Initiate with a light attack to bait the boss’s primary attack animation.
- The Pivot: As soon as the boss commits to their strike (often telegraphed by a glowing red aura or a specific animation frame), use your dash to move to their "blind spot"—directly behind them.
- The Burst: Unleash your heavy ability chain into their back. This usually nets a critical damage multiplier and accelerates the depletion of their stability gauge.
- Disengage: After three or four hits, retreat. Greed is the number one cause of failure with this weapon.
Optimizing Gear and Progression for the Gauntlet
To ensure your Gauntlet remains effective throughout the mid-to-late game, your gear must prioritize two specific stats: Attack Speed and Stamina Recovery.
- Armor Sets: Seek out gear that provides bonuses to "Agility." Higher agility reduces the animation length of your recovery frames, making you feel more responsive during intense boss fights.
- Weapon Refinement: Do not ignore your Gauntlet’s base damage stats. Because the weapon deals damage in many small instances, a flat increase to base damage is amplified significantly across a full combo string compared to slower weapons.
- Resource Planning: Ensure you are spending your daily activity rewards on refinement stones specifically for your Gauntlet. The scaling on this weapon is aggressive, and keeping it at the current max level for your character rank is mandatory for dealing with the high-HP mobs in Fuyan Mountain.
Managing the Trade-offs: When to Switch Weapons
No weapon is a universal solution. The Gauntlet’s primary weakness is its lack of reach. If you are facing an enemy with long-range projectile attacks or a shield-heavy foe, the Gauntlet will struggle to close the distance without taking significant chip damage.
- The Secondary Slot Strategy: Always pair your Gauntlet with a secondary weapon that offers better reach or defensive utility, such as a Polearm or a defensive Shield-based kit. If you find yourself unable to reach a target, swap to your secondary to bait them into closing the distance, then switch back to the Gauntlet to punish them once they are in melee range.
- Solo vs. Team Play: In solo play, you must be a master of the parry. If you cannot perfect-parry, your lack of range will be your downfall. In team play, focus on being the "Breaker." Let your teammates handle the aggro or provide ranged suppression while you focus exclusively on destroying the enemy’s stability.
Common Mistakes to Avoid
- Over-committing: The Gauntlet’s animations can feel "sticky" if you don't use the dash-cancel. Do not start a full combo string if you see a boss prepping an area-of-effect (AoE) attack.
- Ignoring Stability: Some players focus only on raw HP damage. In Where Winds Meet, breaking the boss’s stability is often a prerequisite for doing the highest possible damage. Always prioritize moves that deal "Break" damage over standard attacks.
- Static Positioning: If you are not moving, you are dying. The Gauntlet is a high-mobility kit; if you are standing still while attacking, you are essentially a target for every AoE ability in the game.
By treating the Gauntlet as a tool for constant movement and tactical disruption rather than just a damage-dealer, you will find that the Fuyan Mountain region—and the game’s toughest bosses—become significantly more manageable. Focus on your stamina, master the dash-cancel, and always keep an eye on your target’s stability gauge.

Free Where Winds Meet Codes
Current active codes and how to redeem them.

Sarah Williams
Sarah specializes in RPG and collection games, explaining team building, character growth, and beginner-friendly ways to avoid expensive early mistakes.
COMMUNITY
Player Comments
36 players commented on this guide.
This saved me time in the early game.
The tips are practical and easy to follow.
I wish I had read this before upgrading the wrong thing.
Can you add more details about strategy in a future update?