
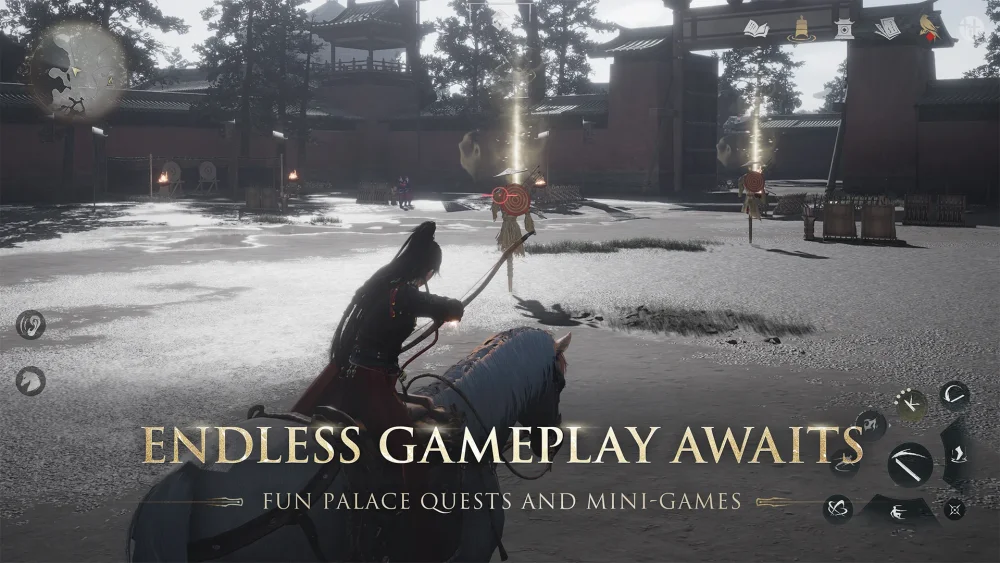
The introduction of the Hengdao in the Where Winds Meet Liangzhou update has fundamentally shifted the meta, rewarding players who favor a high-risk, high-reward "counter-striker" playstyle. Unlike faster, lighter weapons that rely on mobility, the Hengdao—specifically when utilized with a "Zhanma" (Horse-Slaying) focus—turns the battlefield into a game of rhythm and precision. By mastering the transition from a perfect parry into a devastating charged counter-attack, players can break through the poise of the toughest bosses in the Liangzhou region.
The Core Mechanics: The Parry-to-Counter Loop
The Hengdao is not a weapon for button-mashers. Its efficacy is tied entirely to your ability to read enemy animations. The core combat loop consists of three phases: Observation, Deflection, and Execution.
- Observation: Identify the "glint" or specific wind-up animation that precedes an enemy's unblockable or heavy attack.
- Deflection (Parry): Use the Hengdao’s dedicated parry stance at the exact moment of impact. A successful deflect provides a momentary "stagger window" where the enemy is vulnerable.
- Execution (Zhanma Strike): Immediately hold the attack input following a successful parry to trigger the charged Zhanma strike. This follow-up deals significantly higher poise damage than standard attacks.
The reason this loop is so powerful is that the Zhanma strike acts as a force multiplier. Because it punishes enemies while they are in their recovery frames, you effectively nullify their ability to mount a counter-offensive.
Optimizing Heart Method (Xinfa) Synergies
To elevate the Hengdao from a standard weapon to a boss-deleting machine, you must align your Heart Method (Xinfa) choices with your gear stats. In Where Winds Meet, your Xinfa dictates your passive performance thresholds. For a Zhanma build, focus on the following priorities:
- Counter-Attack Damage Multipliers: Prioritize Xinfa that grant flat percentage increases to damage dealt after a successful parry or deflect.
- Stamina Efficiency: The Hengdao consumes significant stamina during prolonged charge animations. Select Xinfa that offer "Stamina Recovery on Successful Parry" to ensure you are never caught empty-handed when a follow-up dodge is required.
- Poise Damage Scaling: Since the Zhanma strike is designed to break enemy posture, passive buffs that increase "Poise Damage" are essential for ensuring that even the most resilient bosses in the Liangzhou area are left vulnerable to your follow-up combos.
Execution Tactics: Mastering the Charge
The "Zhanma" style is characterized by its heavy, sweeping arcs. While the charged strike is your primary boss-killer, the weapon’s neutral combo string serves a different purpose: crowd control.
When facing elites or mobs, use standard light-heavy strings to manage positioning. Save your stamina and focus for the moment the elite opponent commits to an attack. By keeping your stance neutral, you stay ready to transition into a parry. When the parry connects, do not simply tap; hold the button to fully charge the Zhanma strike. The difference in damage between a "tapped" strike and a "perfectly charged" strike is substantial, often enough to deplete an entire health bar segment on a boss.
Advanced Strategies for the Liangzhou Update
The Liangzhou update added enemies with more complex attack patterns, making timing even more critical. Here is how to handle the most difficult encounters:
- The "Wait-and-See" Approach: Against bosses with long, multi-hit combos, do not try to parry the first hit. Parry the final hit of their combo, which usually possesses the longest wind-up animation. This leaves the boss wide open for your full Zhanma sequence.
- Managing Animation Committal: The Hengdao is a heavy weapon. Once you commit to a Zhanma charge, you are locked in. If you find yourself over-committing, use your dash to cancel out of the charge early if you notice a secondary enemy approaching.
- Stagger Management: Use your secondary utility skills to "soften" the boss’s poise before going for the parry. If you can lower their poise bar to 25% before landing a parry-to-Zhanma strike, you will almost certainly trigger a "Fatal Strike" or extended stun window.
Common Mistakes to Avoid
Many players fail with the Hengdao build because they treat it like a standard DPS weapon. Avoid these common pitfalls:
- Spamming Attacks: The Hengdao’s attack animations are long. If you spam, you will be caught mid-swing when the enemy attacks, preventing you from entering the parry stance. Always finish your animation string before resetting to a neutral stance.
- Neglecting Stamina Management: If your stamina is below 30%, do not attempt a full-charge Zhanma strike. If the boss escapes, you will not have the stamina to dodge their next retaliatory strike.
- Ignoring Weapon Durability and Upgrades: The Zhanma strike relies on raw damage output. Ensure your Hengdao is leveled up at the blacksmith using the resources gathered throughout the Liangzhou region. A high-tier weapon increases your stagger potential, which is the cornerstone of this build.
Final Decision: Why This Build Matters
The Hengdao Zhanma build is currently one of the most effective ways to tackle Where Winds Meet because it turns the game's greatest challenge—the complexity of boss attacks—into your greatest strength. By mastering the parry window, you essentially force the AI to play into your hands.
If you are struggling with a specific boss in the Liangzhou Palace chapter, stop trying to trade hits. Instead, equip your highest-damage Xinfa, practice the parry timing on the local guards, and focus entirely on the "Deflect-Charge-Strike" rhythm. Once the timing becomes muscle memory, you will find that even the most intimidating enemies become manageable, allowing you to breeze through content that previously required constant healing and tactical retreats.

Free Where Winds Meet Codes
Current active codes and how to redeem them.

Emily Johnson
Emily writes practical mobile strategy guides with a focus on resource planning, base progression, and the early decisions that shape a long-term account.
COMMUNITY
Player Comments
128 players commented on this guide.
The tips are practical and easy to follow.
I tried this today and it worked better than my old setup.
This guide answered the exact question I had.
The explanation is clear, especially for beginners.