
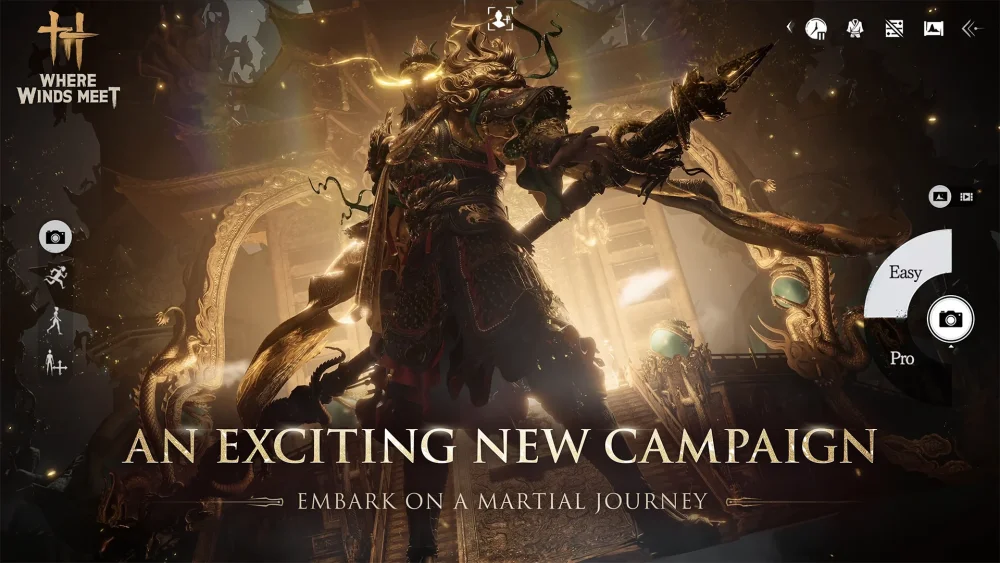
The Tang Heng Dao is arguably the most versatile weapon archetype in Where Winds Meet, rewarding players who prioritize fluid movement, rhythmic input timing, and tactical adaptability over brute force. Because the weapon relies on a modular stance-switching system, it serves as a high-skill-ceiling tool capable of dismantling both elite PvE bosses and agile PvP opponents.
To master the Tang Heng Dao, you must move beyond basic combos and treat every engagement as a dynamic rhythm game. This guide covers the advanced mechanics, stance management, and resource optimization required to turn this iconic blade into an extension of your own tactical awareness.
Understanding the Tang Heng Dao Stance System
The Tang Heng Dao does not function like standard hack-and-slash weapons. Its power is gated behind a fluid stance-switching mechanic. You should view your stances not as permanent modes, but as tactical tools that must be swapped to counter specific enemy AI behaviors or player patterns.
- Neutral Stance: Your default state. Use this to maintain mobility and scout enemy telegraphs. Never commit to an attack from this stance unless you have identified a clear opening in the opponent’s guard.
- Aggressive Stance: Triggered by specific combos, this stance provides increased damage modifiers at the cost of defensive agility. Only enter this stance when the enemy is staggered or mid-recovery.
- Defensive Stance (Parry Focus): Essential for surviving high-damage boss attacks. By shifting into this stance during an enemy's wind-up, you gain a frame-perfect window to initiate a counter-strike, which often leads to a free damage window.
Expert Insight: The secret to high-level play is "stance-weaving." By swapping stances during the hit-stop frames of your light attacks, you can bypass recovery animations, effectively keeping the enemy in a constant state of hit-stun while maintaining your own defensive options.
Maximizing DPS Through Animation Canceling
Animation canceling is the defining trait of top-tier Where Winds Meet players. Because the Tang Heng Dao features long recovery animations on its heavy strikes, you are vulnerable if you let an animation play to completion.
The Three Pillars of Canceling
- Dash-Canceling: If you initiate a heavy attack and realize you have over-committed, tap your dash key immediately upon impact. This cancels the recovery frames, allowing you to reposition before the enemy can counter.
- Block-Canceling: This is your most important defensive tool. By inputting a block command the moment your blade makes contact with an enemy, you can instantly snap your character into a defensive posture, effectively "resetting" your frame data.
- Stance-Swap Canceling: By initiating a stance change during the final frames of an attack animation, you can immediately start a new string without the typical "cooldown" delay, keeping your DPS uptime at maximum.
Tactical Positioning and Footwork
The Tang Heng Dao shines at mid-range. While it is a melee weapon, its wide horizontal hitboxes allow you to strike enemies without being perfectly aligned with their hurtboxes.
- Flanking is Mandatory: Never stand directly in front of a boss. Use your dash-strike to close the gap at a 45-degree angle. This forces the AI to turn, which frequently cancels their own attack wind-ups.
- The "Orbit" Technique: When fighting multiple mobs or a fast-paced boss, hold your movement inputs to circle the target while maintaining your combo. By keeping the enemy on the edge of your reach, you capitalize on the weapon's superior range compared to daggers or short-swords.
Resource Management: Stamina and Stance Bonuses
Your stamina bar is your most valuable resource. New players often exhaust their bar by over-using dodge rolls, leaving them defenseless against heavy incoming damage.
The Parry Economy: Successful parries with the Tang Heng Dao are not just for defense—they are for stamina recovery. A perfect parry often grants a "Stance Bonus," a temporary buff that reduces the stamina cost of your next heavy ability or stance transition. Prioritize parrying over dodging whenever possible. If you find yourself constantly running out of stamina, you are likely playing too reactively. Shift your mindset to be more proactive with your parries to keep your stamina bar in the healthy 30–50% range.
Advanced Combo Sequences: The "Flow-Chain"
To push your performance to the next level, you must master the "Flow-Chain." This sequence maximizes damage by chaining your highest-hitting abilities during the windows where the enemy is unable to retaliate.
| Combo Stage | Input Type | Goal |
|---|---|---|
| Opener | Light Attack (x2) | Build momentum and gauge enemy poise. |
| Mid-Combo | Stance-Swap | Interrupt recovery frames and reset attack speed. |
| Finisher | Heavy Strike | Deliver burst damage while the enemy is staggered. |
| Exit | Dash-Cancel | Immediately reposition to safety or transition to neutral. |
Common Mistakes to Avoid
- Over-committing to the Full Combo: Many players attempt to land every hit of a four-part combo. In Where Winds Meet, most bosses will punish you on the third hit. Learn to stop your combo early if you don't see a clear opening.
- Neglecting the Training Dummy: The Tang Heng Dao requires muscle memory. Spend time in the training area practicing the transition between the Aggressive and Neutral stances until it feels like a single, fluid motion.
- Ignoring Sound Cues: The game provides distinct audio cues for enemy attacks. Learn the "clash" sounds of your own blade and the "grunt" or "sheen" sounds of enemy attacks. If you rely solely on visuals, you will be caught off-guard by attacks that occur off-screen.
By mastering the rhythm of the Tang Heng Dao, you transform from a standard combatant into a precise, efficient force on the battlefield. Focus on your stance transitions first, then layer in animation canceling, and finally, refine your stamina management. With consistency, this weapon becomes the most reliable tool in your arsenal.

Free Where Winds Meet Codes
Current active codes and how to redeem them.

James Brown
James focuses on Android gaming on PC, emulator setup, controls, performance tuning, and practical troubleshooting for longer play sessions.
COMMUNITY
Player Comments
137 players commented on this guide.
I tried this today and it worked better than my old setup.
I wish I had read this before upgrading the wrong thing.
This guide answered the exact question I had.
This helped me understand resources much better.