
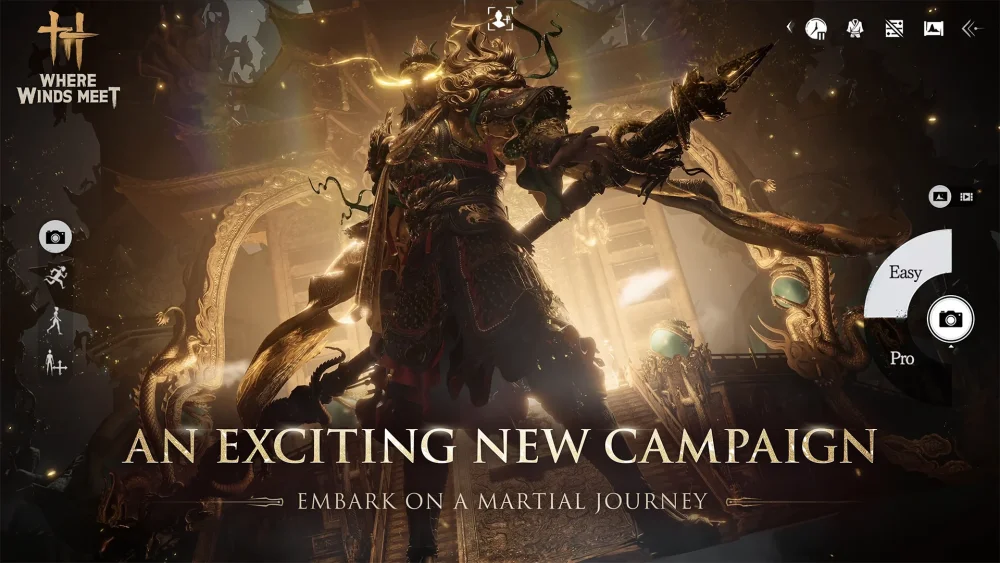
To achieve a no-damage victory against the Tyrant boss in Where Winds Meet, you must transition from a reactive player to a rhythmic strategist. The encounter is a dance of spacing; success relies on using the Serpent Spear to maintain a safe perimeter and the Nine-Change Sword to punish the boss during his recovery frames. By prioritizing movement fluidity over aggressive button-mashing, you can manipulate the Tyrant’s AI to trigger predictable attack patterns, allowing you to dismantle him without taking a single hit.
Understanding the Tyrant’s Combat Rhythm
The Tyrant is designed to punish players who stand their ground. He features high-pressure gap-closers that make traditional dodging ineffective if you are caught mid-animation. To succeed, you must adopt a "hit-and-reset" mentality.
The Tyrant’s combat loop is divided into three distinct phases: The Approach, The Execution, and The Recovery.
- The Approach: The Tyrant will use sweeping lunges to close the distance. Do not dodge early; wait for the metallic "clink" of his weapon before dashing laterally.
- The Execution: He follows up with a series of wide, horizontal strikes. Never try to parry these. Move backward out of his range to bait a heavy swing.
- The Recovery: Once he completes his heavy swing, there is a distinct 1.5-second frame window where he is vulnerable. This is your only time to engage.
Leveraging the Serpent Spear for Range
The Serpent Spear is your most important tool for the Where Winds Meet "No Damage" challenge. Its primary function is not raw DPS, but defensive spacing. By keeping the boss at the tip of your spear’s reach, you effectively nullify his close-range grab attacks and high-damage AoE slams.
Spear Engagement Tactics:
- Maintain the Perimeter: Stay at least one spear-length away at all times. If the boss moves toward you, pivot backward before initiating your next strike.
- Stamina Management: Never let your stamina drop below 30%. If you exhaust your bar, you lose the ability to dash, which is a death sentence in a no-damage run.
- Poke and Retreat: Use light attacks only. A single poke is often enough to bait the Tyrant into his next animation, allowing you to reposition immediately.
Optimizing the Nine-Change Sword Switch
While the spear keeps you safe, the Nine-Change Sword is necessary to end the fight before the boss’s environmental hazards become unavoidable. The key to the sword is commitment control.
Never stay in the Nine-Change Sword stance for more than two attack cycles. The sword’s high attack speed creates a "stagger lock" effect on the Tyrant, but it also locks you into longer animations. The moment you see the Tyrant’s red telegraph aura, you must immediately swap back to the Serpent Spear to utilize its superior dash mobility. If you are caught in a sword combo during a red-telegraph move, you will almost certainly take damage.
Managing Phase Transitions and Environmental Hazards
As you deplete the Tyrant’s health bars, the Imperial Palace arena introduces environmental hazards. In the latter half of the fight, the boss will transition to ground-slam attacks that cover large sections of the arena.
- Audio Cues: The Tyrant has unique vocalizations for his unblockable moves. Listen for these cues; they trigger slightly before the visual telegraph, giving you a crucial fraction of a second to react.
- Arena Positioning: Avoid the center of the room during transition phases. The Tyrant’s AoE attacks are centered on his location, so dragging him toward the outer walls provides more "safe" space to dash into.
- Camera Discipline: In Where Winds Meet, losing sight of the boss is the leading cause of failed challenges. Keep the camera locked. If you lose focus, stop attacking and prioritize defensive movement until the boss resets his position.
Common Mistakes and How to Avoid Them
Even experienced players often fail this challenge due to common tactical errors. Here is how to avoid them:
- Over-committing to Combos: Players often see the boss stagger and try to greed for extra damage. In a no-damage run, extra damage is never worth the risk of being caught in an animation lock. Stick to the "two-hit rule" with the sword.
- Panic Dodging: Dodging early is the #1 mistake. The Tyrant is designed to "track" your movement. Wait for his animation to finish its wind-up before pressing the dodge button.
- Ignoring Weapon Utility: Using only one weapon will make the fight significantly harder. The spear is for survival; the sword is for execution. If you try to survive with the sword, you will get hit. If you try to execute with the spear, the fight will take too long and you will eventually make a mistake.
Strategic Checklist for Success
To master this encounter, prepare your character with the following habits:
- Daily Activity Habits: Ensure your character’s agility stats are prioritized through your resource planning. High agility reduces the recovery frames after your own attacks, giving you a wider margin for error.
- Resource Planning: Save your high-tier sharpening stones for your Nine-Change Sword. Higher base damage allows you to finish the fight faster, which reduces the total number of attack cycles you need to survive.
- Practice the "Bait": Spend your first few attempts simply walking into his range and dodging out without attacking. Learn the exact distance at which he initiates his lunges. Once you can consistently trigger the lunge and move away without getting hit, you have the fundamental skill required to clear the fight.
By treating the Tyrant as a puzzle of spacing and timing rather than a traditional boss fight, you turn the Imperial Palace arena into your playground. Stay mobile, trust your reach, and never get greedy with your sword swings.

Free Where Winds Meet Codes
Current active codes and how to redeem them.

Emily Johnson
Emily writes practical mobile strategy guides with a focus on resource planning, base progression, and the early decisions that shape a long-term account.
COMMUNITY
Player Comments
121 players commented on this guide.
I wish I had read this before upgrading the wrong thing.
Can you add more details about strategy in a future update?
Nice guide. I am checking the other Where Winds Meet articles next.
I tried this today and it worked better than my old setup.