
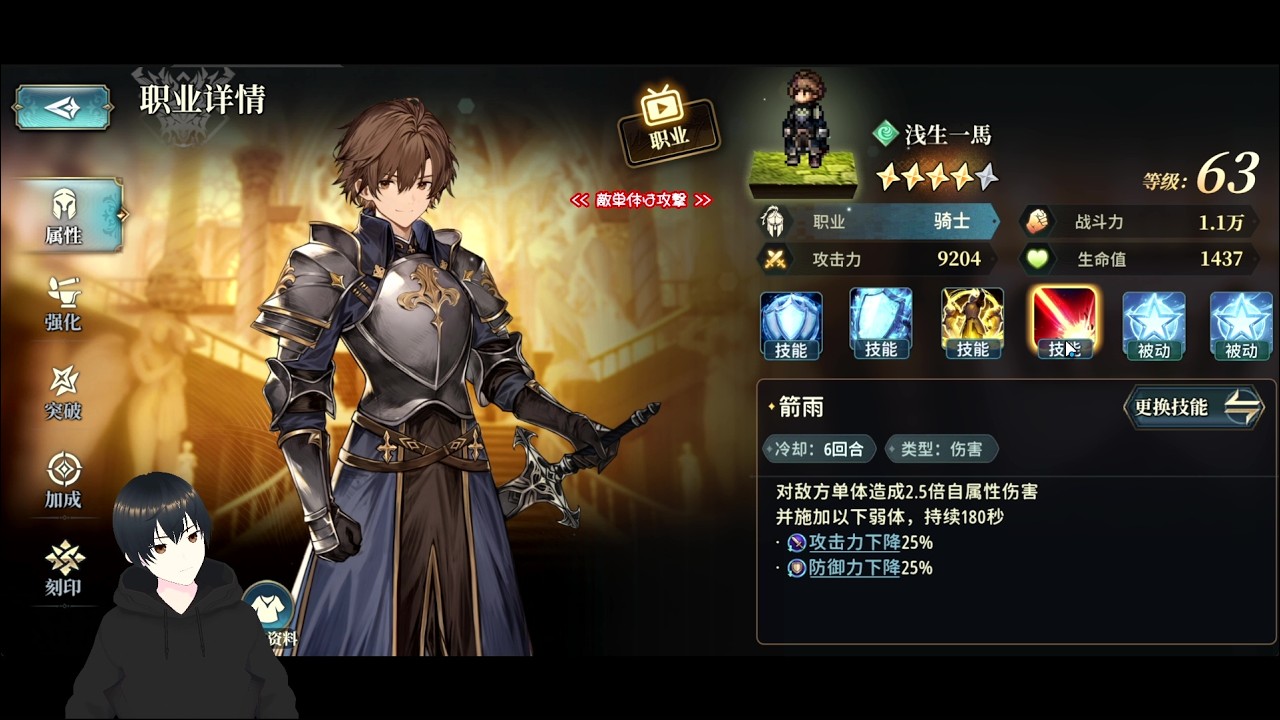
Achieving peak performance in Whisperborne requires more than just high-level gear; it demands a disciplined, rhythmic approach to combat. Efficiency in this game is dictated by your ability to minimize "dead time"—moments where you are neither dealing damage nor positioning effectively. By mastering the interplay between skill cooldowns, resource management, and enemy telegraphs, you can transform from a reactive player into a dominant force on the battlefield. This guide provides the expert strategies needed to optimize your rotation and sustain high damage output in the most challenging encounters.
The Foundation: Mastering Active Skill Rotations
Consistency in Whisperborne is built upon the fluid execution of your ability kit. "Button mashing" is the most common mistake made by new players, as it often leads to input queueing errors, where the game attempts to fire a skill while the character is still locked in the animation of a previous action.
To master your rotation:
- Prioritize Burst Windows: Always lead with your highest-damage or debuff-applying abilities. These should be cycled as soon as they come off cooldown.
- Observe Visual Cues: Do not rely solely on your peripheral vision. Watch the skill bar icons; when a skill icon glows or the cooldown timer pulses, it is your cue to commit the next input.
- Eliminate Idle Frames: Idle frames are the seconds your character spends doing nothing after a skill finishes but before you input the next command. Practice "animation cancelling" by moving or using a defensive dodge the instant a skill’s damage registers, effectively ending the recovery animation early.
Strategic Resource Management
Every powerful ability in Whisperborne demands a sacrifice of energy or stamina. Depleting these resources prematurely forces your character into a "recharge state," leaving you unable to dodge incoming heavy attacks or capitalize on boss staggers.
The Regen-Cycle Technique
Top-tier players utilize a "regen-cycle" to ensure they are never caught empty-handed. When your energy gauge drops below 30%, shift your focus entirely to basic attacks and low-cost utility maneuvers. Basic attacks in Whisperborne are often designed to regenerate energy faster than waiting for passive recovery. By weaving these into your rotation, you create a sustainable loop that allows you to dump your full burst potential the moment an enemy becomes vulnerable.
Tactical Positioning and AoE Optimization
In Whisperborne, positioning is your greatest defensive and offensive asset. Many players treat combat as a stationary affair, but movement is the key to maximizing Area of Effect (AoE) potential.
- Clustering Enemies: Do not attack the first enemy you see. Use your initial movement phase to kite enemies into a tight cluster, ensuring your AoE abilities hit the maximum number of targets simultaneously.
- Lateral Strafing: Against elite bosses, avoid retreating backward. Instead, use lateral strafing to rotate around the enemy’s perimeter. This keeps you within striking distance while forcing the boss to turn, often delaying their own heavy-attack wind-ups.
- Dash as Utility, Not Panic: Reserve your dash ability for repositioning into an optimal attack angle rather than using it as a reflexive panic button. If you save your dash, you can use it to close the gap after a boss knocks you back, maintaining your pressure without missing a beat.
Identifying and Exploiting Skill Windows
Combat in Whisperborne follows a rhythmic cadence of "Action" and "Recovery." Recognizing the recovery phase—where a boss stands still after a massive, telegraphed attack—is the single most important skill for high-level play.
During these windows, you must execute your full "burst rotation." If you have companion characters, synchronize your major cooldowns with these moments. Waiting an extra two seconds for a companion’s ultimate to be ready so it can overlap with your own burst is significantly more effective than firing them independently. By stacking damage multipliers during enemy staggers, you can often bypass entire phases of a boss fight.
The Risks of Aggressive Play: Balancing Trade-offs
Aggression is rewarded, but it is a double-edged sword. Committing to a full, long-animation skill chain when you lack a defensive escape is a primary cause of death in high-difficulty content.
When to Hold Back
- The Wind-up Risk: Some abilities feature lengthy animations that lock your character in place. Do not commit to these if you notice the boss’s "telegraph" (the visual warning before a heavy strike) appearing.
- Mobility Assessment: If the boss is highly mobile, avoid long-animation skills. Switch to your "fast-cast" utility skills to ensure that you can stay agile and responsive.
- The Golden Rule: Always keep at least one defensive cooldown or dash charge available. If you have used everything in your kit, you are effectively a glass cannon with no way to reload.
Expert Summary Checklist for Combat Optimization
To improve your efficiency in Whisperborne today, review this checklist before your next encounter:
- Map your keys: Ensure your highest-damage skills are on the most accessible keys to reduce reaction time.
- Audit your rotation: Are you using your ultimate ability at the start of the fight, or are you holding it for the enemy’s stagger window?
- Check your energy: If you are running dry, look at your gear or talent tree to see if you can increase energy regeneration through basic attacks.
- Watch the boss, not your skill bar: Once you memorize your rotation, your eyes should be on the enemy’s movement, not your own cooldowns.
Mastery in Whisperborne is not about how fast you press buttons, but how effectively you synchronize your actions with the game’s mechanics. By applying these principles, you will find that even the most difficult encounters become predictable and manageable, allowing you to dominate the field with precision and style.

Free Whisperborne Codes
Current active codes and how to redeem them.

Michael Smith
Michael covers live-service games, events, reward systems, and efficient daily routines, turning frequent updates into clear actions for players.
COMMUNITY
Player Comments
108 players commented on this guide.
I wish I had read this before upgrading the wrong thing.
Good guide for Whisperborne players. The resources part was useful.
I tried this today and it worked better than my old setup.
The explanation is clear, especially for beginners.