
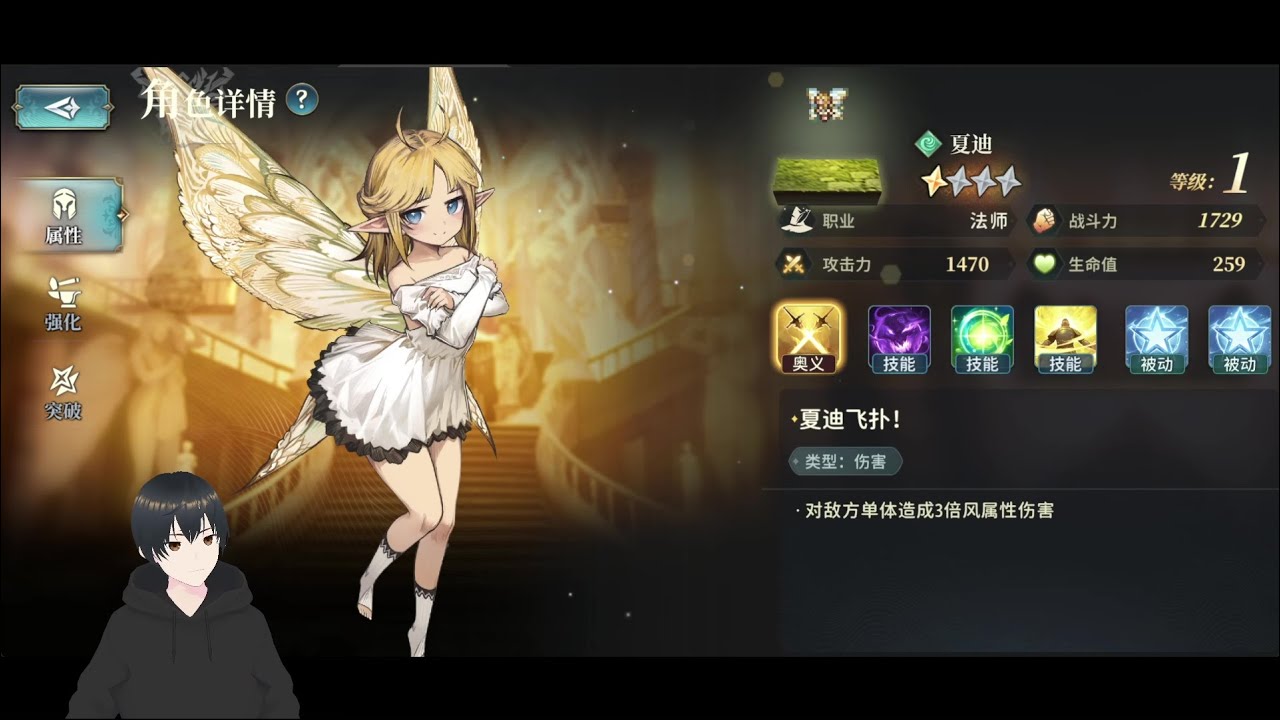
To master combat in Whisperborne, you must move beyond simple button-mashing and instead treat every encounter as a rhythmic dance of cooldown management and spatial awareness. The core of Whisperborne combat lies in understanding "animation lock"—the window of time where your character is committed to an action—and synchronizing those moments with the enemy’s telegraphed attack patterns. Success is not merely about having the strongest gear; it is about maintaining a fluid state where your team’s offensive output remains constant while minimizing exposure to incoming damage.
Prioritizing Skill Activation Sequences
In Whisperborne, the order of your skill deployment—your "rotation"—is the difference between a clean victory and a resource-draining slog. Many players err by firing off their highest damage abilities at the start of a fight, only to find themselves defenseless or waiting on cooldowns when a boss begins its phase-two transformation.
To optimize your rotations, adopt a "Setup-Burst-Reset" mentality:
- The Setup Phase: Always initiate with crowd control (CC) or debuffs. Applying a slow or armor-reduction effect first ensures that your subsequent heavy-hitting skills land for maximum value.
- Animation Synchronization: Every character has a unique "wind-up" for their skills. Skills with long animations should be reserved for moments when enemies are staggered or "broken." Using a high-commitment skill while an enemy is actively attacking often leads to your character taking unnecessary damage.
- The Rotation Anchor: Identify one "bread-and-butter" skill for each character that has a short cooldown. Use this to maintain damage uptime while waiting for your high-impact ultimate abilities to cycle back.
Managing Tactical Positioning During Encounters
Positioning in Whisperborne is your most effective defensive layer. Because many enemy attacks are directional or AoE (Area of Effect) based, standing still is a death sentence. You must treat the battlefield as a grid where you are constantly looking for the "dead zones" in an enemy’s attack pattern.
- Flanking for Efficiency: Move your squad to the side or rear of high-threat targets. Not only does this bypass frontal shielding, but it often forces the enemy AI to perform a turn animation, granting you a few critical frames of free damage.
- Terrain Manipulation: Use the game’s environment to your advantage. Melee-heavy mobs can be bottlenecked in narrow corridors, allowing your ranged units to clear them without being swarmed. If you find yourself overwhelmed, kite the enemies around a pillar or obstacle to break their line of sight and force them to regroup, giving your healers time to top off your squad.
- Dynamic Zoning: Never clump your units together unless a specific defensive buff requires it. Spreading your party forces the enemy to choose a single target, allowing you to cycle aggro between your high-defense characters while your squishier damage dealers remain safe.
Exploiting Enemy Vulnerability Windows
Whisperborne features a sophisticated "Break" system. Every major boss and elite enemy has a hidden stability meter that, when depleted, leaves them stunned and vulnerable to increased damage. Recognizing the visual cues for these windows is essential for high-level play.
Watch for these specific indicators:
- Stance Shifts: When an enemy stops its normal attack rotation and begins a long, telegraphed charge-up, they are usually in their most vulnerable state. This is your cue to dump your high-damage skills.
- Audio Cues: Listen for specific sound effects that accompany an enemy’s "super" move. Often, these audio cues precede the visual telegraph by a fraction of a second, giving you a head start to initiate a counter-move or dodge.
- Disruption Timing: If you have characters with knockback or interrupt skills, save these specifically for when the boss is mid-animation for a heavy attack. Interrupting a boss not only prevents damage but often triggers a "Counter" state that yields bonus resources or extra damage windows.
Balancing Aggression and Defensive Sustain
The tension between aggression and survival is the heartbeat of Whisperborne. A common mistake is "greeding"—attempting to finish an enemy off while your own HP is critical.
To maintain the correct balance:
- The 70/30 Rule: Spend 70% of your focus on offensive pressure and 30% on monitoring your own party’s health and cooldown status. If your healer’s primary defensive cooldown is unavailable, shift to a defensive stance (kite and dodge) until those skills return.
- Peeling: If an enemy manages to reach your backline, do not panic. Use your displacement skills to "peel" them away. It is better to lose a few seconds of DPS to reposition than to lose a DPS character entirely, which will drastically lower your damage output for the remainder of the encounter.
Analyzing Combat Metrics for Improvement
After every challenging encounter, perform a post-mortem review. Whisperborne provides enough visual feedback that you can usually pinpoint why a fight went wrong.
- The "Sluggish" Test: If a fight felt like it dragged on too long, your issue is likely rotation-based. You are probably using low-damage utility skills when you should be bursting.
- The "Fragile" Test: If your team constantly falls below 50% HP, you are likely failing to dodge telegraphed attacks. Focus less on your own skill rotation and more on the enemy's movement patterns for the next attempt.
Mastering Whisperborne is an iterative process. By isolating these variables—positioning, rotation, and vulnerability management—you can transform your combat performance from reactive to proactive, ensuring you dominate every encounter the game throws your way.

Free Whisperborne Codes
Current active codes and how to redeem them.

Emily Johnson
Emily writes practical mobile strategy guides with a focus on resource planning, base progression, and the early decisions that shape a long-term account.
COMMUNITY
Player Comments
120 players commented on this guide.
I tried this today and it worked better than my old setup.
This helped me understand heroes much better.
The tips are practical and easy to follow.
Can you add more details about heroes in a future update?