
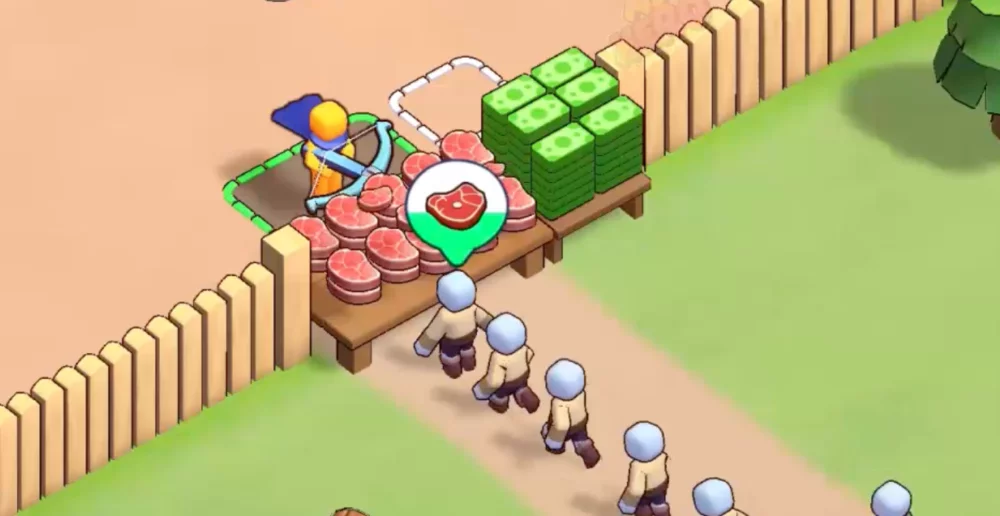
Defeating the Warchief: Tyrant of the Redrock requires a disciplined approach to positioning and damage windows. As a high-threat boss encounter in XP Hero, this enemy punishes players who stay static or ignore his attack telegraphs. By focusing on kiting maneuvers and waiting for the boss to finish his heavy swing animations, you can consistently chip away at his health bar without taking unnecessary damage, ultimately securing your victory in this challenging stage.
Boss Combat Mechanics
The Warchief: Tyrant of the Redrock relies on high-impact, short-range attacks that can quickly drain your health if you are caught in the middle of a combo. The key to survival is recognizing the wind-up animation before he commits to his primary strike.
- Telegraphed Strikes: Watch for the boss to raise his weapon; this is your cue to dash or move outside of his melee range.
- Aggro Management: Keep the boss centered to prevent him from cornering you against map boundaries, which restricts your movement options.
- Stagger Potential: Landing consistent critical hits during the boss's recovery frames can interrupt his follow-up attacks, providing a brief window for you to unleash your strongest skills.
Movement and Kiting Strategy
Effective kiting is the most reliable way to minimize damage taken during the encounter. Instead of standing your ground, use a "hit-and-run" strategy to maintain distance.
| Movement Action | Purpose | Timing |
|---|---|---|
| Backstepping | Avoiding melee swings | Immediately after he initiates a wind-up |
| Circular Strafe | Avoiding frontal cone attacks | Throughout the entire engagement |
| Dash/Roll | Exiting tight corners | When the boss closes the gap too quickly |
Optimizing DPS Windows
Maximize your damage output by timing your ability cooldowns to match the boss's vulnerability phases. Avoid using long-animation skills when the Warchief is in his active attack cycle, as you risk being interrupted or taking counter-damage.
When to Attack
- Post-Swing Recovery: Wait for the boss to finish a heavy slam attack; he remains stationary for a few seconds, making him vulnerable to your full ability rotation.
- Stun Windows: If you have gear or skills that apply crowd control, save them for when the boss is mid-animation to maximize the duration of your damage window.
When to Retreat
- Enraged State: If the boss begins to glow or moves significantly faster, prioritize survival over damage until the buff wears off.
- Low Health Threshold: As the boss nears defeat, he may increase the frequency of his attacks; maintain your distance to ensure you don't lose the encounter at the last moment.

Free XP Hero Codes
Current active codes and how to redeem them.

Sarah Williams
Sarah specializes in RPG and collection games, explaining team building, character growth, and beginner-friendly ways to avoid expensive early mistakes.
COMMUNITY
Player Comments
64 players commented on this guide.
Can you add more details about heroes in a future update?
Nice guide. I am checking the other XP Hero articles next.
This guide answered the exact question I had.
The explanation is clear, especially for beginners.