
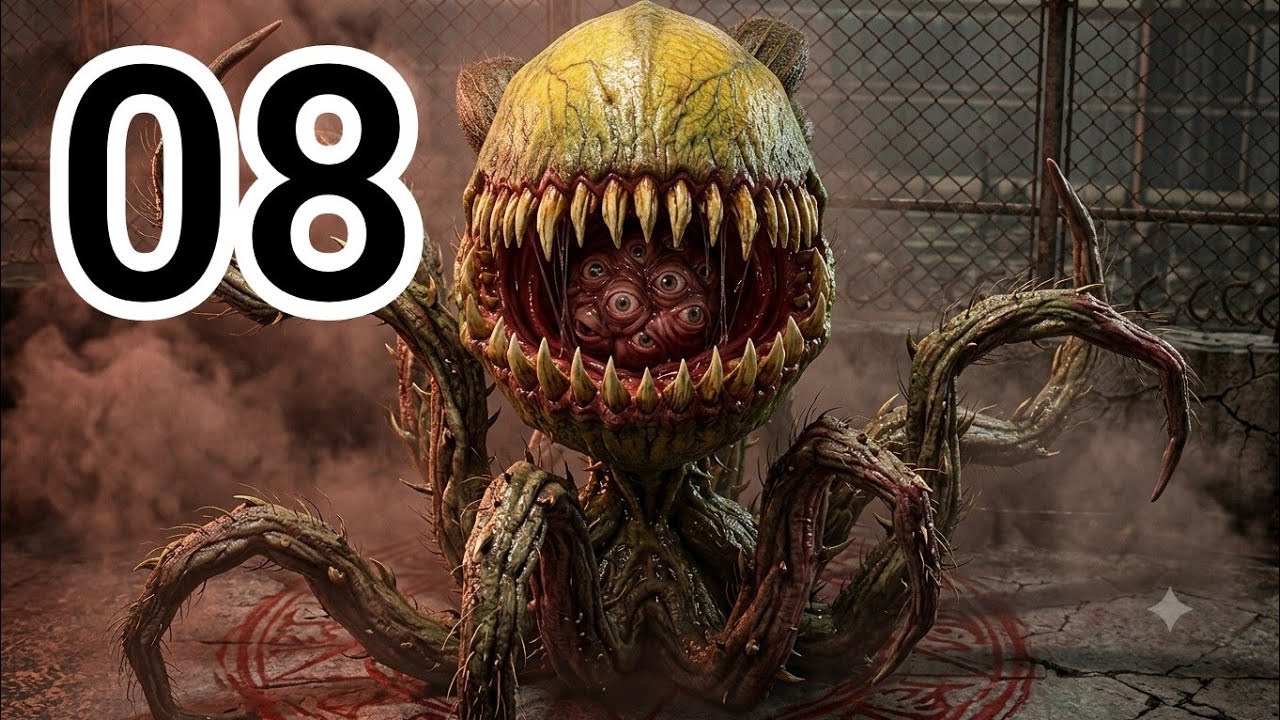
Clearing City Bridge II in Z Survivor represents a significant difficulty spike for many players due to the stage’s unforgiving, constrained geography. Unlike open-world maps where you can kite enemies in wide circles, City Bridge II forces you into a high-density, linear gauntlet. Success here is not merely about raw damage output; it is a test of spatial management, cooldown discipline, and understanding how the game’s enemy AI responds to player positioning.
To conquer this mission, you must transition from an aggressive playstyle to a "funnel and clear" strategy. By leveraging the narrow bridge railings as a tool rather than a hindrance, you can dictate the pace of combat and ensure you are never overwhelmed by the relentless zombie waves.
Mastering Movement on Narrow Terrain
The layout of City Bridge II is your greatest enemy. Because the bridge is narrow, the pathfinding AI of the zombies is highly predictable, which you must use to your advantage.
- Avoid the Edges: The most common mistake players make is hugging the bridge railings. While this feels like you are staying "safe," it actually allows the zombies to corner you. Once you are pinned against a railing, your dodge options are reduced to zero, leading to rapid health depletion.
- The Center-Line Strategy: Always maintain your hero in the center of the bridge. This provides you with a 360-degree range of motion. If a swarm starts to form in front of you, you have the lateral space to sidestep and reposition without hitting a wall.
- Controlled Zig-Zagging: Do not run in a straight line toward the objective. Move in a slight zig-zag pattern. This forces the zombies to adjust their pathing constantly, causing them to clump together. When enemies are clumped, your area-of-effect (AoE) weapons and skills become significantly more efficient.
Prioritizing Skill Usage for Crowd Control
In Z Survivor, resource management is the difference between a successful run and a respawn. City Bridge II is a war of attrition; you must ensure your skills are available for high-density moments.
- The "Clump-and-Burst" Rule: Never expend your ultimate ability or high-cooldown skills on isolated stragglers. Wait until the zombies have funneled into a dense mass. Using an AoE knockback or explosive skill on a group of ten zombies is exponentially more valuable than using it on two or three.
- Cooldown Cycling: If you find yourself frequently caught without skills, you need to re-evaluate your gear. Prioritize "Cooldown Reduction" stats on your accessories. Even a 5-10% reduction can be the difference between having your defensive skill ready to break a grapple or being overrun.
- Basic Attack Weaving: Treat your basic attacks as a form of "staggering." By firing consistently, you can keep the front-most enemies in a constant state of hit-stun, preventing them from lunging at you while your primary skills recharge.
Managing Enemy Aggro and Wave Timing
City Bridge II features scripted spawns that often sandwich the player. Understanding how to handle these "pincer" movements is vital for advanced survival.
- Don't Rush the Spawns: When the screen indicates a new wave is spawning ahead, stop moving forward. Let the enemies come to you. If you charge into their spawn point, you trigger their aggro instantly, often resulting in being surrounded by enemies from both the front and the back.
- Clear the Rear: A common tactical error is ignoring the zombies that spawn behind you. If you move forward while leaving a trail of enemies, you will eventually be trapped between the new wave and the old. Periodically turn and fire backward to clear your "escape route." A clean path behind you provides a safety net if the forward wave becomes too thick to pierce.
Optimizing Hero Loadouts for Bridge Combat
Before entering the bridge, you must curate your loadout specifically for high-density, low-mobility combat. Standard damage-per-second (DPS) builds often fail here because they lack the utility needed to create space.
Essential Stats to Prioritize
- Movement Speed: This is non-negotiable. You need to be able to outrun the swarm to reposition effectively.
- Knockback/Stun Duration: Any gear that increases the knockback distance of your shots or the duration of enemy stuns is S-tier for this map. Pushing enemies away allows you to maintain the "center-line" positioning mentioned earlier.
- Physical Damage Reduction: Since you will inevitably take chip damage from brushes with the horde, defensive stats are more valuable here than they are on open maps where you can avoid all damage entirely.
Gear Comparison: Offense vs. Defense
If you are consistently dying, swap one "Critical Damage" accessory for a "Max HP" or "Damage Reduction" piece. Many players fall into the trap of trying to build for maximum kill speed, but in City Bridge II, your ability to survive for 30 extra seconds is worth more than a 10% increase in weapon damage. If you survive longer, you get more skill rotations, which leads to higher total damage over the duration of the stage.
Practical Mistakes to Avoid
- Panicking into Corners: When the swarm gets too close, the instinct is to dash away. Never dash blindly toward the edges of the bridge. Always dash toward the center or toward a cleared area behind you.
- Ignoring the Mechanical Arms: Ensure your mechanical arms are upgraded with AoE-focused modules. If your arms are single-target focused, you will struggle to clear the density required for this map.
- Over-relying on Ultimates: Save your ultimate for the "Boss" or "Elite" zombies that spawn toward the end of the bridge. Using it too early on standard trash mobs will leave you vulnerable for the actual threat.
By applying these strategies, you shift your gameplay from reactive to proactive. Z Survivor is a game of rhythm; once you master the cadence of the bridge spawns and learn to keep the center-line open, City Bridge II becomes a manageable, rewarding challenge rather than an insurmountable wall. Keep your movement fluid, your cooldowns managed, and your escape routes clear.
Free Z Survivor Codes
Current active codes and how to redeem them.

Michael Smith
Michael covers live-service games, events, reward systems, and efficient daily routines, turning frequent updates into clear actions for players.
COMMUNITY
Player Comments
103 players commented on this guide.
Can you add more details about heroes in a future update?
I wish I had read this before upgrading the wrong thing.
This helped me understand heroes much better.
The tips are practical and easy to follow.