
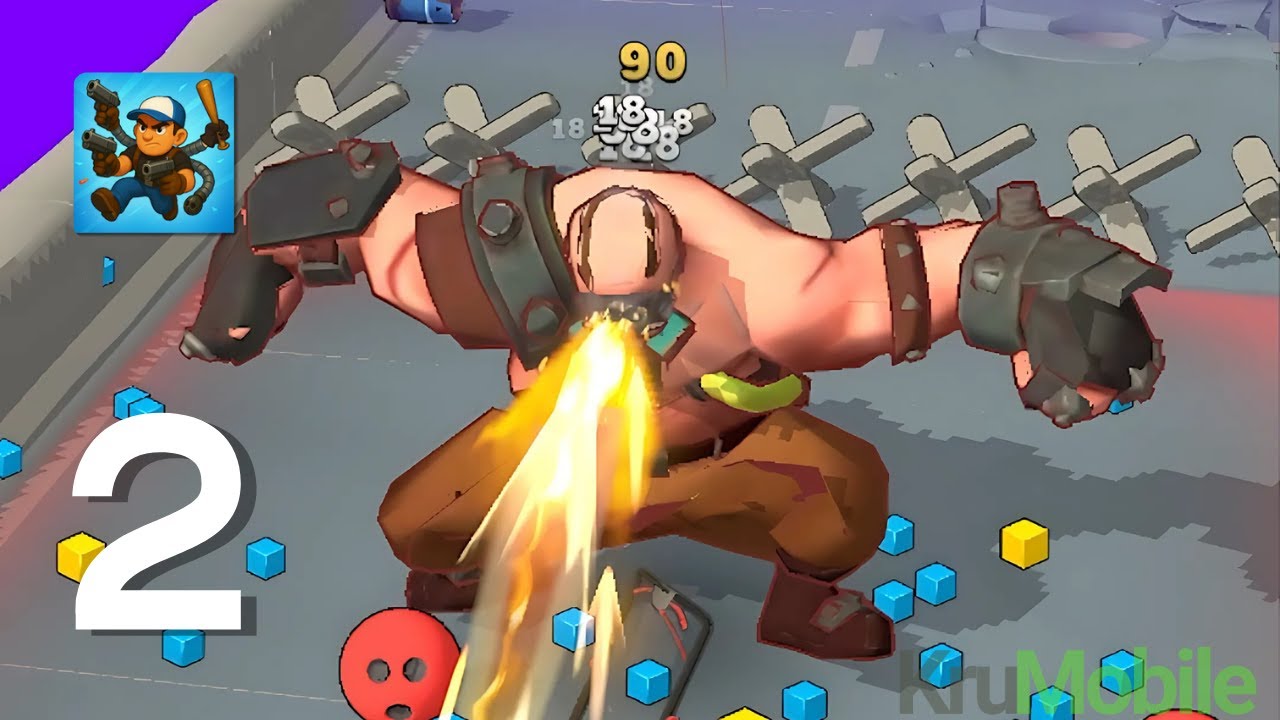
In Z Survivor, the City Bridge stage represents a significant difficulty spike that tests both your tactical movement and your ability to manage limited inventory space. Unlike open-field stages, the bridge acts as a lethal funnel, forcing you into close-quarters combat against high-density waves. Success on this map isn't just about having the strongest gun; it is about how efficiently you organize your backpack to maintain mobility while maximizing your damage-per-second (DPS) against encroaching hordes.
Mastering Backpack Grid Efficiency
In Z Survivor, your backpack is your most important piece of gear. Because the City Bridge requires constant repositioning, your grid layout must be intuitive to allow for quick item swaps and buff management.
- Prioritize Passive Buffs: Dedicate the corners of your grid to passive items that boost fire rate, reload speed, or movement speed. These should never be swapped out during a run.
- The "Core" Layout: Place your highest-damage, wide-coverage weapon in the central slots of your grid. This makes it easier to access when the screen becomes cluttered and you need to perform rapid adjustments.
- Eliminate Dead Space: If an item doesn't contribute directly to your survival or killing power, discard it immediately. Managing a lean inventory is better than carrying situational gear that you won't have time to use during the chaos of a bridge assault.
- Grouping Mechanics: Keep ammunition and health packs in a dedicated "emergency row" near the bottom of your screen. This reduces the time your eyes spend scanning your inventory, letting you focus on the enemies closing in.
Strategic Kiting and Horde Management
The City Bridge is defined by its narrow geometry. When you are flanked from both sides, standing still is a death sentence. You must master the art of "kiting"—the practice of pulling enemies into a tight cluster and moving in a circular or "figure-eight" path to keep them trailing behind you.
When the wave density hits its peak, move toward the center of the bridge. If you stay too close to the railings, you risk getting trapped by a stray zombie that spawns near the edge. By staying mobile, you force the horde to stay in a predictable line, allowing your piercing weapons to hit multiple targets with a single shot. If you find yourself cornered, don’t hesitate to use a movement-speed buff or an explosive item to "blitz" through the weakest point of the enemy line to regain your spacing.
Selecting the Right Gear for Piercing Damage
Not all weapons are created equal in Z Survivor. For the City Bridge, single-target precision rifles are often a liability. Instead, focus on gear that offers:
- Piercing Bullets: Essential for clearing the bridge's narrow path. A single shot that hits three enemies is three times as efficient as a shot that hits one.
- Knockback Effects: Items that push enemies back are invaluable. Even if they don't kill the target instantly, they create the precious inches of space needed to maneuver or reload.
- Area-of-Effect (AoE) Utilities: Fire-based items or grenades are perfect for the bridge. Because the bridge funnels enemies into a single file, an AoE blast can wipe out an entire flanking wave in one go.
Leveraging Environmental Hazards
The bridge itself is a tool. Because the enemies move in a straight line toward you, you can bait them into "choke points." If you notice a high-density wave approaching, back up slowly toward a narrower section of the bridge. This compresses the enemies even further, significantly increasing the value of every bullet you fire.
Pro-tip: Be careful not to bait yourself into a corner. Always monitor your "exit route." If the bridge has a segment with obstacles, use those to break up the enemy pathing, but ensure you have enough room to dodge around them if a boss-tier enemy spawns.
The Hybrid Build Strategy: Damage-as-Defense
One of the most common mistakes players make in the City Bridge stage is over-investing in pure defensive items like armor plates or health regen. While staying alive is important, the best defense in Z Survivor is clearing the screen before enemies can reach you.
Adopt a "damage-as-defense" philosophy. Focus your upgrades on:
- Weapon Impact: Higher impact forces enemies into a stagger animation, preventing them from attacking.
- Attack Speed: The faster you clear the front of the pack, the less likely you are to take chip damage from the back of the pack.
- Movement Speed: This is the most underrated stat. Being able to outrun the horde gives you the time to reload and reposition, which effectively acts as a "heal" by preventing incoming damage in the first place.
Common Mistakes to Avoid
- Over-reloading: Do not reload in the middle of a crowd unless you have a clear opening. Keep moving, and only reload when you have successfully kited the horde to the other side of the bridge.
- Ignoring Elite Spawns: When a larger, faster enemy appears, stop focusing on the "trash" zombies. Prioritize the elite immediately; if you leave it alive, its increased movement speed will break your kiting rhythm and pin you against the bridge railing.
- Panic-Swapping: Avoid swapping your primary weapon for a new, untested drop in the middle of a wave. The City Bridge is not the place to experiment with new gear; stick to your established loadout that you know handles crowd control effectively.
Conclusion: Achieving Consistency
Surviving the City Bridge in Z Survivor is a matter of discipline. By maintaining a clean backpack grid, prioritizing piercing and crowd-control weapons, and keeping your movement fluid, you can mitigate the difficulty of the tight environment. Remember that the bridge is a funnel—treat it as such, and you will turn the horde's density into your greatest tactical advantage. Focus on your pathing, keep your inventory lean, and stay mobile until the final wave is cleared.
Free Z Survivor Codes
Current active codes and how to redeem them.

James Brown
James focuses on Android gaming on PC, emulator setup, controls, performance tuning, and practical troubleshooting for longer play sessions.
COMMUNITY
Player Comments
145 players commented on this guide.
The tips are practical and easy to follow.
I tried this today and it worked better than my old setup.
This saved me time in the early game.
I wish I had read this before upgrading the wrong thing.