
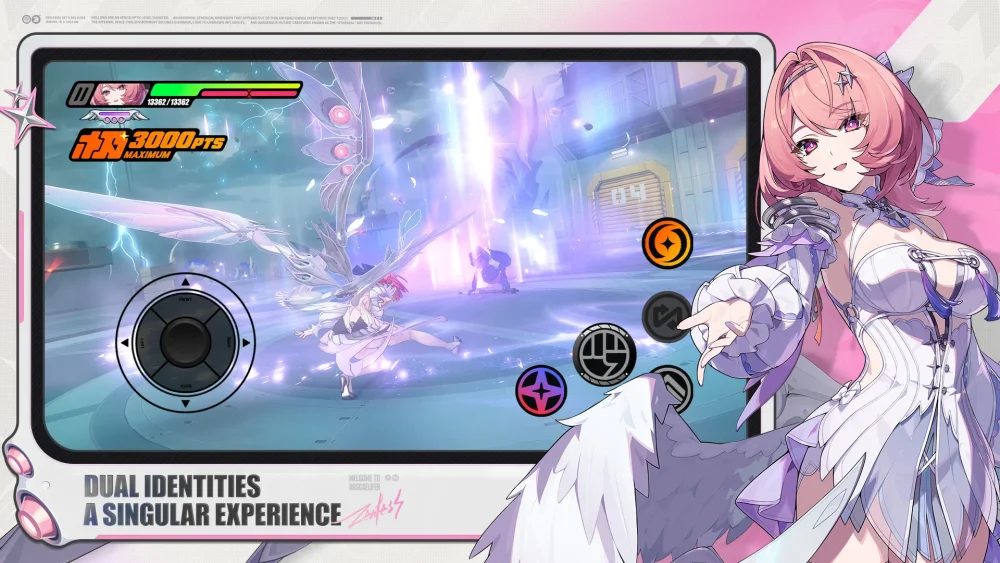
Creating high-quality 3D models of Zenless Zone Zero characters like Yao Jiayin requires a disciplined approach to geometry, topology, and character-specific silhouette replication. By leveraging 3ds Max, artists can translate the game's distinct aesthetic into digital assets through precise vertex manipulation and mesh refinement. This process involves breaking down complex character designs into manageable primitive shapes before moving into high-fidelity detailing, ensuring the final result maintains the stylized charm and structural integrity of the original Zenless Zone Zero art style.
Establishing the Modeling Workflow
Efficient character modeling relies on a structured pipeline that transitions from basic silhouettes to high-detail meshes. Start by importing reference sheets into 3ds Max to maintain consistent proportions throughout the creation process.
- Reference Setup: Align front and side views in your viewport to serve as a constant visual guide for character dimensions.
- Blocking Out: Use simple primitives to define the primary volumes of the character’s body and outfit.
- Topology Planning: Focus on maintaining clean edge loops around joints and facial features to ensure the model remains deformation-friendly for future rigging.
Essential 3ds Max Tools for Character Creation
Utilizing the right toolset within 3ds Max significantly speeds up the modeling process while improving mesh quality. Focus on these core features to streamline your character production:
| Feature | Primary Use Case |
|---|---|
| Editable Poly | The foundation for manual vertex, edge, and face manipulation. |
| Swift Loop | Quickly adding edge loops to define muscle groups or clothing folds. |
| Symmetry Modifier | Mirroring work across the X-axis to save time on symmetrical character parts. |
| Turbosmooth | Previewing sub-division surface results to ensure smooth surface transitions. |
Refining Character Aesthetics
Achieving the specific visual identity of Zenless Zone Zero characters requires attention to detail regarding non-organic elements and accessories. Once the base body is established, treat clothing and accessories as secondary sub-meshes.
Managing Complex Surfaces
For characters with intricate gear, isolate components into separate sub-objects. This modular approach allows for better control over surface materials and simplifies the process of applying different textures later. Use the Vertex Weld function to ensure that overlapping parts remain watertight, preventing visual artifacts during the rendering stage.
Maintaining Stylized Proportions
Zenless Zone Zero features a unique stylized look that balances realism with exaggerated anime-inspired aesthetics. Avoid over-sculpting fine details in the early stages; instead, prioritize the "readability" of the silhouette. If the model looks correct from a distance, the underlying geometry is likely sound. Consistent use of the Isolate Selection mode helps you focus on specific sections of the character without being distracted by the rest of the scene.

Free Zenless Zone Zero Codes
Current active codes and how to redeem them.

Michael Smith
Michael covers live-service games, events, reward systems, and efficient daily routines, turning frequent updates into clear actions for players.
COMMUNITY
Player Comments
105 players commented on this guide.
The explanation is clear, especially for beginners.
This guide answered the exact question I had.
I tried this today and it worked better than my old setup.
This saved me time in the early game.