
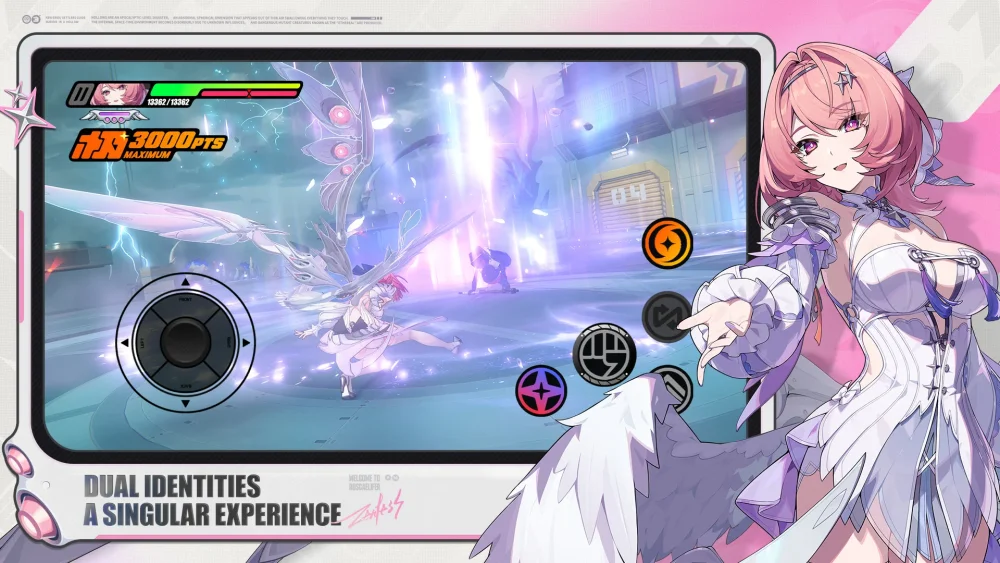
To beat Kusariku in the Zenless Zone Zero Dangerous Siege encounter previewed on September 11, field a team focused on Ether or Electric damage, quickly build the Daze meter with a Stunner, and save heavy burst attacks for stunned windows.
Recommended Team Roles and Elements
Kusariku features innate vulnerabilities to Ether and Electric elements, which accelerates Daze accumulation. Build your three-agent roster around a dedicated Stunner and primary Attacker while filling the third slot based on your operational needs.
| Role | Element Priority | Tactical Objective |
|---|---|---|
| Primary Stunner | Ether or Electric | Fills Daze gauge rapidly; triggers Chain Attacks to pin the boss. |
| Primary Attacker | Ether or Electric | Consumes Daze windows; delivers burst damage and Ultimates during stuns. |
| Support / Utility | Off-field / Buffer | Applies elemental debuffs, extends Stun durations, or adds shields. |
Team Composition Rules
- Elemental Focus: Stick primarily to Ether or Electric agents to bypass damage mitigation and max out Daze gain rates.
- Support Substitutions: If survival is an issue during high-damage attacks, replace a damage-focused support with an agent offering defensive shields or healing. This lowers total DPS potential but prevents team wipes.
Kusariku Boss Mechanics and Defense
Kusariku relies on wide sweeping attacks, fast positioning resets, and distinct phase transitions.
- Readiness Frames: The boss telegraphs heavy strikes with visible visual cues (flashing indicators). Use these cues to time Perfect Dodges or switch in support agents for a Defensive Assist.
- Phase Transitions: When entering its powered-up state, Kusariku gains enhanced defense and increased attack frequency. Shift from aggressive combos to spatial management and dodge timing until the assault calms down.
- Position Resets: Kusariku frequently breaks away from close combat. Rely on your Stunner's Chain Attacks to lock the boss in place before executing fixed-location rotations.
Rotation and Energy Strategy
Maximized scoring requires strict energy preservation and damage alignment during Daze windows.
- Build Energy During Neutral Phases: Swap frequently between off-field agents during sweeping boss attacks to maintain safe energy generation without overcommitting to long attack animations.
- Trigger the Stun State: Use your Stunner to fully deplete the Daze gauge and trigger a Chain Attack, immobilizing the boss.
- Unleash Burst Damage: Immediately swap to your primary Attacker to deploy back-to-back Ultimates and heavy skills while the stun multiplier is active.
- Retreat and Reset: Avoid spending Ultimates or long combos when the Daze gauge is empty or when Kusariku begins a phase shift. Disengage until the next telegraph.
Pre-Event Action Items
Prepare your account before entering high-difficulty tiers of the encounter:
- Optimize Gear: Equipping core Ether and Electric agents with Drive Discs tuned for Crit Rate or elemental damage yields the highest return on timed clears.
- Pre-Farm Materials: Spend current stamina on agent promotion and skill upgrade materials specifically for your designated Ether or Electric units.
- Practice Timing: Run practice encounters in Hollow Zero to memorize attack flash indicators and perfect the timing of your assists.

Free Zenless Zone Zero Codes
Current active codes and how to redeem them.

Emily Johnson
Emily writes practical mobile strategy guides with a focus on resource planning, base progression, and the early decisions that shape a long-term account.
COMMUNITY
Player Comments
31 players commented on this guide.
The explanation is clear, especially for beginners.
This saved me time in the early game.
This guide answered the exact question I had.
I wish I had read this before upgrading the wrong thing.