
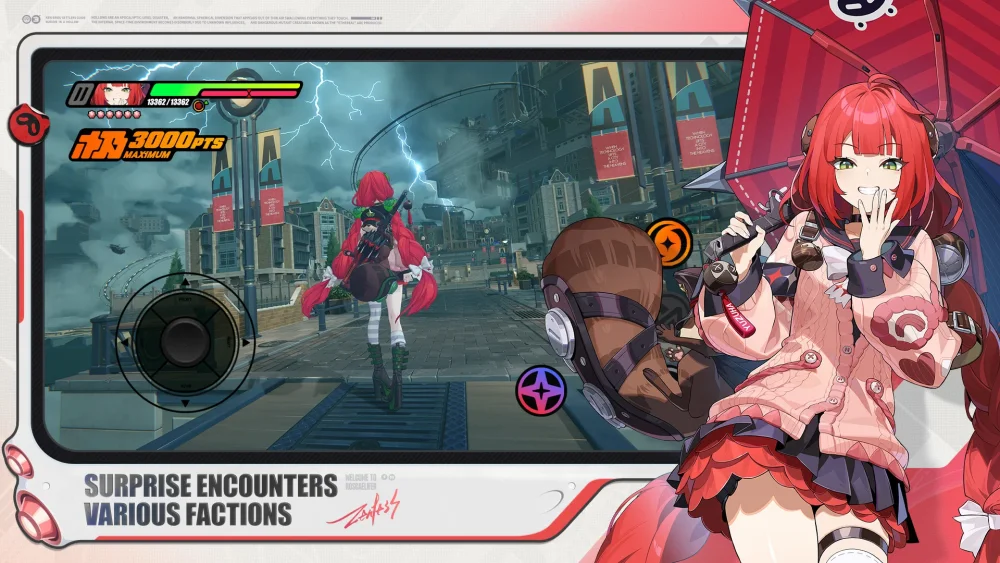
In Zenless Zone Zero, the difference between a struggling player and a master of New Eridu is the transition from "button-mashing" to intentional, tactical engagement. Relying solely on basic attack sequences (the "AAA" loop) will quickly hit a wall once you encounter elite enemies and boss encounters that punish reckless aggression. To truly master the combat system, you must learn to treat every encounter as a resource-management puzzle involving timing, team synergy, and proactive defense.
Understanding the Defensive Trinity: Dodge, Parry, and Assist
Survival in Zenless Zone Zero requires knowing which defensive tool to use based on the enemy's color-coded telegraphs.
1. The Perfect Dodge (Yellow Flash)
When an enemy attack flashes yellow, you have a window to perform a Perfect Dodge. This is your primary tool for repositioning. A perfect dodge triggers a slow-motion effect, giving you a safe opening to reposition or counter-attack. Always follow a perfect dodge with a "Dash Attack" or a quick swap to capitalize on the enemy’s momentary hesitation.
2. The Support Assist/Parry (Red Flash)
When an enemy attack flashes red, a simple dodge is often ineffective. This is the signal for a Support Assist. By switching to a different agent at the precise moment of impact, you perform a parry. This consumes your Assist Points but completely negates the incoming attack and staggers the enemy. Mastering the red-flash window is the single most important skill for surviving high-difficulty encounters like the Dangerous Siege missions.
3. Invincibility Frames (i-frames)
Many EX-Special attacks and Ultimate abilities provide invincibility frames. If you find yourself in a position where you cannot dodge or parry, using an EX-Special can allow you to pass through an enemy's hitbox unscathed while still dealing damage.
Team Fluidity: Why You Should Never Main One Character
The most common mistake for new players is staying on a single damage-dealer for the entire duration of a fight. Zenless Zone Zero is designed around team-based combat where your agents act as a single, rotating unit.
- Rotation Synergy: Your support characters exist to apply buffs, debuffs, or generate Daze. Staying on one character prevents you from triggering these passives.
- Assist Point Management: Rotate your characters to ensure you always have Assist Points available. If your main DPS character is low on health or energy, swap them out to a support unit to regain your footing.
- Animation Canceling: Swapping is the fastest way to cancel a long, vulnerable recovery animation. If a character finishes a heavy combo and is stuck in a "cool-down" stance, swapping immediately to the next character keeps the pressure on the enemy and maintains your DPS uptime.
Daze and Chain Attack Optimization
Chain Attacks are the primary source of burst damage in the game. They are triggered only when you fill the enemy's "Daze" gauge (the white bar under their health) until it turns yellow, causing them to enter a Stun state.
How to Maximize Chain Attacks:
- Daze Accumulation: Always prioritize agents with high Daze-dealing capabilities (often Stun-class agents) to break the enemy’s posture. Once the enemy is stunned, the game will prompt you to trigger a Chain Attack.
- The Chain Sequence: You can chain up to three characters together. Order matters! Always set your highest-damage dealer (the Attack-class agent) to be the final character in the chain sequence.
- Timing the Prompt: Do not spam buttons during a Chain Attack. Wait for the highlight to appear on the character icon and press the corresponding button. Missing the timing ends the sequence prematurely, wasting your hard-earned stun window.
Managing Energy Economy
Energy is a finite resource that dictates how often you can utilize your high-impact EX-Special moves. Managing this gauge is critical to maintaining a steady damage output.
- Avoid Capping: Never let your energy reach its maximum capacity. Energy that is sitting at 100% is wasted potential. Weave your EX-Special attacks into your regular combos to keep the gauge flowing.
- Ultimates: Your Ultimate meter is shared across the team. Use it for "burst windows"—specifically when an enemy is stunned and vulnerable to increased damage. Saving an Ultimate for a stunned boss can often shave 20–30% off their health bar in a single go.
- Energy Regeneration: Learn which attacks generate the most energy for your specific agents. Some characters gain energy faster through counter-attacks or specific dodge-follow-ups.
Tactical Navigation and The Bagel Project
When navigating labyrinths or engaging in the Bagel Project, your strategic choices during the "search" phase impact your combat performance.
- Buff Prioritization: Always pick up combat-oriented buffs during your exploration. These small stat increases act as multipliers for your agents' base stats, making the difference between a long, drawn-out fight and a swift victory.
- Retreat vs. Engage: In higher-level challenge zones, if your team is low on health or energy, do not feel pressured to engage every optional encounter. Managing your team's state is part of the challenge.
- Pause-Menu Strategy: Use the pause menu to check your active buffs and enemy weaknesses. Zenless Zone Zero rewards players who analyze the enemy type before rushing into the fray. If you know a boss is resistant to your primary damage type, adjust your team composition or rotation strategy accordingly.
Summary Checklist for Combat Improvement
To summarize your path toward mastery, focus on these five pillars:
- Stop Mashing: Observe the enemy for yellow or red flashes before committing to long attack strings.
- Prioritize Parries: Only use Support Assists on red-flash attacks to save your limited Assist Points.
- Rotate Constantly: Treat your three agents as one cohesive unit; swap to maximize buffs and cancel recovery animations.
- Stun and Burst: Use Stun-class agents to fill the Daze gauge, then unleash your full combo during the resulting Chain Attack window.
- Spend Energy: Use EX-Specials regularly to maintain pressure and utilize i-frames, and save Ultimates for stunned targets.
By shifting your mindset from "how much damage can I deal" to "how can I control the flow of this encounter," you will find that even the most daunting bosses in Zenless Zone Zero become manageable, rhythmic puzzles waiting to be solved.

Free Zenless Zone Zero Codes
Current active codes and how to redeem them.

Michael Smith
Michael covers live-service games, events, reward systems, and efficient daily routines, turning frequent updates into clear actions for players.
COMMUNITY
Player Comments
77 players commented on this guide.
I tried this today and it worked better than my old setup.
Good guide for Zenless Zone Zero players. The strategy part was useful.
This saved me time in the early game.
The explanation is clear, especially for beginners.