
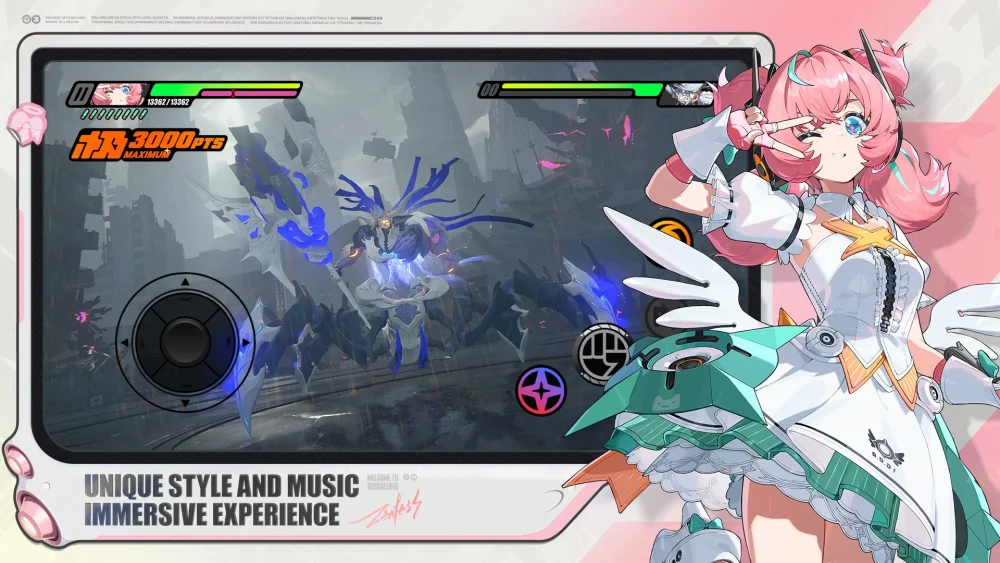
To dominate the current meta in Zenless Zone Zero, players must master the synergy between the tactical mobility of Nangong Yu and the raw offensive output of Sisyphus. Nangong Yu excels as a high-utility facilitator, using spatial manipulation to dictate combat flow, while Sisyphus functions as the team’s primary burst engine. By understanding how to weave these two playstyles together, you can maximize your damage windows during boss encounters and handle the most challenging endgame content with precision.
The Tactical Role of Nangong Yu
Nangong Yu represents a shift toward mobility-focused gameplay in Zenless Zone Zero. Rather than standing toe-to-toe with enemies, her kit revolves around battlefield navigation and crowd manipulation. If you are playing a team that struggles with enemies who have high displacement or wide-area attacks, Nangong Yu provides the necessary tools to reset the engagement to your advantage.
Spatial Control Mechanics
Nangong Yu’s primary utility is her ability to force enemies into favorable clusters. When navigating complex encounter maps, use her specialized movement skills to bait enemy AI into tighter formations. This is essential for players who run AoE-heavy teams, as it ensures your other agents don’t waste their high-cooldown abilities on scattered targets.
- Engagement Control: Use her dash-cancel animations to stay mobile while keeping enemies within your optimal hit range.
- Aggressive Positioning: Don’t hesitate to use Nangong Yu to flank targets, forcing them to turn and exposing their back or side for potential crit-multipliers, depending on your current gear stats.
- Defensive Kiting: When your main DPS is low on health or energy, use Nangong Yu to draw aggro and kite enemies, allowing for safe recovery without dropping your combo meter.
Maximizing Sisyphus’s Burst Potential
Sisyphus is the archetype of a "burst-window" attacker. Her kit is designed to capitalize on every second an enemy spends in a Stun or Daze state. In Zenless Zone Zero, where timing is everything, Sisyphus is the character who turns a successful Stun into a completed boss kill.
Mastering the Burst Window
Sisyphus’s damage scaling is heavily front-loaded. To extract maximum value, you must treat every combat encounter as a series of phases: the "Setup" phase and the "Execution" phase.
- The Stun/Daze Threshold: Wait for the enemy’s Daze gauge to hit 80-90% before committing your full resource pool. Sisyphus performs best when she can dump her entire kit into an already stunned target.
- Energy Management: Because Sisyphus relies on her high-energy burst abilities, building for Energy Regeneration (ER) on your Disc sets is mandatory. Without sufficient ER, you will find yourself in "dead zones" where you have to rely on basic attacks, which significantly lowers your overall DPS.
- Animation Canceling: Learn the frame-perfect cancel for her finisher. By executing a quick assist switch immediately after her final hit registers, you can jump back into a secondary support unit to refresh buffs before the enemy recovers from the stun.
Strategic Team Integration and Combat Flow
The most effective teams in Zenless Zone Zero function like a well-oiled machine. When running Nangong Yu and Sisyphus together, your rotation should prioritize a "Control-to-Burst" cycle.
The Optimal Rotation Flow
- Initiation: Enter the fray with Nangong Yu. Use her mobility to group enemies and apply any active support buffs or elemental debuffs.
- Daze Accumulation: Switch to your utility or support unit to build Daze quickly.
- Transition: Once the enemy is near the break point, use Nangong Yu’s signature repositioning skill to force the target into an optimal spot.
- Execution: Trigger your Chain Attack to bring Sisyphus into the field. Unleash her full burst combo while the enemy is stationary and vulnerable.
- Retreat/Reset: Once the burst window closes or the enemy recovers, rotate back to your support characters to recharge energy and restart the cycle.
Avoiding Common Mistakes
Even high-tier players often fall into traps when managing specialized agents like these. Avoiding these common errors will immediately improve your clear times in the Hollow Zero or high-difficulty Siege missions.
- Overextending with Nangong Yu: A common mistake is using Nangong Yu too aggressively after the Daze window closes. She is a facilitator, not a tank. If you keep her on the field while the enemy is hyper-aggressive, you risk losing her health pool and forcing a premature team switch.
- Ignoring Energy Thresholds: Players often try to "force" Sisyphus’s burst even when she lacks the energy to complete the sequence. This is a waste of time. If her energy isn't ready, stay on your support units longer to rotate through your energy batteries.
- Neglecting Disc Set Synergies: Do not build these characters in isolation. Ensure your support characters are carrying Disc sets that provide team-wide buffs (such as ATK% or Daze Multiplier increases) that sync with Sisyphus’s burst timings.
Strategic Decisions: Is This Duo Right for Your Account?
When deciding whether to invest your valuable resources into Nangong Yu and Sisyphus, consider your current account standing.
- For F2P Players: If your account lacks a dedicated "Burst" character, Sisyphus is an excellent long-term investment. However, Nangong Yu requires higher mechanical skill to use effectively; if you find yourself struggling with character switching, you may want to prioritize a simpler support character first.
- For Endgame Players: If you are pushing the deepest layers of the current content, the duo's ability to manipulate the field and deliver massive burst makes them a top-tier choice for clearing time-gated objectives. The investment cost is high, but the mechanical ceiling they offer is significantly higher than older, more static units.
By focusing on the synergy between Nangong Yu’s spatial control and Sisyphus’s burst potential, you create a team that can handle almost any mechanical challenge Zenless Zone Zero throws at you. Focus on the rotation, manage your energy, and remember: in this game, it’s not about how much damage you deal, but how efficiently you deal it during the enemy's most vulnerable moments.

Free Zenless Zone Zero Codes
Current active codes and how to redeem them.

Michael Smith
Michael covers live-service games, events, reward systems, and efficient daily routines, turning frequent updates into clear actions for players.
COMMUNITY
Player Comments
80 players commented on this guide.
The explanation is clear, especially for beginners.
This helped me understand strategy much better.
The tips are practical and easy to follow.
This saved me time in the early game.