
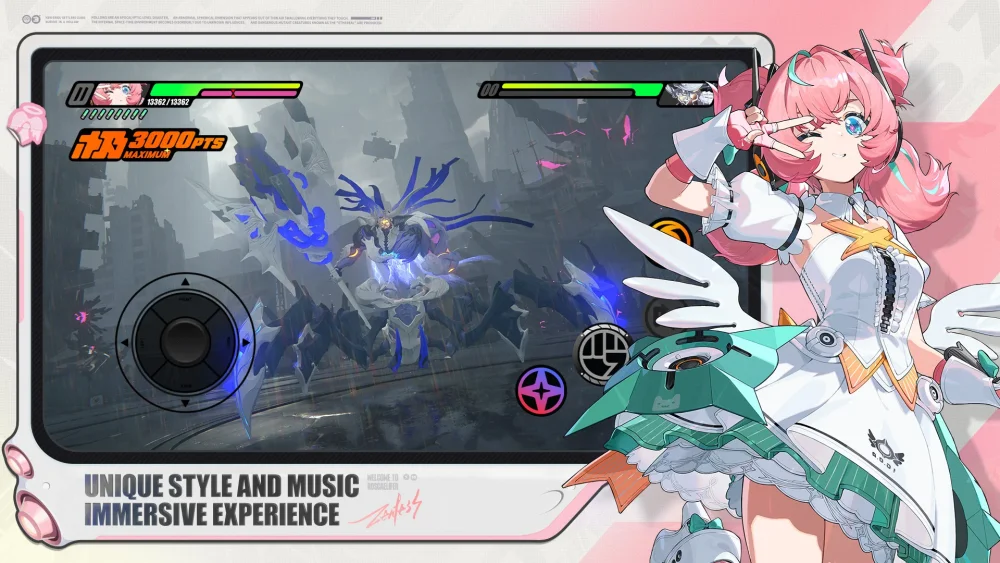
To execute Claret's Sharp Defense (鋭御) mechanic in Zenless Zone Zero, press her defensive command right before an incoming enemy strike connects. Successfully timing this maneuver absorbs the attack, bypasses standard vulnerability windows, and immediately sets up a high-damage counter-attack without forcing you to rely solely on defensive assists or passive dodging.
Sharp Defense Timing and Execution Sequence
Sharp Defense operates on enemy animation frames rather than standard dodge windows. Executing it correctly lets you stay in close proximity to boss targets and maintain aggressive offensive pressure.
- Watch for attack telegraphs: Identify enemy wind-up animations or distinct flashing visual cues indicating a heavy strike.
- Trigger the defense input: Press the defensive input immediately before contact to enter the active Sharp Defense state and absorb the incoming damage.
- Execute the counter-attack: Input a basic attack or skill immediately following the block to strike back while capitalizing on increased damage multipliers or brief target stuns.
Integration into Team Combat Rotations
Sharp Defense functions best as a rotation tool rather than a passive safety option. Using Claret's defensive window to remain close to active boss targets provides several tactical advantages:
- Initiating Chain Attacks: Absorbing damage while standing your ground keeps Claret in range to trigger follow-up attack triggers for the rest of your squad.
- Maintaining DPS Uptime: Absorbing damage directly prevents unnecessary character swapping, allowing primary damage dealers to execute full skill combos without interruption.
- Compensating for Missing Support: If your squad lacks a dedicated shielder or healer, Claret's damage mitigation allows her to absorb heavy single hits that would otherwise knock out fragile agents.
Limitations and Defense Handling
While Sharp Defense offers strong damage mitigation, relying on it carries clear combat risks:
| Defensive Scenario | Recommended Response | Consequence of Failure |
|---|---|---|
| Single Heavy Hit | Time Sharp Defense right before impact | Mistiming the input results in taking full damage from the incoming attack. |
| Multi-Hit Combos | Alternate between Sharp Defense and standard dodges | Relying on a single block state against rapid attacks leaves you open to follow-up strikes. |
| Unpredictable Patterns | Disengage with standard evasion until visual cues match | Early inputs waste energy and cancel defensive protection before the hit connects. |
Resource Allocation Priorities
Maximizing Claret's effectiveness requires prioritizing abilities and gear that complement her parry playstyle:
- Upgrade Passive Skill Scaling: Focus resources on passive nodes that directly scale the damage output and window benefits of her counter-hits.
- Maintain High Energy Reserve: Ensure Claret has sufficient energy stored to chain an EX Special Attack immediately after executing a successful parry counter.
- Equip Defense-Triggered Engines: Select Engines with passive effects that trigger upon parrying or taking guarded hits to boost overall offensive output.

Free Zenless Zone Zero Codes
Current active codes and how to redeem them.

Sarah Williams
Sarah specializes in RPG and collection games, explaining team building, character growth, and beginner-friendly ways to avoid expensive early mistakes.
COMMUNITY
Player Comments
68 players commented on this guide.
The tips are practical and easy to follow.
This saved me time in the early game.
Nice guide. I am checking the other Zenless Zone Zero articles next.
Can you add more details about strategy in a future update?