
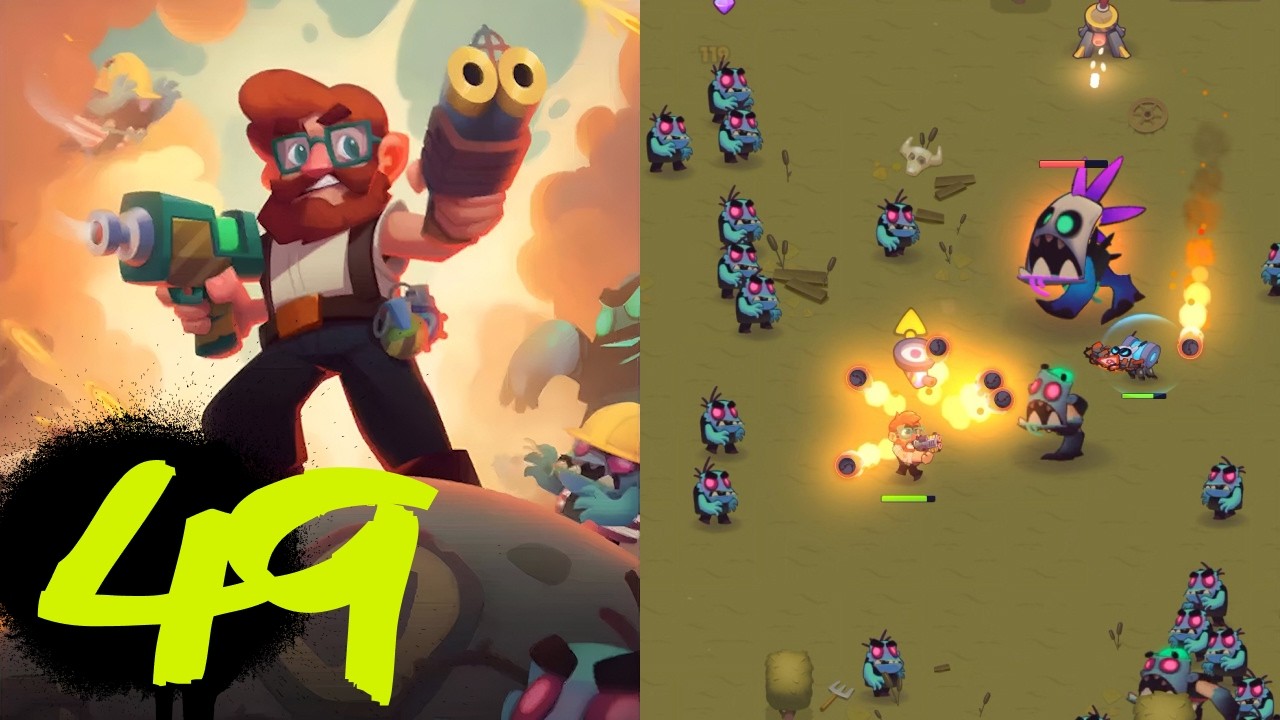
To clear the Deadblock level in Zombastic: Time to Survive, anchor your movement around the wide central intersection, avoid dead-end alleys, and build piercing area-of-effect weaponry early. The stage restricts open movement with street barricades and narrow corridors, meaning survival depends on funneling swarms into tight columns while keeping your escape routes clear.
Navigate Chokepoints and Lane Spacing
Deadblock replaces open arenas with restrictive street corridors, abandoned structures, and corner barricades. Encirclement and getting stuck on corner geometry are the primary causes of failure in this stage.
- Use the central junction as your pivot: Keep your main kiting loop centered around the widest intersection on the map. This gives you multiple exit angles when high-density waves spawn.
- Stay out of dead ends: Avoid chasing loot or stray zombies down narrow alleys. If a swarm spawns behind you in a dead-end street, you will be trapped without room to maneuver.
- Commit to the weaker flank: If enemies spawn on both sides of a narrow corridor, immediately fire burst skills into the thinner cluster to break through rather than stopping in the middle.
- Funnel swarms along walls: Moving parallel to long barricades forces incoming infected into single-file lines, maximizing projectile penetration and blast damage.
Early Upgrade Priorities
Single-target burst damage falls off rapidly in Deadblock because the constricted roads pack dozens of targets into tight groups. Select weapons and passive upgrades that control space and penetrate lines of enemies:
- Piercing Projectiles: Weapons that pass through multiple targets prevent armored frontline enemies from shielding weaker runners behind them.
- Lingering Ground Hazards: Fire, acid, or shock pools dropped behind your path continuously damage hordes chasing you through narrow corridors.
- Knockback and Interrupts: Defensive displacement keeps aggressive enemies from closing distance when you round blind corners.
- Movement Speed: Passive agility upgrades let you outpace fast sprinters without relying entirely on defensive cooldowns.
Save dedicated single-target upgrades for the late stage when the boss appears. Failing to clear standard waves quickly will overwhelm your operational space long before the boss spawns.
Handling Elite Variants
Midway through Deadblock, armored infected and agile runner variants begin spawning together. Armored brutes absorb forward-facing shots while sprinters rush ahead to deal direct damage.
| Threat Variant | Primary Hazard | Tactical Counter |
|---|---|---|
| Sprinters | Fast flank speed and corner ambushes | Drop ground hazards along your retreat line and prioritize them with rapid secondary fire. |
| Armored Elites | High health pools that block projectile lines | Kite in wide loops while applying penetrating fire to damage them and the horde behind them. |
| Ranged Spitters | Projectiles that cut off lane movement | Weave laterally across wider street sections and eliminate them immediately with targeted skills. |
Always clear sprinters first to maintain a safe turning radius. Once the fast threats are eliminated, walk backward along the main lanes to chip down armored elites, turning around well before you reach barricades or corners.
Managing Drops and Crates
Supply crates, recovery items, and experience drops appear throughout the corridors, but diving for them immediately is dangerous.
- Leave drops as safety buffers: Recovery items and experience gems do not disappear immediately. Leave them on the ground until you need health or have cleared a safe path.
- Herd swarms away from chests: When an elite or miniboss drops a reward crate, lead the remaining horde down an adjacent street before circling back through the central intersection to collect it.
- Collect in wide sweeps: If you take chip damage, trace a full kiting loop through cleared territory to scoop up multiple pickups at once rather than stopping mid-fight.
Final Boss Strategy
The final boss of Deadblock relies on heavy area slams and forward charges. Fighting this encounter in side alleys drastically reduces your dodge windows.
Lure the boss into the open plaza or central intersection immediately upon spawning. Maintain medium distance and circle along the outer edge of the area. When the boss initiates an attack telegraph, strafe laterally rather than backing straight up, as linear retreats risk walking directly into newly spawned minion waves. Use passive area damage to clear minion spawns while maintaining continuous fire on the boss during its post-attack recovery windows.

Free Zombastic: Time to Survive Codes
Current active codes and how to redeem them.

Emily Johnson
Emily writes practical mobile strategy guides with a focus on resource planning, base progression, and the early decisions that shape a long-term account.
COMMUNITY
Player Comments
51 players commented on this guide.
The explanation is clear, especially for beginners.
This guide answered the exact question I had.
I wish I had read this before upgrading the wrong thing.
This saved me time in the early game.