
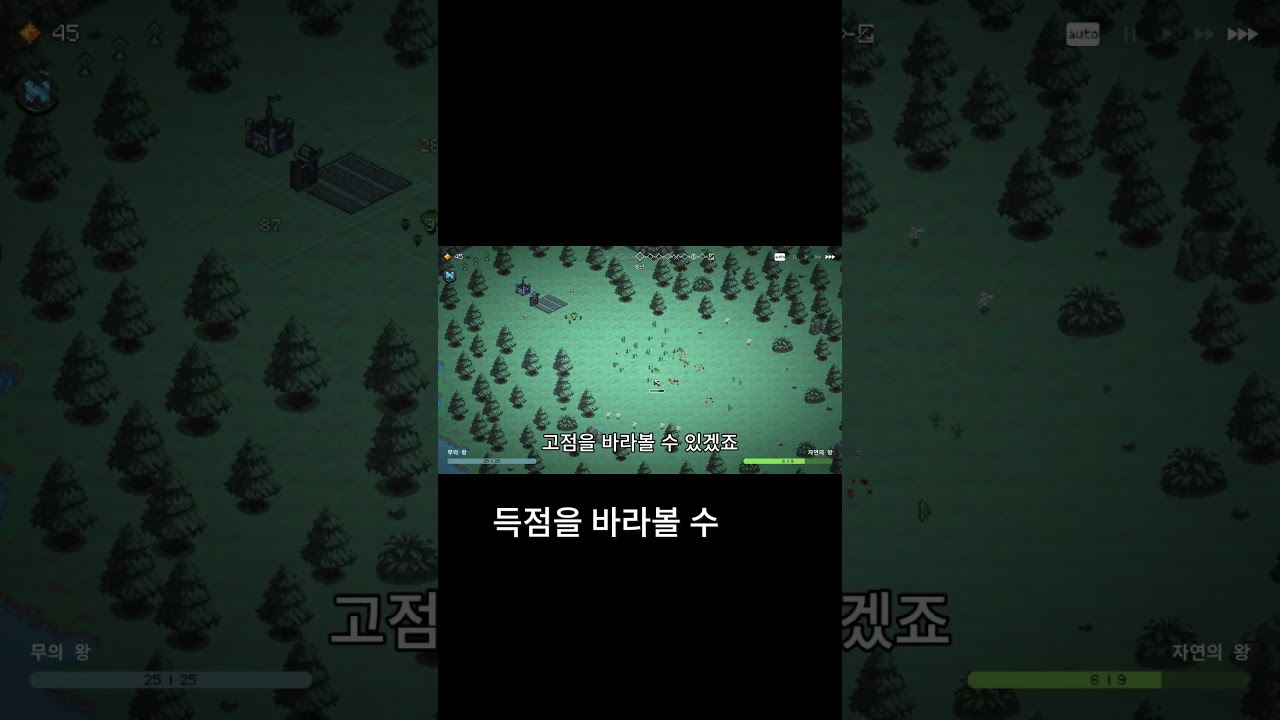
To use the Elf Archer effectively in 9 Kings, place the unit on the farthest rear corner tiles of your grid behind durable melee blockers such as Knights or Soldiers. The Elf Archer serves as a fragile, long-range physical carry with high projectile velocity. Because it has minimal base health and defense, you must insulate it from incoming melee aggression while investing in attack speed and damage multipliers to clear waves before your frontline collapses.
Grid Positioning and Firing Lanes
Enemy pathfinding in 9 Kings targets the nearest hostile unit upon entering the battlefield. If an Elf Archer sits in the front or mid-row, wide-pathing enemies and flanking units will peel off your frontline blockers and quickly wipe out your carry.
Placing archers in deep corner tiles forces incoming units through the longest possible engagement path, giving your archers the maximum amount of time to deal damage before melee combat begins.
| Placement Zone | Safety Level | Target Coverage | Intended Role |
|---|---|---|---|
| Rear Corner Tiles | Highest | Full-board reach across approach lanes | Primary Elf Archer carry placement |
| Deep Center Backline | Moderate | Balanced cross-lane coverage | Secondary archers or support units |
| Mid-Row Flanks | Low | Vulnerable to enemy flankers | Sacrificial blockers or tank anchors |
When deploying multiple Elf Archers, spread them across opposite backline corners rather than grouping them in the same column. This layout protects your entire damage core from being eliminated simultaneously by enemy cleaves or piercing attacks.
Frontline Composition and Layering
An Elf Archer cannot survive direct melee combat. Its primary function is to deliver sustained single-target damage while your front line holds the enemy in place. Every second a blocker delays an advancing wave translates into free backline damage.
Structure your board with distinct defensive layers:
- Frontline Blockers: Position heavy Knights or reinforced Soldiers two to three tiles ahead of your archers to intercept rushing waves immediately.
- Choke Point Anchors: Place high-health Defenders or barricades in central paths to group incoming swarms into narrow lines of fire.
- Adjacent Buffers: Put utility units such as Shamans or attack speed shrines adjacent to your backline carries, making sure they do not block line of sight.
If your vanguard falls within the first few seconds of a round, adding more damage to your archers will not save the encounter. Maintain enough frontline durability to match the time your archers need to clear each wave.
Upgrade Priorities and Stat Scaling
When drafting upgrades for the Elf Archer, prioritize attack speed boosts and flat physical damage cards over defensive stats or range extensions.
- Attack Speed: The archer already possesses substantial base range and high projectile speed. Increasing attack speed accelerates its firing cycle, allowing it to cut down low-tier swarms before they overwhelm your blockers.
- Physical Damage and Multipliers: Flat physical attack cards and damage multipliers keep your archer's damage relevant against late-game armor scaling.
- Defensive Stats to Avoid: Do not spend gold or card picks on health or armor for the Elf Archer. Because the unit is built strictly to avoid taking hits, defensive investments waste resources that should go toward your frontline or raw damage output.
Drafting Timing and Progression
Drafting an Elf Archer before securing a solid meat economy and at least one durable melee blocker is a frequent cause of early-game failure. In early waves, raw board presence and high unit count provide more stability than a fragile, isolated ranged carry.
Establish your frontline defense first, then draft the Elf Archer once you have the blockers needed to protect it. During later waves, monitor how quickly enemy units breach your frontline. If high-tier enemies consistently reach your backline, pause damage upgrades and immediately draft additional defensive reinforcements.

Free 9 Kings Codes
Current active codes and how to redeem them.

Emily Johnson
Emily writes practical mobile strategy guides with a focus on resource planning, base progression, and the early decisions that shape a long-term account.
COMMUNITY
Player Comments
138 players commented on this guide.
The explanation is clear, especially for beginners.
I wish I had read this before upgrading the wrong thing.
Good guide for 9 Kings players. The strategy part was useful.
This guide answered the exact question I had.