
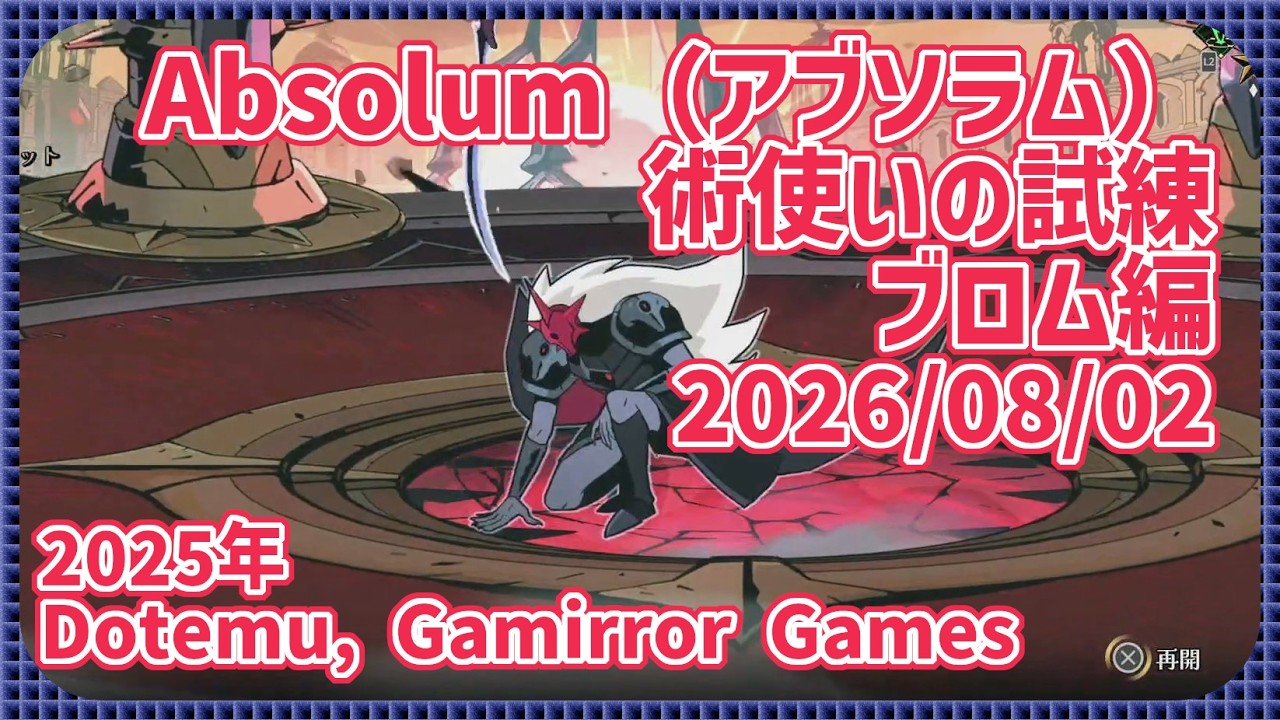
To clear the Spellcaster Trial and defeat the True Final Boss with Brome in Absolum, transition from continuous melee strings to reactive spacing, disciplined stamina management, and animation cancels. Brome's slow, heavy attacks require precise timing so you can exploit boss recovery windows without taking unnecessary damage.
Clearing the Spellcaster Trial Waves
The Spellcaster Trial acts as an endurance test featuring high enemy density and rapid ranged spawns before the final boss. Because taking chip damage during wave clearing reduces your survivability for the main fight, maintaining positioning is critical.
- Neutralize Ranged Casters First: Target projectile enemies immediately upon spawning to prevent off-screen damage.
- Line Up Enemies: Dash behind groups of enemies to group them into a single column.
- Use Short Attack Bursts: Rely on brief, controlled drill thrusts that hit multiple targets rather than committing to long melee combos that leave your back vulnerable.
Managing Brome's Heavy Combat Lockout
Brome’s weapon attacks carry long execution and recovery animations. Over-committing to full combo strings during active boss attack patterns will lead to heavy damage.
- Use Single-Hit Pokes: Outside of major recovery windows, deliver single attacks and prepare to reposition.
- Cancel Animations with Dash: If you start an attack during a boss telegraph, immediately input a dash to cancel the animation lockout.
- Maintain the 25% Stamina Reserve: Never deplete your stamina bar completely. Keep at least 25% of your gauge available so you can execute two consecutive dashes to dodge multi-hit boss combos. If your stamina drops below this threshold, stop attacking entirely until it regenerates.
True Final Boss Strategy and Positioning
The True Final Boss battle relies on tracking visual telegraphs and maneuvering around arena-wide hazards across multiple phases.
| Phase / Situation | Arena Positioning | Action Required |
|---|---|---|
| Early Phases | Arena Periphery | Stay near the outer edge to view telegraphs clearly and track erratic projectile trajectories away from central clutter. |
| True Form Sweeping AoE | Opposing Screen Side | Bait the boss into starting an attack on one side, then dash to the opposite side as soon as the telegraph animation begins. |
| Phase Transition / Daze | Direct Melee Range | Save your highest-damage skills for transition states and daze periods to deplete phase health quickly. |
The Bait and Punish Loop
Keep moving in a wide arc around the arena to draw the boss toward the screen edge. Forcing the boss to move toward you makes attack trajectories predictable, giving you clear openings to punish extended recoveries with heavy drill thrusts.
Free Absolum Codes
Current active codes and how to redeem them.

James Brown
James focuses on Android gaming on PC, emulator setup, controls, performance tuning, and practical troubleshooting for longer play sessions.
COMMUNITY
Player Comments
67 players commented on this guide.
The tips are practical and easy to follow.
I wish I had read this before upgrading the wrong thing.
This guide answered the exact question I had.
Can you add more details about strategy in a future update?