
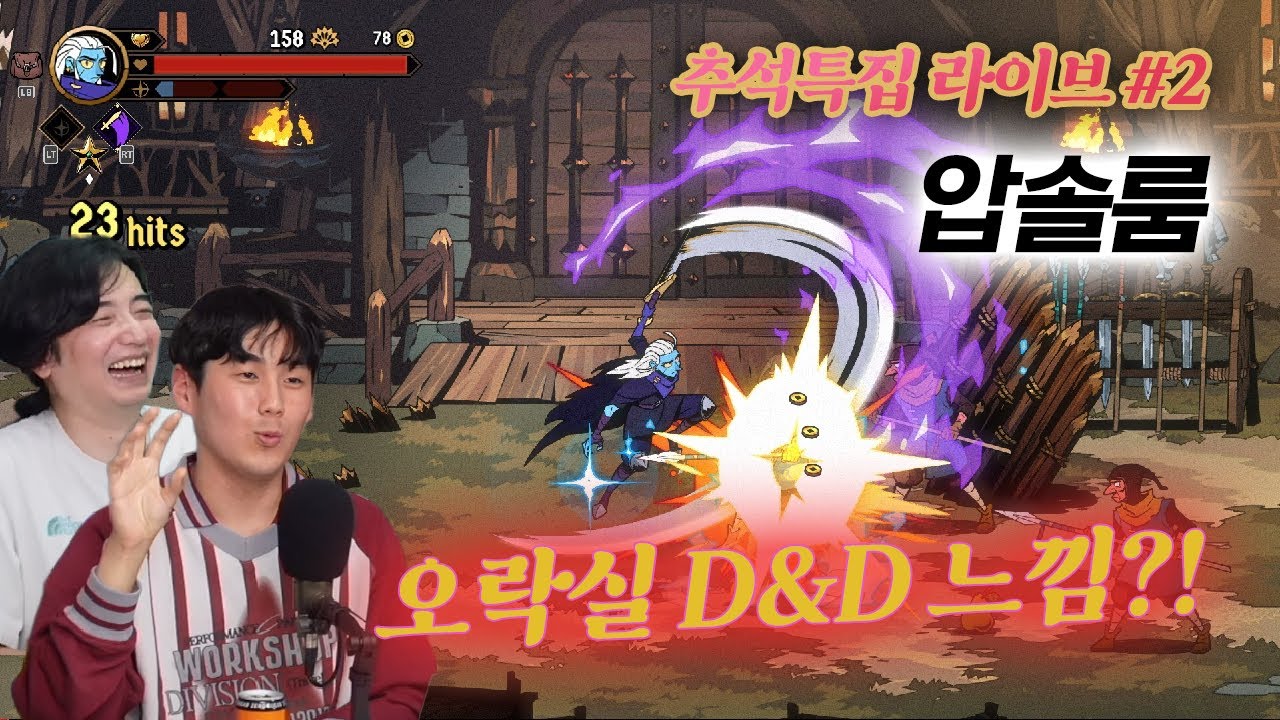
To maintain combat momentum in Absolum, eliminate high-threat ranged and crowd-control enemies first, continuously cycle low-cooldown skills during normal rooms, and dash behind bosses when unblockable attacks trigger. Balancing quick skill execution with defensive movement preserves your health pool and prevents groups of enemies from interrupting your attack rotations.
Target Prioritization in Room Clears
Clearing stages efficiently relies on controlling high-value threats before dealing with standard melee mobs. Allowing ranged units or enemies with knockbacks to stay active creates constant interruptions, breaking your hit-stun combos and forcing defensive panics.
Follow this target order when entering a new room:
- Ranged Units: Target distant attackers immediately to eliminate off-screen projectiles and free up movement lanes.
- Disruptive Crowd-Control Enemies: Defeat targets capable of stuns, knockbacks, or area-of-effect roots second.
- Melee Chaff: Gather remaining basic mobs together and clear them with broad horizontal strikes or low-cooldown area skills.
Focusing damage bursts on disruptive targets lets you keep smaller enemies locked in hit-stun without taking chip damage from the perimeter.
Skill Cycling and Animation Management
Holding powerful abilities exclusively for boss encounters creates unnecessary delays during general stage progression. Relying on basic attacks alone slows down room clears and exposes your character to counter-attacks.
- Cycle Low-Cooldown Skills: Use short-cooldown abilities frequently to clear standard enemy waves and maintain offensive momentum.
- Save Ultimates for Elites: Reserve high-damage ultimate abilities for heavy elite units or dense spawns that risk trapping your character against walls.
- Cancel Animation Lag with Dashes: Use dash mechanics immediately after heavy attack frames land to cancel ending animations and reposition safely.
- Avoid Over-committing Kits: Save at least one movement or defensive option when engaging a group in case secondary spawns trigger nearby.
Boss Pacing and Position Control
Boss encounters test your timing and ability to exploit invulnerability windows rather than simple damage races. Blindly attacking during boss attack animations leads to heavy health loss.
| Combat Situation | Recommended Action | Outcome |
|---|---|---|
| Boss telegraphs heavy/unblockable hit | Dash behind the boss during the start-up animation | Avoids incoming damage while opening a full counter-attack window |
| Boss casts large arena AOE attacks | Bait movement toward arena edges, keeping the center open | Preserves central fighting space for safe skill rotations |
| Boss enters phase transitions | Conserve stamina and refrain from over-committing full kits | Prevents resource exhaustion when vulnerable windows open |
Recognizing visual tells allows you to use dash invulnerability frames proactively. Repositioning behind an enemy during heavy attack windups gives you enough time to execute a full ability rotation without taking damage.
Environmental Hazards and Risk Management
Stage rooms often contain traps and environmental hazards that can supplement your overall damage output. Knocking enemies directly into hazards accelerates clears without consuming extra skill cooldowns.
If your health pool drops low, scale back aggressive burst plays. Shift focus to defensive spacing, kite melee groups until key abilities return, and wait for clear openings before committing to close-range combos.

Free Absolum Codes
Current active codes and how to redeem them.

Michael Smith
Michael covers live-service games, events, reward systems, and efficient daily routines, turning frequent updates into clear actions for players.
COMMUNITY
Player Comments
24 players commented on this guide.
Can you add more details about strategy in a future update?
This helped me understand strategy much better.
The tips are practical and easy to follow.
I tried this today and it worked better than my old setup.