
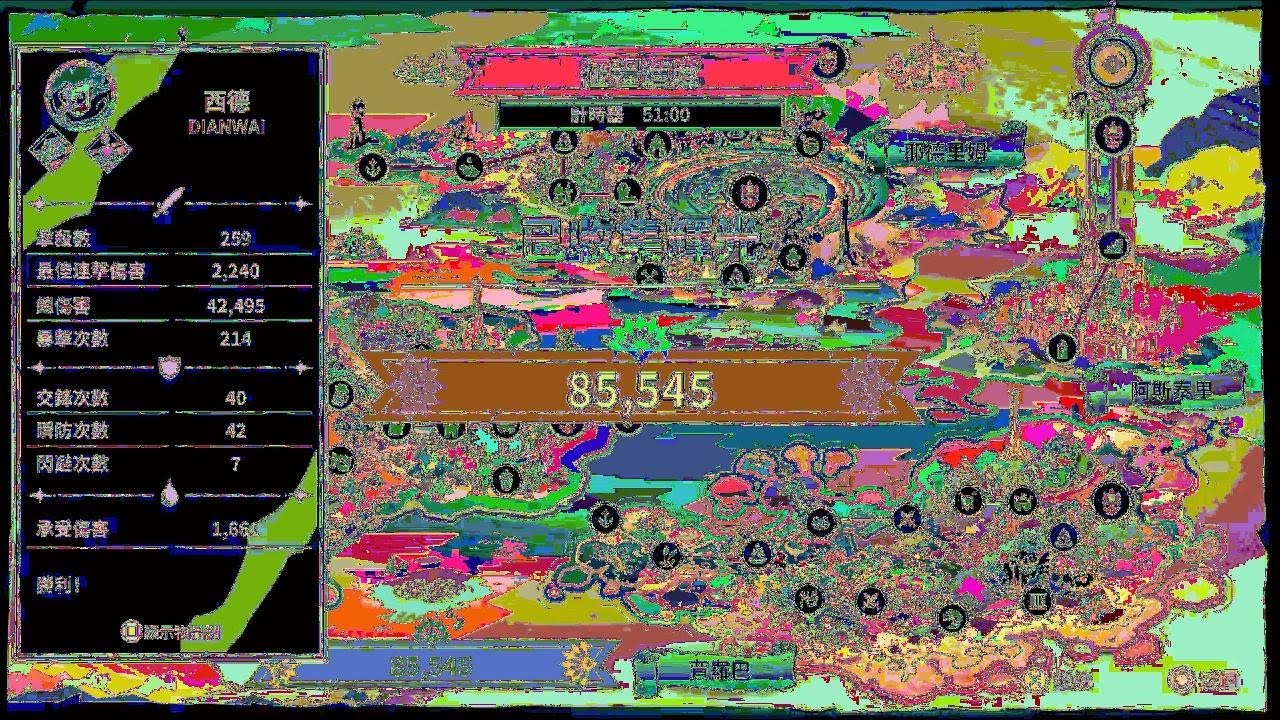
To clear Rift Mode in Absolum using Sid, rely on aerial combat to avoid ground attacks while keeping enemies funneled in front of you. Because Rift Mode continuously generates randomized small enemies across the arena, static positioning will get you surrounded. Your primary goal is to use Sid's mobility to clear waves cleanly while saving your dash for quick escapes when spawns appear directly beneath you.
Rift Mode Mechanics and Target Prioritization
Unlike campaign stages with fixed enemy placements, Rift Mode continuously spawns minor mobs at random locations. Allowing enemies to group around you leads to rapid health loss from chip damage.
To manage crowds effectively, eliminate high-priority threats first:
- Ranged units: Take out ranged foes immediately. If left alive, their attacks interrupt your jump arcs and force unnecessary dash consumption.
- Fast/Mobile melee mobs: Clear fast-moving stragglers on the edges of the pack before attacking the center mass.
- Standard ground units: Group these into a single corridor or arc, neutralizing them with area-of-effect strikes once mobile and ranged threats are cleared.
When an unexpected cluster spawns behind you, execute a dash-cancel to return to open ground and reset the engagement rather than trying to attack through the crowd.
Air Positioning and Arena Control
Sid's airborne attacks offer safety from ground sweeps and ground-pound abilities. Stay above the main fight to minimize damage and force enemies to walk toward your landing spot.
| Combat Action | Primary Purpose | Key Timing / Trigger |
|---|---|---|
| Peak Jump Strike | Avoid ground sweeps while delivering area damage | Execute light attack combos at the highest point of your jump arc |
| Ground-Dash Exit | Break out of cornered situations upon landing | Trigger immediately when touching down near an active enemy crowd |
| Wall Funneling | Keep all threats in your forward attack arc | Back up toward an arena edge or wall to restrict enemy approach paths |
Funneling enemies against an outer wall prevents them from surrounding you in a 360-degree radius. While this limits your backward movement, it ensures all incoming attacks land within your forward counter area.
Managing Stamina and Execution Failure Points
Rift Mode runs fail primarily when bad spawn timing overlaps with poor resource tracking. Keep these limitations in mind during long clears:
- Stamina Exhaustion: Repeatedly combining jumps and dashes drains stamina quickly. Interleave brief moments of standard walking between waves so your bar retains enough energy for emergency maneuvers.
- Animation Locks: Launching an attack too late in your jump arc can lock your character into a landing recovery animation right on top of a fresh enemy spawn. Trigger your attacks early in the jump arc so you recover control before touching the ground.
- Dash Misuse: Do not use your dash to travel across open space faster. Reserve the dash strictly for defensive repositioning or escaping unexpected enemy spawns at your feet.

Free Absolum Codes
Current active codes and how to redeem them.

Michael Smith
Michael covers live-service games, events, reward systems, and efficient daily routines, turning frequent updates into clear actions for players.
COMMUNITY
Player Comments
104 players commented on this guide.
Can you add more details about updates in a future update?
This helped me understand updates much better.
The explanation is clear, especially for beginners.
The tips are practical and easy to follow.