
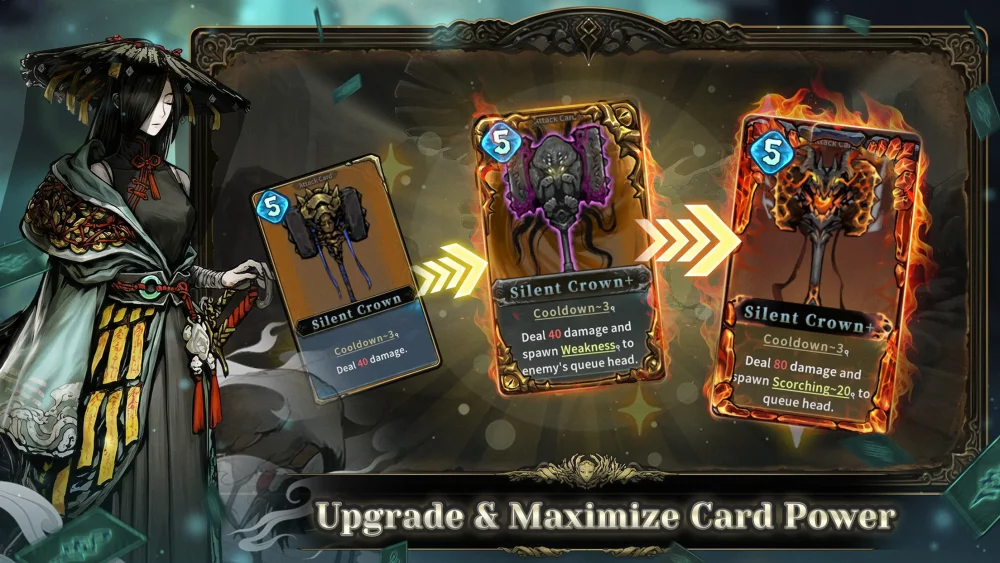
To dominate high-difficulty encounters in Abyssal Soul, you must master the unique protective synergy between the Blind Swordsman and the Empress class. By leveraging the Swordsman’s high-mobility burst attacks and the Empress’s late-game scaling, you can overcome overwhelming odds during the mid-game progression cycles. This guide details how to integrate this core duo, manage their specialized resource cooldowns, and maintain the necessary combat flow to reclaim the eternal throne against elite divine enemies.
Prioritizing the Blind Swordsman’s Coffin Mechanic
The Blind Swordsman acts as your primary damage dealer and defensive anchor, specifically utilizing his signature coffin-based combat style. Unlike other heroes who rely on traditional weapon scaling, the Swordsman’s output is tied to the "Coffin Release" mechanic, which provides massive AOE damage and temporary invulnerability frames. You should prioritize items that reduce the cooldown of his coffin-wielding skills to ensure you can cycle through high-damage phases without leaving your team exposed.
When managing this mechanic, focus on the following deployment strategies:
- Engagement Timing: Activate the coffin burst only after the enemy initiates their primary wind-up animation to maximize the interruption window.
- Resource Balancing: Monitor your sword-essence meter closely; depleting this resource prematurely leaves the Swordsman vulnerable to crowd control, which is the most frequent cause of failure in high-level runs.
- Damage Amplification: Pair the coffin strikes with debuffs that lower enemy physical resistance to maximize the impact of every singular swing.
Protecting the Empress During Early Progression
The Empress starts as a fragile unit with low base health, making her prone to being one-shot by late-stage bosses in Abyssal Soul. To succeed, you must adopt a "Bodyguard" playstyle. The Swordsman’s role is not just to deal damage but to act as a buffer between the Empress and encroaching mobs. You must position your units so that the Swordsman occupies the central front-line, forcing enemies to path through his melee radius before reaching the Empress.
The trade-off for this protection is mobility. Because the Empress requires specific positioning to cast her supportive spells, you cannot move your formation freely without breaking the Swordsman’s defensive tether. Avoid over-extending into dangerous terrain tiles; instead, lure boss encounters into narrow corridors where the Swordsman’s restricted movement range becomes an advantage by bottlenecking incoming threats.
Managing the Empress’s Imperial Scaling
As you move through the fourth season of progression, the Empress transitions from a liability into a powerhouse capable of clearing the screen. Her strength lies in her passive "Imperial Aura," which grows in effectiveness based on the number of elite enemies defeated. To maximize this, ensure the Swordsman secures the finishing blow on low-health mobs to grant the Empress the necessary experience points and attribute buffs without putting her in direct combat danger.
When utilizing her scaling mechanics, keep these tactical points in mind:
- Scaling Thresholds: Focus on reaching the level 10 milestone as quickly as possible, as this unlocks the "Royal Decree" ability, which provides a massive shield to the Swordsman.
- Resource Allocation: Spend your early-game gold on scrolls that boost the Empress’s magical resistance, as this is the only way to mitigate late-stage spell-caster damage.
- Combat Flow: If the Empress reaches low health, prioritize defensive card plays over offensive ones, even if it delays the fight; the loss of the Empress results in an immediate run termination.
Tactical Trade-offs and Limitations
While the Blind Swordsman and Empress combination is the most reliable path for clearing high-difficulty content, it is not without significant limitations. The primary trade-off is the lack of long-range versatility. Because both characters are designed for mid-to-close combat, you will face extreme difficulty when dealing with ranged "Sniper" mobs. To mitigate this, you must hoard at least two "Teleport" or "Gap Closer" items to force these enemies into melee range.
Additionally, this build suffers if you fail to manage the "Betrayal" status effect, a mechanic encountered during mid-game narrative shifts. If you lose your primary synergy due to narrative triggers, you must immediately pivot to a secondary support character to maintain the frontline. Always keep a backup unit leveled to at least 70% of your primary Swordsman’s power level to ensure you aren't left defenseless during these scripted progression hurdles.

Free Abyssal Soul Codes
Current active codes and how to redeem them.

Emily Johnson
Emily writes practical mobile strategy guides with a focus on resource planning, base progression, and the early decisions that shape a long-term account.
COMMUNITY
Player Comments
37 players commented on this guide.
Nice guide. I am checking the other Abyssal Soul articles next.
This helped me understand base building much better.
Good guide for Abyssal Soul players. The base building part was useful.
I wish I had read this before upgrading the wrong thing.