
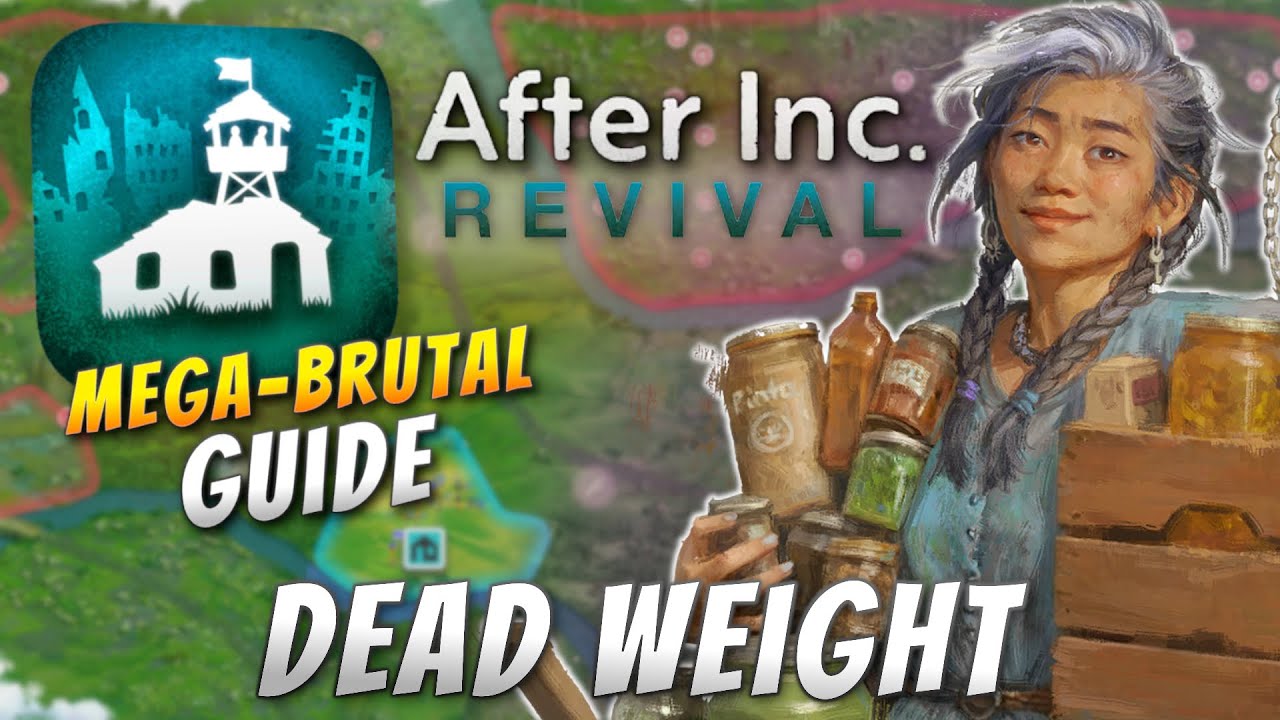
Surviving the "Dead Weight" map in After Inc. on Mega Brutal difficulty is a masterclass in risk mitigation. Unlike other maps that reward aggressive expansion, Dead Weight forces you into a "siege mindset" from the very first minute. The core secret to victory is not conquest, but containment. Because the vast majority of the zombie population is clustered across the river boundary, your survival hinges on your ability to resist the urge to expand toward the water and instead master the art of vertical and efficient base management within the safer, landlocked interior.
Understanding the Dead Weight Threat Environment
On Mega Brutal difficulty, After Inc. scales zombie density to extreme levels. In the Dead Weight scenario, this is not distributed evenly. The river acts as a natural—albeit lethal—border. If you treat this map like a standard 4X expansion game, you will trigger "aggro cascades" where the massive river-based hordes detect your presence and swarm your settlements.
Key insights for the Dead Weight environment:
- The Aggro Radius: Every building you place closer to the river increases your "noise profile." On Mega Brutal, this radius is significantly larger than on lower difficulties.
- Pathfinding Manipulation: Zombies in After Inc. follow the path of least resistance. If you build too close to the river, you provide them with a direct path into your heartland. By abandoning the riverfront, you force the AI to navigate the longer, circuitous routes toward your fortified chokepoints.
- The Psychological Trap: The map provides fertile land near the river, tempting you to build early. Do not fall for it. The cost of defending a riverfront settlement outweighs the resource benefit by a factor of ten.
Prioritizing Territorial Isolation
Your primary objective on Dead Weight is to designate a "Permanent No-Go Zone" along the riverbank. This is not just a tactical choice; it is your fundamental survival strategy. By keeping your infrastructure retracted, you create a buffer zone that acts as a natural warning system.
When establishing your internal base, prioritize a "Core-and-Shell" layout:
- The Core: Place your high-value production buildings (Power, Science, Advanced Food) in the absolute center of your territory.
- The Buffer: Keep residential and low-value storage buildings in the middle ring.
- The Shell: Only place defensive structures and military outposts on the outermost perimeter.
By keeping your "noisy" buildings away from the edge, you avoid triggering the mass migrations that define the mid-game on Mega Brutal.
Engineering Defensive Chokepoints
Because you are intentionally limiting your footprint, you must compensate with "Hardened Chokepoints." Spreading your defenses along a thin line is a death sentence; instead, funnel the undead into narrow lanes where your defensive multipliers can shine.
The Kill-Zone Blueprint
- Layered Walls: Never rely on a single wall. Always maintain at least two layers of walls with a one-tile gap. This gap allows for the placement of traps or, in late-game scenarios, the movement of repair crews.
- Tower Placement: Ranged units in towers are your primary damage dealers. Place them at the angles of your chokepoints to ensure they have an overlapping field of fire.
- The Funnel Effect: Use non-essential structures to block paths that you don’t want zombies to take. By physically obstructing off-path routes, you force the zombie AI to march directly into your pre-planned kill zones.
Resource Management and Tech Scaling
Space is your most expensive currency in After Inc.. You cannot afford the luxury of sprawling, inefficient farms or coal plants. Your tech tree priorities must shift toward "density-increasing" upgrades early in the campaign.
Recommended Tech Priority Path
- Efficiency Upgrades (Early): Prioritize any tech that increases output per tile (e.g., advanced irrigation or modular power grids).
- Maintenance Tech (Mid): As the waves grow, your walls will take constant chip damage. Researching repair speed is more important than raw damage output during the mid-game.
- Advanced Weaponry (Late): Only once your economy is stable in its compact form should you pivot to high-damage military tech. You need the ability to burst down high-health special infected before they reach your walls.
The Mid-Game Shift: Proactive Defense
There is a "threshold" in the Dead Weight campaign where static defenses will inevitably begin to fail. This usually happens around the mid-game when the zombie population exceeds the capacity of your towers to kill them in time.
At this point, you must transition from a passive defender to a proactive "patrol hunter." Keep a mobile task force of your highest-mobility units (scouts or light cavalry, depending on your tech path) behind your lines. Do not send them outside your walls, but use them to intercept small groups of zombies that have managed to wander near your perimeter. By killing these "scouts" before they congregate at your walls, you prevent the massive "death ball" clusters that cause colony collapse.
Common Mistakes to Avoid
- Over-Expansion: Expanding for the sake of resources usually leads to a breach. If you cannot defend a new territory with your existing military strength, do not acquire it.
- Neglecting Repairs: On Mega Brutal, damage is permanent until repaired. If a wall segment is at 50% health, it is a liability. Rotate your worker units to focus on wall maintenance constantly.
- Ignoring Unit Fatigue: Your units are not machines. If they are constantly firing, their efficacy drops. Always have a reserve rotation of units ready to step in when the front-line soldiers lose their fire-rate bonuses.
Decision Making and Final Strategy
The Dead Weight map is a test of patience. The temptation to reach out for more resources is the primary reason most players fail on Mega Brutal. By accepting the "Dead Weight" reality—that you are trapped and must survive by being more efficient, not more expansive—you change the game from a chaotic struggle to a calculated optimization problem.
Keep your base tight, your walls layered, and your eyes on the river. As long as you maintain the isolation of your core, the river-based hordes will remain a distant threat rather than your downfall. Master the chokepoints, refine your density, and you will survive where others have fallen.
Free After Inc. Codes
Current active codes and how to redeem them.

James Brown
James focuses on Android gaming on PC, emulator setup, controls, performance tuning, and practical troubleshooting for longer play sessions.
COMMUNITY
Player Comments
42 players commented on this guide.
I wish I had read this before upgrading the wrong thing.
The tips are practical and easy to follow.
I tried this today and it worked better than my old setup.
Nice guide. I am checking the other After Inc. articles next.