
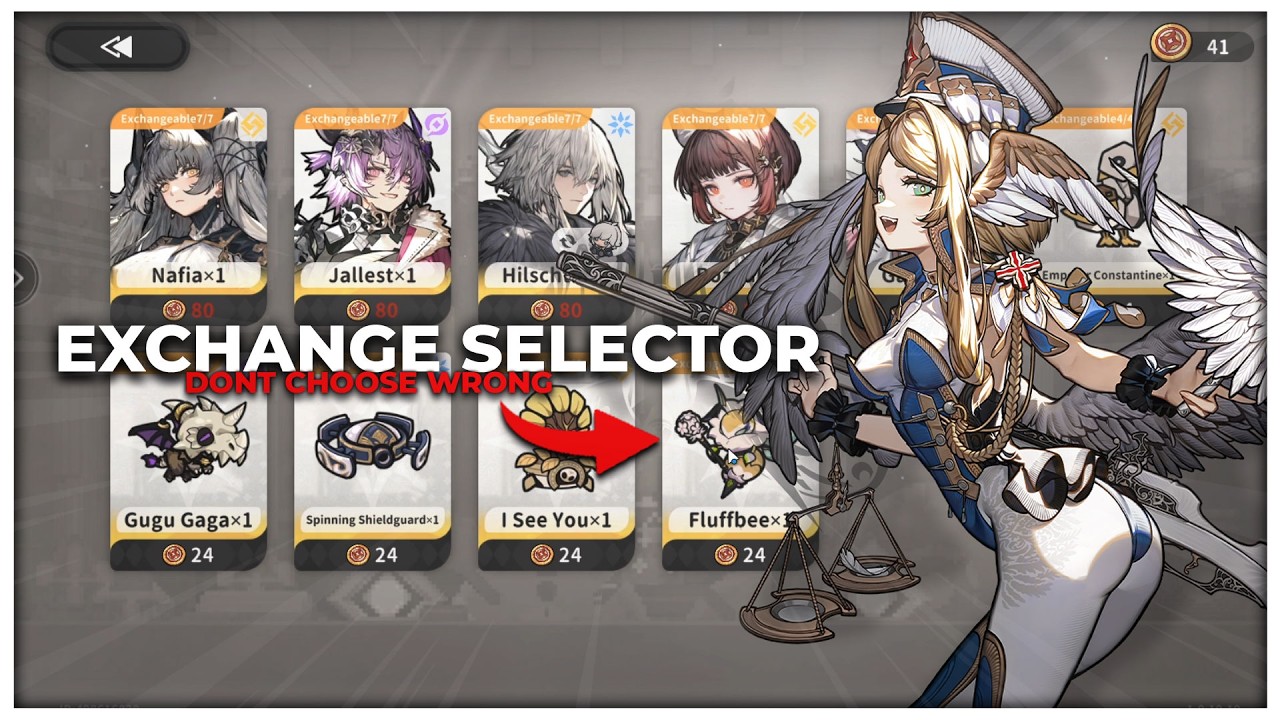
Hold your 6-star character and weapon selectors until you finish your beginner recruitment banner and initial standard summon milestones. Once your baseline pulls are complete, use the 6-star character selector to secure an independent, broad-coverage damage dealer, and spend your signature weapon selector on that same carry.
When to Open Your Selectors
Do not open your character or weapon selectors immediately upon unlocking them. Standard recruitment pools feature several standard 6-star units that can appear randomly from standard tickets. Claiming a selector unit early risks pulling an identical duplicate during your discounted starter summons, diluting your early roster progression.
Completing your beginner summons first establishes your starter roster. Once those pulls reveal your elemental coverage or role gaps, deploy the 6-star selector to patch a specific weakness or secure a missing carry for campaign stages and boss domains.
Apply this same timing rule to signature weapon selectors. Signature weapons provide exclusive passive effects designed for specific operatives. Opening a weapon crate before owning or committing to the matching operative leaves you with an unusable weapon. Lock in your character pick first, then open the weapon selector to match it.
6-Star Character Priority by Archetype
Prioritize self-sufficient primary damage dealers who can handle both wave clearance and single-target boss encounters. Progression speed depends heavily on stage timers and dense mob waves, making broad-coverage carries more valuable early on than niche defensive supports.
| Priority Tier | Operative Archetype | Key Strengths | Best Use Case |
|---|---|---|---|
| Tier 1 (Top Pick) | Main DPS / Hypercarry | High base scaling, broad AoE burst, elemental shield breaking | Campaign progression, resource farming, speed clearing |
| Tier 2 (High Value) | Universal Buffer / Sub-DPS | Off-field damage amplification, cooldown acceleration, crowd control | Mixed-element teams, boss encounters, stage time-trials |
| Tier 3 (Situational) | Dedicated Defensive Support | Heavy shields, sustained healing, status cleansing | High-difficulty survival stages, attrition-heavy boss fights |
Evaluating Hypercarry Options
When reviewing damage dealers, check skill uptime, mobility, and elemental coverage. An effective carry should function with minimal energy support, allowing you to run flexible team slots. Avoid selecting a carry who requires two dedicated support units just to reach baseline damage.
Evaluating Utility and Enablers
If your beginner summons already yielded a top-tier carry, choose a universal buffer with your selector. Universal damage amplifiers retain long-term value because they boost any current or future damage dealer. Choose dedicated healers or tanks only if your squad cannot survive unavoidable damage phases.
Signature Weapon Pairing Rules
Spend your signature weapon selector on your primary carry rather than spreading premium gear across support units. A signature weapon grants character-specific passive modifiers and critical stats that substantially elevate a carry's damage output, whereas support units perform reliably with craftable or 5-star alternatives.
When evaluating weapon options, focus on the following mechanical benefits:
- Stat Optimization: Carry weapons supply critical rate, critical damage, or elemental penetration, reducing your gear-farming burden.
- Mechanical Enhancements: High-value signature weapons remove internal skill cooldowns, refund energy on skill activation, or trigger extra hit effects.
- Diminishing Returns on Supports: Support weapons typically grant modest team attack boosts or minor energy regeneration, which do not justify spending an exclusive selector.
If you claim a Tier 1 carry with your character selector, immediately pair them with their matching signature weapon to prevent mid-game power bottlenecks.
Assembling Squad Synergy
A balanced team in ALLfiring requires balancing field time, passive triggers, and shield-breaking utility:
- Primary Carry: Stays on the field to execute core damage rotations and spend high-cost skills.
- Sub-DPS or Breaker: Swaps in quickly to deplete armored stability gauges and provide off-field burst.
- Support or Buffer: Supplies attack buffs, energy recovery, and necessary team healing or shields.
Armored enemies take significantly reduced damage until their stability gauges break. Run at least one fast-cycling breaker alongside your 6-star carry so your carry can save ultimate burst skills for vulnerable damage windows.
Selector Mistakes to Avoid
- Chasing Resonance Duplicates: Do not spend a free selector on character duplicates. Unlocking a new operative provides broader elemental coverage and roster depth for multi-team content.
- Splitting Roles Across Selectors: Avoid giving a signature weapon to a support unit while forcing your main damage dealer to use a low-rarity alternative.
- Overlapping Elements: If your initial summons gave you a strong Fire carry, do not pick a second Fire damage dealer. Select an Ice or Electric operative to handle stage-specific elemental resistances.

Free ALLfiring Codes
Current active codes and how to redeem them.

James Brown
James focuses on Android gaming on PC, emulator setup, controls, performance tuning, and practical troubleshooting for longer play sessions.
COMMUNITY
Player Comments
85 players commented on this guide.
This saved me time in the early game.
This helped me understand early game much better.
Can you add more details about early game in a future update?
The tips are practical and easy to follow.