
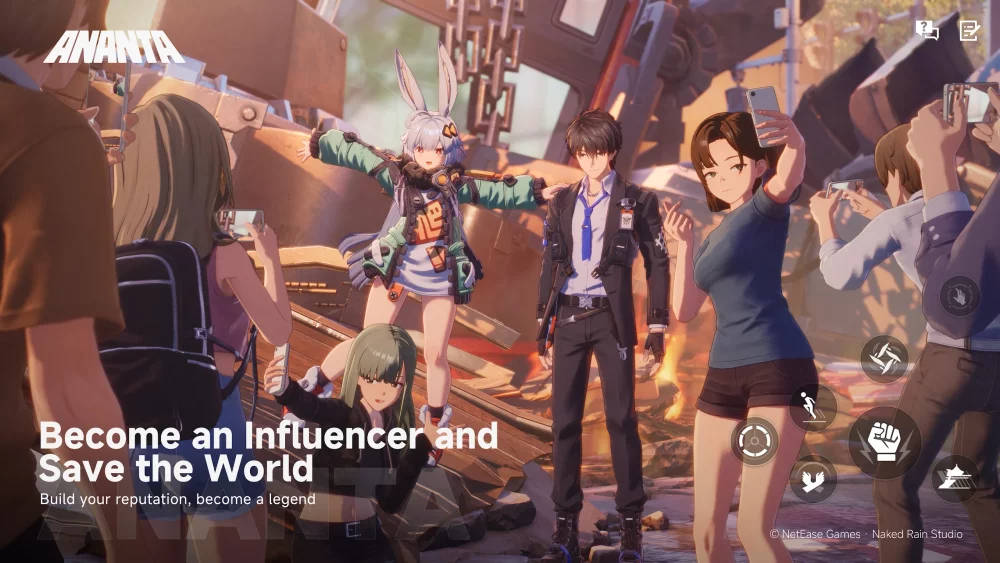
Achieving mastery in the Dangerous mode of ANANTA requires more than just rapid reflexes; it demands a sophisticated understanding of rhythmic physical movement, stamina economy, and environmental stage mechanics. As the highest performance tier, Dangerous mode pushes your character to their limits, requiring you to balance high-stakes input sequences with the need to prevent performance fatigue.
This guide breaks down the core mechanics of Dangerous mode to help you maintain peak crowd engagement and dominate the leaderboard.
Synchronizing Choreography with Beat Intensity
The most effective way to sustain the momentum of Dangerous mode in ANANTA is through precise rhythmic synchronization. The game engine rewards players who align character animations with the track’s percussive elements by granting "In-Sync" status. This status applies a significant score multiplier and serves as a buffer against the rapid depletion of the crowd engagement gauge during high-speed segments.
To master this synchronization:
- Anticipate the Telegraph: Watch the lead performer’s subtle movement cues, especially before chorus transitions.
- The Micro-Beat Offset: Initiate directional inputs one micro-beat before the heavy impact hits. This accounts for input processing latency, ensuring your character’s most impactful animation frames coincide perfectly with the music's climax.
- Visual Feedback: Monitor the glow intensity of the character model; a sustained bright aura indicates you are successfully hitting the "In-Sync" windows.
Managing Dangerous Mode Pacing and Stamina
Dangerous mode is characterized by a high volume of inputs that can quickly lead to "Stamina Drain." If your character’s stamina bar empties, you lose access to high-tier skills and face a massive drop in crowd engagement. Success here is not about button-mashing, but about identifying the "Core Sequence."
The Core Sequence Strategy
Every track in Dangerous mode features a repeating series of three to four primary inputs. Instead of attempting to input every possible move, focus on executing this Core Sequence flawlessly. By mastering this loop, you maintain the "Hype Threshold"—the minimum required engagement to keep the performance going—without exhausting your character.
Stamina Recovery Windows
Use the instrumental bridge sections to your advantage. During these lulls in vocal intensity, reduce your input frequency. Treat these moments as "recovery cycles" where you prioritize defensive positioning over aggressive scoring. This ensures you have a full stamina reserve when the final, most complex chorus begins.
Strategic Crowd Engagement Tactics
In ANANTA, the crowd is a dynamic resource. Your position on the stage directly dictates how effectively you can manipulate audience intensity. Understanding the spatial bonuses available in Dangerous mode is critical for preventing a performance failure.
- Front-Stage Positioning: Trigger this during vocal peaks. Being at the front of the stage increases your "Proximity Bonus," which pulls higher engagement points from the audience. Use this when the crowd meter is stable to push your score into the top tier.
- Back-Stage Retraction: If your stamina is low or the rhythm is shifting into a complex bridge, pull your character to the back of the stage. This reduces the pressure to maintain high-intensity inputs, allowing the crowd meter to hold steady while you recover energy.
- Center-Stage Pivot: Use the center-stage area during transition turns. This provides a balanced multiplier that allows you to reset your input rhythm after a particularly difficult sequence without losing significant ground.
Optimizing Vocal Pacing for Stability
Vocal delivery acts as a secondary modifier in ANANTA. Many players make the mistake of attempting to sync every syllable to an input, which leads to mechanical failure. To remain consistent, focus on "Anchor Notes."
These are the primary beats that dictate the start of a new phrase. By building your performance around these stability points, you create a structural framework for your actions. If you miss a minor movement input between two Anchor Notes, the system is more forgiving because you have successfully established the main rhythmic foundation.
Why Anchor Notes Work
- Error Buffering: Focusing on anchor points provides a margin for error, preventing a single missed input from cascading into a failed combo.
- Cognitive Load Reduction: By ignoring filler notes, you can dedicate more mental bandwidth to observing the telegraphs of the next movement phase.
- Consistent Multipliers: Hitting only the Anchor Notes with perfect timing is often worth more points than hitting every note with inconsistent, sloppy timing.
Troubleshooting Common Performance Mistakes
Even veteran players struggle with the transition into Dangerous mode. Review these common pitfalls to ensure your runs remain competitive:
- Over-committing to Inputs: Attempting to execute every possible action during high-speed segments will deplete your stamina prematurely. Stick to your Core Sequence.
- Ignoring Stage Positioning: Many players stay center-stage throughout the entire track. This prevents you from utilizing the Proximity Bonus or the safety of the Back-Stage Retraction.
- Ignoring the Stamina Meter: Always keep your peripheral vision on the stamina bar. If it dips into the red, immediately pivot to a low-energy movement pattern.
- Misreading Tempo Shifts: If a track has an erratic tempo, don't try to force a consistent rhythm. Wait for the transition into the chorus, where the beat becomes more predictable, before attempting to maximize your score.
By internalizing these strategies, you move beyond basic button-pressing and into true performance management. Remember that in ANANTA, the goal is to sustain the "Dangerous" intensity, not just to survive it. Keep your movements deliberate, manage your proximity to the crowd, and rely on your Anchor Notes to navigate the most complex tracks.

Free ANANTA Codes
Current active codes and how to redeem them.

Sarah Williams
Sarah specializes in RPG and collection games, explaining team building, character growth, and beginner-friendly ways to avoid expensive early mistakes.
COMMUNITY
Player Comments
48 players commented on this guide.
I tried this today and it worked better than my old setup.
This guide answered the exact question I had.
Can you add more details about strategy in a future update?
I wish I had read this before upgrading the wrong thing.