
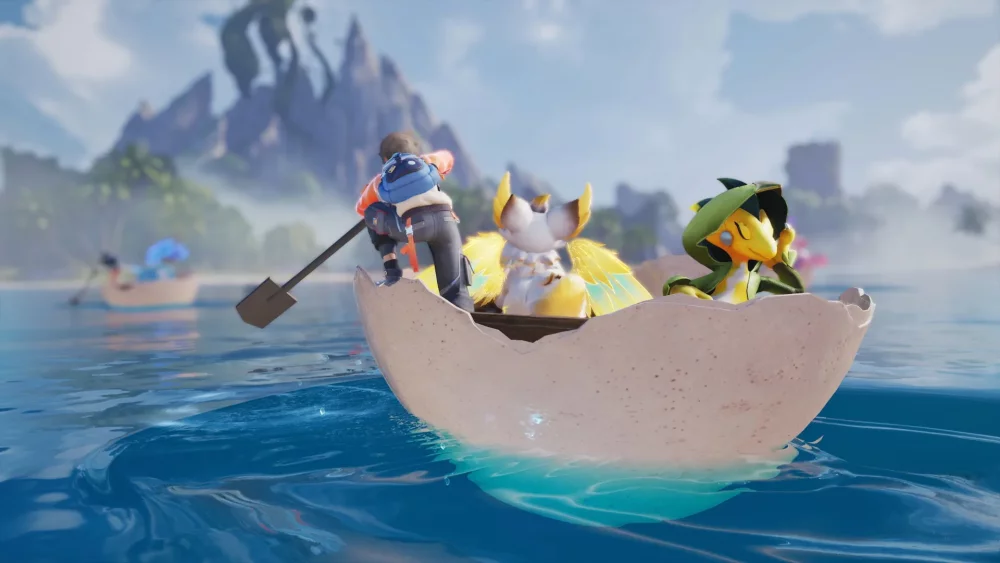
To clear high-difficulty boss fights and trials in Aniimo without wasting rare resources, prioritize leveling a high-burst S-tier carry and an elite support engine before building situational counters. Underperforming creatures suffer from protracted skill animations and split stat scaling, leaving them vulnerable to boss mechanics while providing minimal late-game impact.
Aniimo Tier Breakdown
Combat performance in Aniimo hinges on animation speed, damage multipliers, and team utility. Units in lower tiers lock themselves into long animations that leave them vulnerable during strict boss encounter timers.
| Tier | Role Focus | Key Creatures | Strengths and Limitations |
|---|---|---|---|
| S-Tier | Hypercarry DPS / Premier Support | Blade Mantis, Infergon, Oshiroari | Tight burst windows, party damage amplification, top-tier scaling. |
| A-Tier | Secondary DPS / Elemental Specialist | Irisalis, Scorchhowl, Stellaknight | High sustained damage and debuffs, but narrower combat windows. |
| B-Tier | Situational Filler / Defensive Niche | Tuckin, Horumaegi, Dreaple | Functional shields and crowd control; low damage scaling in late content. |
| C-Tier | Resource Traps / Underperformers | Base Voltmink, Rumpet | Long animation locks, split stat scaling, and low overall utility. |
---
S-Tier: Top Investment Priorities
S-Tier creatures provide rapid damage or indispensable utility that standard roster substitutes cannot match.
Dominant Carries
- Blade Mantis: Operates as a top-tier single-target physical carry. Fast critical-hit chains and minimal startup frames make it ideal for time-restricted boss trials.
- Infergon: Delivers area-of-effect Fire burst damage to eliminate mob waves quickly while keeping burn damage ticking on elite targets.
Essential Support
- Oshiroari: Fuels team energy regeneration and grants party-wide attack buffs. Its active damage mitigation and outgoing healing stabilize lineups, lowering the defensive stat thresholds required on your offensive carries.
---
A-Tier: Elemental Specialists and Secondary DPS
A-Tier creatures excel when matched against specific encounter mechanics or elemental weaknesses, though they lack the universal coverage of S-Tier anchors.
- Irisalis: Provides ramping sustained damage against heavily armored targets that resist pure burst strategies.
- Scorchhowl: Synergizes with Fire carries by extending burn durations and detonating secondary combustion triggers during boss stagger phases.
- Stellaknight: Offers hybrid damage and defensive protection, but its attack sequences require precise timing to avoid skill cancellations.
---
B-Tier: Early Progression and Situational Utility
B-Tier creatures serve as temporary gap-fillers during early map exploration and entry-level holographic training, but their damage output falls off against strict enrage timers.
- Tuckin: Absorbs incoming attacks with a high base vitality pool and personal shields.
- Horumaegi: Delivers targeted crowd control to interrupt incoming pressure while main carries recharge.
- Dreaple: Disrupts enemy attack sequences with minor disable effects, buying time for undergeared teams.
Keep investment conservative here. Stop leveling these creatures once you secure higher-tier alternatives.
---
C-Tier: Trap Picks to Avoid
Investing rare awakening tokens, advanced nurture items, and skill books into C-Tier creatures slows account progression. Creatures such as base Voltmink and Rumpet struggle due to three critical design issues:
- Protracted Animation Locks: Extended casting sequences leave them rooted during lethal boss telegraphs.
- Split Stat Scaling: Hybrid kits that scale across both physical and elemental stats dilute gear effectiveness.
- Redundant Buffs: Minor utility effects are frequently overridden by stronger support passives.
---
Optimal Roster Investment Order
To build an efficient team without creating resource bottlenecks, follow this allocation order:
- Max Your S-Tier Carry First: Commit the bulk of your gold, skill books, and evolution badges to one primary damage dealer, such as Blade Mantis or Infergon, until it hits its main level cap.
- Raise Your Core Support: Build Oshiroari until you unlock its key passive energy regeneration and damage amplification nodes.
- Add Targeted A-Tier Specialists: Level counter-picks like Irisalis or Scorchhowl only when facing specific resistance walls or elemental gates.
- Halt Low-Tier Upgrades: Keep B-tier and C-tier creatures at the baseline investment needed strictly for open-world tasks.

Free Aniimo Codes
Current active codes and how to redeem them.

Michael Smith
Michael covers live-service games, events, reward systems, and efficient daily routines, turning frequent updates into clear actions for players.
COMMUNITY
Player Comments
39 players commented on this guide.
This guide answered the exact question I had.
This helped me understand strategy much better.
Nice guide. I am checking the other Aniimo articles next.
This saved me time in the early game.