
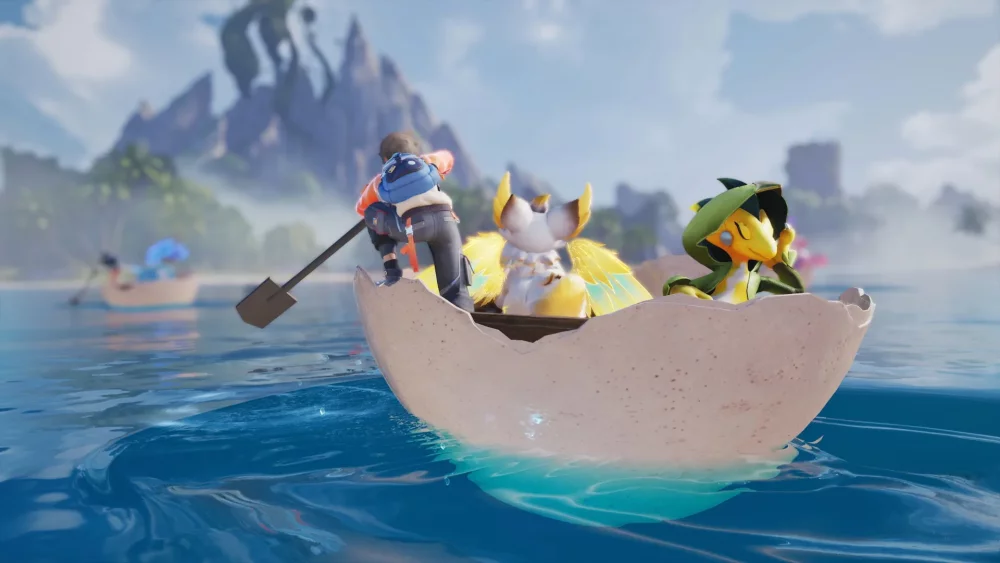
To clear Hologram Co-op and Hologram Training in Aniimo, build a mono-Wind party anchored by Nekomimizuku as your primary damage dealer and equip a Pendant in your portable item slot instead of the Concentration Belt. This setup maximizes elemental particle cycling and burst damage, enabling your team to break boss shields before timers expire.
Portable Item Choice: Pendant vs. Concentration Belt
While the Concentration Belt provides resource stabilization, testing in Hologram battles demonstrates that the Pendant is the superior portable item choice for Nekomimizuku. Hologram stages feature strict DPS checks, and a full Wind composition already generates adequate energy through team skill loops.
| Portable Item | Primary Function | Hologram Performance | Recommended Usage |
|---|---|---|---|
| Pendant | Direct offensive stat scaling | Optimal | Burst phases, shield breaking, and timed clears |
| Concentration Belt | Energy and cooldown utility | Suboptimal | Prolonged encounters lacking elemental synergy |
The Pendant directly increases Nekomimizuku's burst damage ceiling, allowing you to bypass prolonged defensive phases and eliminate elite enemies quickly during stagger windows.
Team Composition and Synergies
Hologram Co-op and Training scale enemy health and defenses heavily. Running hybrid teams dilutes elemental energy, slowing down skill readiness. A dedicated Wind composition resolves this issue by ensuring every generated particle charges the entire party's gauges.
- Primary Attacker (Nekomimizuku): Acts as the main carry. Nekomimizuku relies on rapid multi-hit Wind attacks and requires high investment in offensive stats.
- Wind Supports: Provide off-field elemental resistance shredding and attack buffs. Their primary role is prepping targets and fueling Nekomimizuku's elemental gauge.
Hologram Combat Rotation
Follow this rotation order to maintain constant offensive pressure and avoid taking avoidable boss damage:
- Apply Wind debuffs: Open the encounter by deploying your support units' abilities to reduce target Wind resistance.
- Activate party buffs: Trigger secondary support skills to boost overall attack power and activate Wind resonance.
- Deploy Nekomimizuku: Switch to Nekomimizuku while debuffs and buffs are active to execute its primary multi-hit skill combo.
- Unload ultimate during stagger: When the boss suffers a posture or shield break, immediately cast Nekomimizuku's burst skill to capitalize on the vulnerability multiplier.
- Cycle back to supports: When Nekomimizuku's main skills go on cooldown, rotate back to your support units to reapply debuffs and rebuild energy.
Do not stay on Nekomimizuku to use basic attacks while primary skills are recharging. Cycling your supports keeps damage multipliers active and builds ultimate charge far more efficiently.
Adjusting for Solo Training vs. Co-Op
While the mechanical rotation remains the same, your positioning changes between solo and multiplayer modes:
- Hologram Training (Solo): All enemy aggro focuses solely on your active creature. Position yourself near the center of the arena to group targets, and prioritize dodging telegraphed boss attacks to prevent interruptions during Nekomimizuku’s skill animations.
- Hologram Co-op (Multiplayer): Aggro splits between players, providing safer attack opportunities. However, teammates can push or pull bosses away from your attack zones. Delay ground-targeted bursts until the boss completes any major movement patterns and locks onto a teammate.

Free Aniimo Codes
Current active codes and how to redeem them.

Sarah Williams
Sarah specializes in RPG and collection games, explaining team building, character growth, and beginner-friendly ways to avoid expensive early mistakes.
COMMUNITY
Player Comments
61 players commented on this guide.
Can you add more details about strategy in a future update?
This guide answered the exact question I had.
The explanation is clear, especially for beginners.
I tried this today and it worked better than my old setup.