
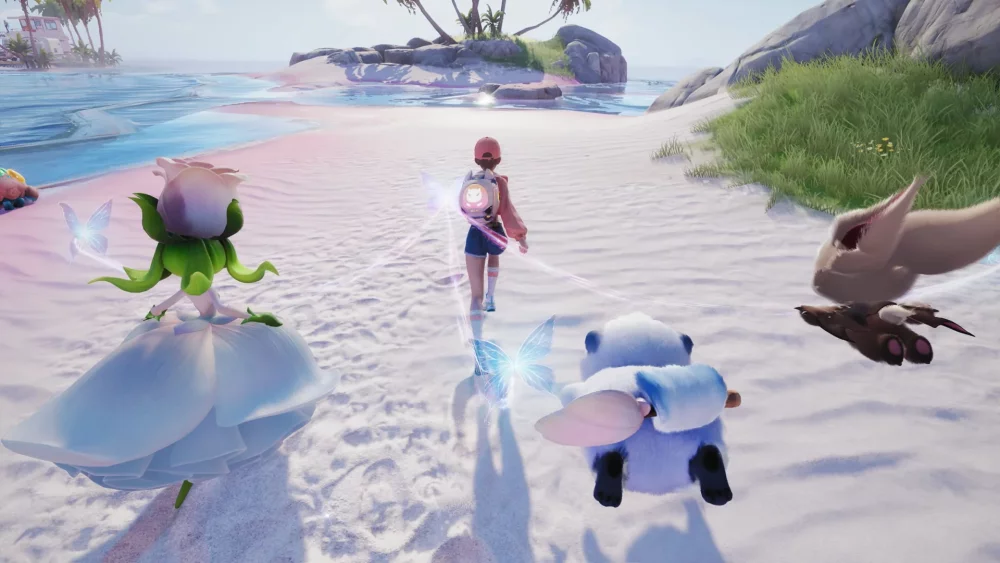
Pair Ripple with Frogael in Aniimo to achieve higher sustained single-target Water damage than traditional lineups built around Gachako and Makibazame. This team functions by swapping out slow, backloaded burst windows for rapid ability cycles, using Ripple's field buffs to amplify Frogael's multi-hit Hydro skills.
Frogael and Ripple Role Distribution
Rather than acting as a standard hyper-carry and passive backline support, this duo operates as a continuous field engine. Ripple generates energy, applies debuffs, and establishes an elemental amplification area, while Frogael executes high-frequency attacks before cycling back out.
| Creature | Team Role | Target Field Share | Stat Focus | Primary Function |
|---|---|---|---|---|
| Ripple | Buffer & Field Activator | ~35% | Skill Haste, Max HP / DEF | Places damage zone, debuffs targets, and generates energy |
| Frogael | Multi-Hit DPS & Finisher | ~65% | Water DMG, Crit Rate, Skill Haste | Executes rapid multi-hit combos and burst finishers inside the zone |
Why the Core Outdamages Gachako and Makibazame
Traditional Aniimo Water rosters relying on Gachako and Makibazame concentrate damage into long-cooldown, backloaded attacks. Makibazame requires heavy positioning commitments, while Gachako needs prolonged charge times to maximize heavy Water hits. If a boss teleports, shields, or enters an invulnerability phase during these winds-ups, overall damage per second drops sharply.
Frogael and Ripple resolve this by distributing output across steady, short-interval skill chains:
- Shorter Cooldown Downtime: Frogael completes several ability cycles during the recovery period of a single Makibazame burst sequence.
- Reduced Miss Penalties: Spreading damage across continuous multi-hit strikes ensures boss movement does not waste an entire combat rotation.
- Higher Sustained Scaling: In encounters lasting longer than 30 seconds, consistent uptime inside Ripple's amplification aura generates higher aggregate damage than slower burst rosters.
Combat Rotation and Execution Sequence
To ensure Frogael's heaviest strikes benefit from active stat multipliers, start the encounter on Ripple and cycle abilities in strict order:
- Deploy Ripple's Amplification Zone: Enter combat with Ripple and trigger its primary support skill to place the localized Water field beneath the target.
- Apply Resistance Debuffs: Cast Ripple's secondary ability to reduce enemy resistances and anchor the target within the zone.
- Switch to Frogael: Swap to Frogael immediately as the buff icon appears on the party interface.
- Cast Primary Multi-Hit Skill: Trigger Frogael’s core offensive ability instantly to channel maximum strikes during the buff window.
- Land the Burst Finisher: Use Frogael’s highest-damage skill right before the amplification zone expires.
- Swap Back to Ripple: Return to Ripple during Frogael's skill recovery animations to pick up generated energy and reset the cycle.
If an enemy forces an evade during Frogael's field window, rely on basic attacks rather than casting high-cost skills without Ripple's damage amplification active.
Stat and Gear Priorities
To keep rotation timers aligned without leaving Frogael or Ripple idling on cooldowns, build for the following stats:
- Frogael: Prioritize Water Damage Bonus first, followed by Critical Rate and Skill Haste. Frogael registers dozens of hits across a single rotation, making consistent Critical Rate more valuable than high-variance Critical Damage. Maintain enough Skill Haste so primary attack cooldowns match Ripple's field uptime.
- Ripple: Prioritize Skill Haste alongside Maximum HP or Defense. Ripple's personal damage output is secondary; rapid zone uptime and team survivability dictate clear speeds. Equip auxiliary gear that grants team-wide offensive bonuses whenever support skills activate.
Matchup Limitations
Reserve the Ripple and Frogael composition for single-target encounters, domain challenges, and trial bosses. Because the core relies heavily on enemies remaining inside Ripple’s stationary field, hyper-mobile bosses that dash across large arenas will force you to reposition and delay your rotation. Additionally, Frogael lacks the expansive area-of-effect coverage that Makibazame offers, making this pair inefficient against scattered waves of small mobs.

Free Aniimo Codes
Current active codes and how to redeem them.

James Brown
James focuses on Android gaming on PC, emulator setup, controls, performance tuning, and practical troubleshooting for longer play sessions.
COMMUNITY
Player Comments
139 players commented on this guide.
Good guide for Aniimo players. The strategy part was useful.
This helped me understand strategy much better.
Nice guide. I am checking the other Aniimo articles next.
I tried this today and it worked better than my old setup.