
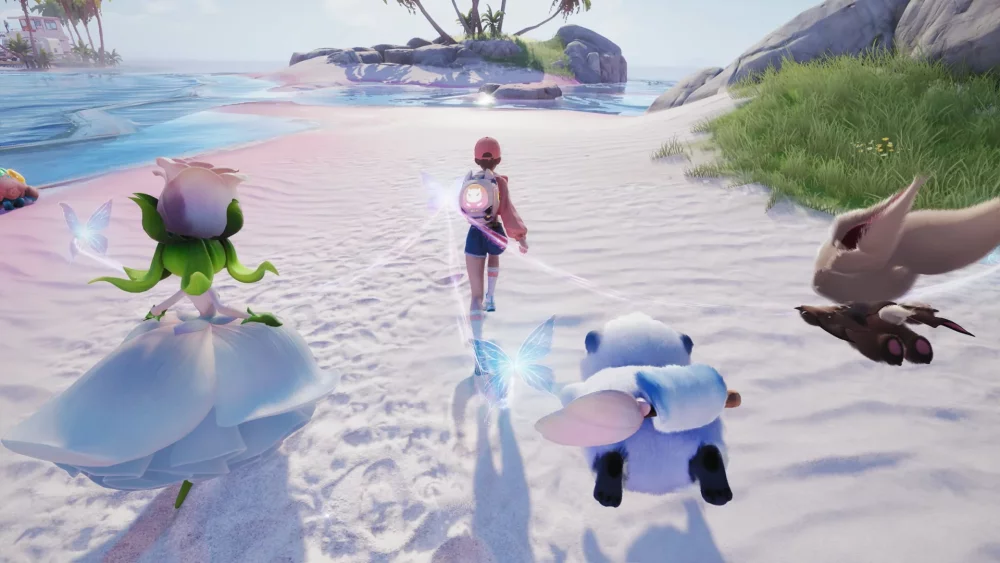
To maximize your damage output with a Star Knight Water team composition in Aniimo, stack multiplicative damage buffs and apply support debuffs before committing your Star Knight to a primary burst phase. Creator coverage highlights that relying on stacked elemental multipliers allows this setup to hit extreme damage figures—frequently between 100,000 and 200,000 per rotation—even when fighting against resisting elements.
Team Setup and Core Roles
Building a water-focused damage team requires selecting support units that enhance your main damage window rather than generalist defensive characters.
- Primary Anchor: Slot the Star Knight as your active damage dealer to capitalize on scaling buffs tied to water-element party members.
- Support Units: Prioritize allies capable of applying water-resistance shred or percentage-based damage amplification.
- Flex Options: Replace one offensive support unit with a dedicated healer or shielder if an encounter features heavy incoming damage that interrupts your channeling window.
Skill Rotation Sequence
To extract maximum DPS from your water composition, execute your ability sequence strictly in order:
- Deploy Support Skills: Begin combat with your support units to apply targeted debuffs and trigger enemy status vulnerabilities.
- Swap to Main DPS: Immediately switch to the Star Knight once status conditions are active on the target.
- Execute Burst Combo: Unleash the Star Knight's primary damage sequence while all support multipliers and vulnerability windows overlap.
- Manage Cooldowns: Cycle back to support units as primary skill windows end, avoiding unbuffed skill usage while primary cooldowns recover.
Deploying skills out of sequence significantly drops damage output. Test ability timing against stationary enemies first to learn the duration of your team's vulnerability windows.
Gear and Stat Priority
Focus equipment attributes on direct offense and elemental scaling to reach high burst thresholds.
| Priority Tier | Attribute Focus | Primary Mechanical Role |
|---|---|---|
| Priority 1 | Critical Damage Multipliers | Escalates total damage during multi-hit burst phases |
| Priority 2 | Skill Cooldown Reduction | Increases uptime for team buff and debuff cycles |
| Priority 3 | Water Elemental Mastery | Multiplies baseline output for all water-element skills |
Operational Trade-Offs and Failure Points
- Target Mobility: Highly mobile enemies can move out of burst area-of-effect zones mid-combo, leaving the Star Knight vulnerable while missing peak DPS windows.
- Defensive Gaps: Dedicated burst setups lack innate protection. Time dodges and defensive skills carefully when support buffs fade.
- Elemental Resistance: While stacked modifiers allow you to brute-force through disadvantageous elemental match-ups, failing to land your support debuffs beforehand will re-expose the unit to heavy damage penalties.

Free Aniimo Codes
Current active codes and how to redeem them.

Michael Smith
Michael covers live-service games, events, reward systems, and efficient daily routines, turning frequent updates into clear actions for players.
COMMUNITY
Player Comments
125 players commented on this guide.
The explanation is clear, especially for beginners.
I tried this today and it worked better than my old setup.
This guide answered the exact question I had.
This helped me understand strategy much better.