
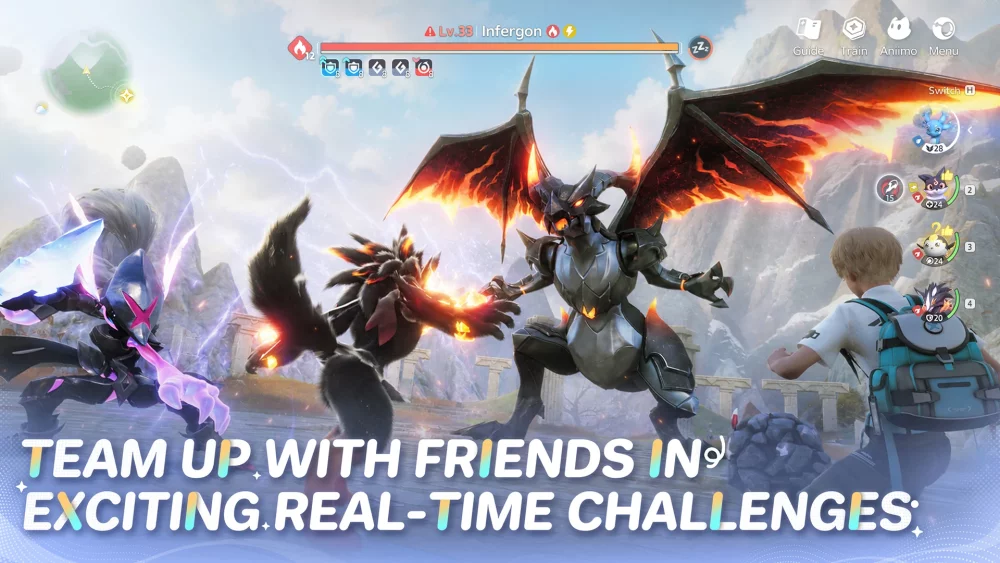
To build an effective team in Aniimo, structure your squad around three main combat roles: a frontline anchor to absorb incoming hits, a primary damage carry to deplete enemy health, and a utility support unit to shield or heal the team. Relying purely on damage dealers leaves your squad vulnerable to area-of-effect attacks and high-difficulty boss encounters.
Core Team Roles and Attributes
Selecting creatures based on complementary functions prevents your team from collapsing during sustained battles.
| Role | Primary Function | Key Traits & Stats to Prioritize |
|---|---|---|
| Frontline Anchor | Absorbs damage and redirects enemy aggression away from squishier allies. | High flat health, Damage Mitigation traits, Taunt skills, and damage resistance artifacts. |
| Primary Carry | Generates the team's main offensive output and burst damage. | High attack stats, burst abilities, and elemental coverage that targets enemy weaknesses. |
| Utility Support | Mitigates damage, heals, and enhances carry performance. | Defensive shields, speed buffs, healing skills, and staggered utility cooldowns. |
Frontline Anchors
Your frontline anchor acts as a damage sponge to keep high-damage units safe. When selecting an anchor:
- Look for passive traits or active abilities that grant Taunt or Damage Mitigation.
- Equip artifacts that boost flat health pool sizes and damage resistance percentage.
- Focus on durability rather than raw offensive stats.
Primary Damage Carries
Your carry is responsible for clearing targets once defenses are weakened.
- Pair carries with support units that can apply speed buffs or shield them during ability cooldown periods.
- Avoid deploying a carry without defensive protection, as area-of-effect boss attacks can eliminate unarmored damage dealers quickly.
Utility Support Units
Support units control the flow of combat and sustain the team.
- Use speed buffs to allow your primary carry to cycle through ability cooldowns faster.
- Apply defensive shields right before heavy incoming enemy attacks land.
Optimizing Elemental Interactions and Team Resonances
Beyond individual stats, overall team performance depends on passive synergies unlocked through creature combinations.
Before locking in your formation, run through this composition check:
- Role Balance Check: Verify that your active squad includes at least one tank, one damage carry, and one support or healer.
- Elemental Coverage: Ensure your party carries multiple damage types so your squad is not hard-countered by enemies with single-element resistances.
- Resonance Verification: Check if active squad members share a Bond or Elemental Resonance passive buff, which yields percentage-based boosts to party attack or defense.
Managing Combat Ability Rotations
Winning tougher encounters requires manual management of ability timing rather than launching all abilities at once.
- Observe Telegraphed Attacks: Watch enemy movement patterns to anticipate heavy incoming mechanics.
- Cycle Defensive Tools: Cast protective shields or damage mitigation buffs just before a telegraphed attack hits rather than at the start of the battle.
- Break Enemy Defenses: Use utility skills to reduce target defenses first.
- Unleash Primary Burst: Rotate to your main Carry abilities once the enemy is vulnerable.
- Stagger Cooldowns: Keep at least one defensive skill off cooldown at all times to handle unexpected aggression.
Adjusting Roster Lineups for Specific Encounters
While a standard triad setup works for open-world exploration, specialized content like high-level boss raids requires squad adjustments.
- Mobility vs. Defense: If a boss relies on dodgeable ground mechanics rather than unavoidable hitboxes, swap a heavy, slow tank for a faster unit with evasion and utility.
- Secondary Roster Investment: Keep a secondary pool of alternate elemental carries and utility units leveled up. Investing primary resources into your main squad is essential to reach the level cap, but maintaining leveled backup units prevents progress walls when encountering strict elemental counters.

Free Aniimo Codes
Current active codes and how to redeem them.

Michael Smith
Michael covers live-service games, events, reward systems, and efficient daily routines, turning frequent updates into clear actions for players.
COMMUNITY
Player Comments
92 players commented on this guide.
I wish I had read this before upgrading the wrong thing.
This saved me time in the early game.
This helped me understand base building much better.
The explanation is clear, especially for beginners.