
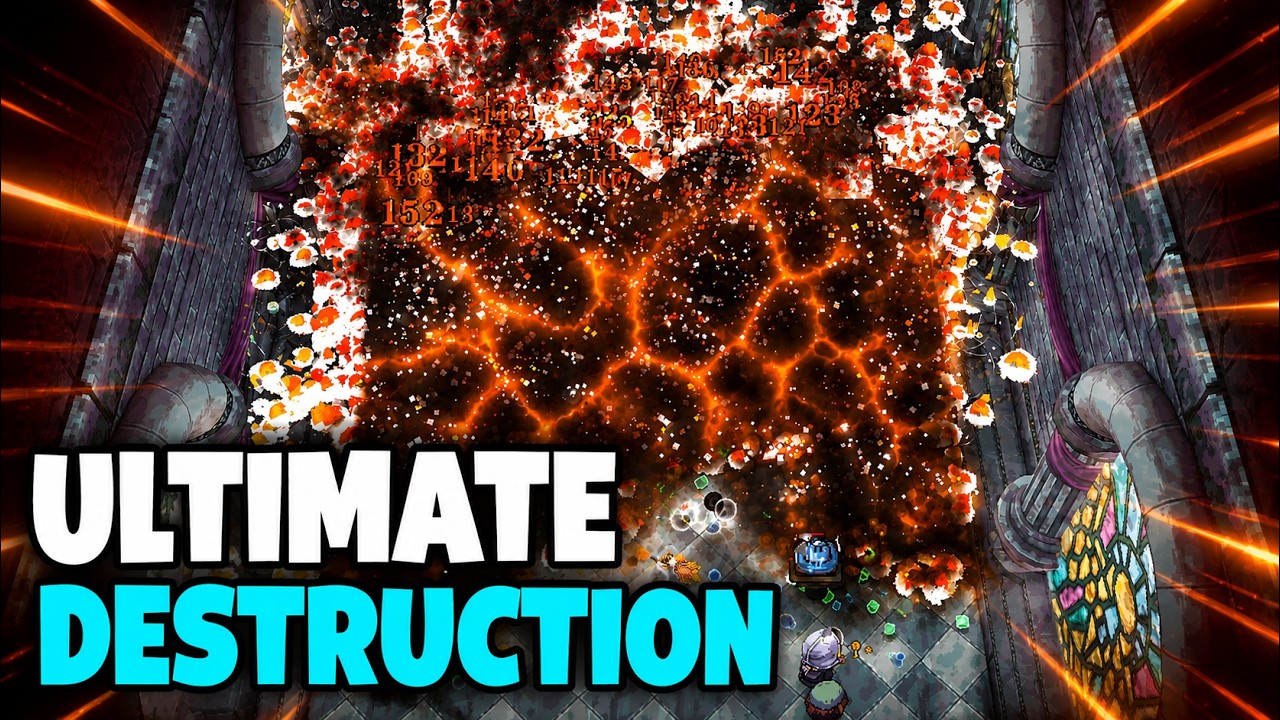
To achieve true dominance in BALL x PIT, you must transition from basic brick-breaking to sophisticated kinetic warfare. The most reliable path to surviving the game’s increasingly punishing late-game waves is the "Explosive Screen-Clear" build. By focusing your resource allocation on specific ball fusions that trigger massive area-of-effect (AoE) detonations, you can transform your projectiles from simple ricocheting tools into room-clearing ordnance. This guide breaks down the mechanics, stat prioritization, and tactical positioning required to master this high-damage playstyle.
The Mechanics of the Explosive Ball
At its core, BALL x PIT relies on physics-based projectile movement. The explosive ball variant changes the fundamental behavior of your primary weapon: instead of relying on impact damage against individual targets, it triggers a chain reaction upon collision.
When you land a hit with an explosive ball, it initiates an AoE detonation that damages all nearby enemies. The power of this build lies in "overlapping hitboxes." If you have multiple balls with explosive modifiers, you can trigger overlapping blast radiuses, effectively creating a "kill zone" that covers a significant portion of the screen. Unlike standard damage-over-time (DoT) builds, the explosive approach provides immediate crowd control, staggering enemies and preventing them from reaching your character.
Priority Upgrades for Maximum Coverage
Not all upgrades are created equal. When navigating the shop or selecting rewards after clearing a wave, you must adhere to a strict hierarchy to ensure your build scales into the late game.
- Blast Radius (Highest Priority): In a game defined by enemy density, reach is king. A larger radius ensures that even loosely grouped enemies are caught in the blast. This is your primary defensive stat; the larger the explosion, the further away enemies stay from your hero.
- Cooldown Reduction: Explosions are your primary source of survival. Reducing the time between triggers allows you to maintain a near-constant state of detonation, which is essential when the screen fills with high-speed monsters.
- Damage Multipliers: Once your radius is sufficient to cover the screen, you must ensure that each hit is a "one-shot." Damage multipliers ensure that your explosions remain effective against the armored and high-health enemies that appear in deeper pit levels.
- Ball Speed: While tempting, be cautious with excessive speed. If your balls move too fast, they may exit the screen or pass through enemy clusters before triggering the desired ricochet patterns.
Tactical Positioning and Kiting
The explosive build does not play itself. While the damage is high, the "activation" of the explosion depends on the ball colliding with an enemy or a wall. To maximize your efficiency, you must master the art of the "funnel."
- The Kiting Loop: Instead of standing still, move in wide, deliberate circles. This forces enemies to clump together behind you. Once you have a dense cluster, lead them into a wall or a corner, then fire your balls into the pack. The resulting explosion will chain-react through the entire group.
- Corner Trapping: Use the architecture of the pit. If you position yourself near a corner, you limit the number of directions enemies can approach from. Firing into the corner allows your balls to ricochet rapidly within a confined space, increasing the frequency of explosive triggers.
- Proactive Movement: Never wait for the enemies to reach you. Move toward the spawn points, but keep a retreat path open. By intercepting enemies early, you clear the "threat zone" before it becomes a wall of monsters you cannot maneuver through.
Balancing Trade-offs: When to Pivot
The biggest mistake players make with the explosive build is over-reliance on a single mechanic. Because your damage is burst-heavy, you are vulnerable during the split-second cooldowns between detonations.
The "Downtime" Strategy: If you find your explosive cooldowns are leaving you open, prioritize defensive buffs such as "Movement Speed" or "Knockback." These utility stats act as a buffer, allowing you to reposition while your explosive abilities reset.
Single-Target Weakness: Explosive builds often struggle against high-health bosses who don't have minions to trigger chain reactions. If you see a boss wave approaching, look for "Split" or "Multi-ball" upgrades. Increasing the number of projectiles on screen gives you more chances to trigger an explosion, turning even a lone boss into a target for your chain-reaction mechanics.
Advanced Progression: Homestead and Resource Management
Your performance in the pit is heavily influenced by your base-building and hero progression. As you descend deeper into the pit, the resources required for permanent upgrades will increase.
- Resource Generation: Prioritize "Gold/XP" gain modifiers in the early stages. By accelerating your economy, you can afford higher-tier ball fusions earlier in the run.
- Hero Selection: Choose heroes that provide passive synergy for projectile velocity or radius. A hero with a base-stat boost to "Area of Effect" will perform significantly better with an explosive build than a hero focused on single-target critical hits.
- Homestead Expansion: Use your homestead upgrades to unlock secondary ammunition types. Having an "incendiary" or "electric" modifier on your explosive ball can provide extra utility, such as slowing enemies or adding lingering damage to ensure stragglers are finished off.
Final Expert Insights
To truly master BALL x PIT, treat the screen as a physics engine. The explosive build is not just about raw numbers; it is about manipulating the game's internal logic to keep the screen clear.
- Don't ignore the walls: The edges of the screen are your best friends. Ricochets are more predictable than direct shots. Practice firing at angles that force your balls to bounce across the center of the screen multiple times.
- Watch the density, not the enemies: Pay attention to where the screen is most crowded. Even if you don't see a specific enemy, if a section of the map is "dark" with enemy density, prioritize that area.
- Consistency over burst: It is better to have three medium-sized explosions that trigger constantly than one massive explosion that triggers once every five seconds. Aim for a high "up-time" on your detonations to maintain total board control.
By combining these strategies, you will find that the highest levels of the pit become far more manageable. Focus on your radius, maintain your mobility, and always keep your balls moving toward the densest clusters of threats. With practice, you won't just survive the pit—you will dominate it.

Free BALL x PIT Codes
Current active codes and how to redeem them.

James Brown
James focuses on Android gaming on PC, emulator setup, controls, performance tuning, and practical troubleshooting for longer play sessions.
COMMUNITY
Player Comments
69 players commented on this guide.
I tried this today and it worked better than my old setup.
The tips are practical and easy to follow.
I wish I had read this before upgrading the wrong thing.
The explanation is clear, especially for beginners.