
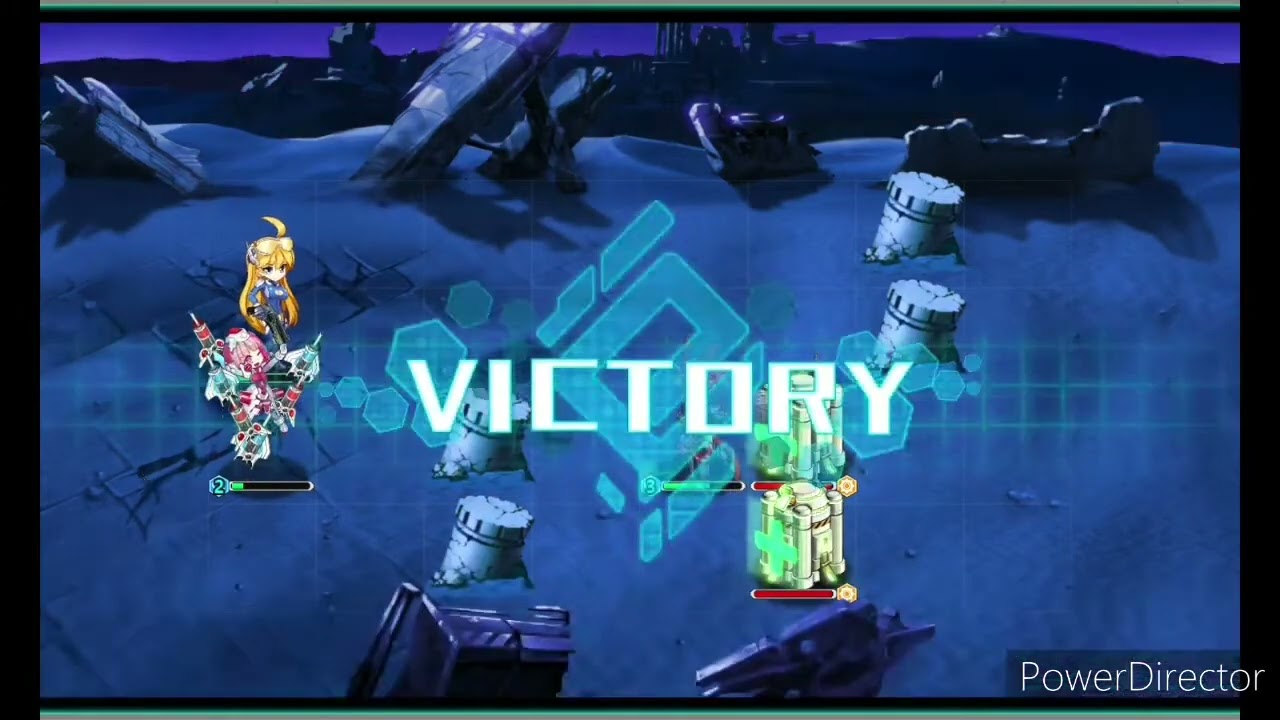
Clearing Chapter 2-3 in Battlezone Saga: Gacha Diva represents the first significant difficulty spike for many commanders. The stage introduces sophisticated enemy AI and multi-wave mechanics that punish reckless play. To succeed, you must move beyond the "Auto-Battle" feature and adopt a tactical, manual approach to skill rotation and grid positioning. By prioritizing target selection and managing your team’s energy economy, you can overcome the boss’s output and secure a three-star clear.
Understanding the Chapter 2-3 Mechanical Threat
The difficulty of Chapter 2-3 stems from the synergy between the secondary mechanical mobs and the stage boss. Unlike earlier stages, the enemies here are designed to overwhelm your frontline tank through sheer volume of fire. The boss functions as a "burst engine," waiting until your team is occupied with minions to unleash devastating Area of Effect (AoE) attacks.
Players frequently fail this stage by focusing exclusively on the boss, leaving the auxiliary units to chip away at their support heroes. To win, you must treat the battlefield as a resource-management puzzle: every action point spent on a minion is an investment in your survivability for the final showdown.
Prioritizing Target Selection
In the second wave of Chapter 2-3, you are faced with a mix of high-damage mechanical units and defensive support mobs. If left unchecked, these auxiliary units can strip your tank’s shields in seconds.
- Identify High-Priority Threats: Look for enemy units with "Sniper" or "Artillery" tags. These units deal high burst damage that bypasses standard defensive rotations.
- The "Clean-Up" Protocol: Before focusing on the boss, clear the perimeter. Use single-target high-damage abilities to remove one enemy at a time rather than spreading damage across the entire wave.
- Crowd Control (CC) Application: Reserve your CC abilities (stuns, slows, or blinds) specifically for these support mobs. Neutralizing them early allows your DPS to focus on the boss without needing constant healing.
Mastering Skill Cooldowns and Burst Windows
The most common cause of failure in this chapter is "ability spamming." If you use your ultimates as soon as they are available, you will have no defensive or offensive utility when the boss enters its primary vulnerability phase.
The boss in Chapter 2-3 telegraphs its heavy attacks with a distinct visual charge-up animation. This is your cue to act:
- Stop Auto-Casting: Disable auto-combat during the final wave.
- Wait for the Tell: When the boss glows or begins its charging animation, save your high-damage ultimates.
- Interrupt and Burst: Use your highest damage-per-second (DPS) skills immediately after the boss finishes its charge, or use a "Stun" ability to cancel the attack entirely. This creates a damage window where the boss is stationary and unable to mitigate incoming fire.
Optimizing Grid Positioning for Damage Mitigation
Battlezone Saga: Gacha Diva utilizes a grid-based combat system where physical placement dictates success. In Chapter 2-3, the environment features debris and pillars that provide line-of-sight (LoS) protection.
- Avoid Clumping: Positioning all your units in a single square makes them easy targets for the boss's AoE attacks. Spread your team across the back two rows to force the enemy AI to split its focus.
- Aggro Rotation: If your tank is taking too much damage, move a "bruiser" or secondary melee unit into an adjacent grid square to share the aggro. By rotating which hero is currently tanking, you allow the hero’s passive regeneration to recover their HP pool.
- Utilize Cover: Move squishy DPS and healer units behind terrain features. Even if they are still within range to attack, being behind cover can reduce incoming projectile damage by a significant percentage.
Managing Resource Expenditure and Team Sustainability
If you find your team consistently falling before the boss reaches 25% HP, the issue is likely your team’s "sustainability cycle."
- Gear Check: Ensure all active squad members have at least level-two gear enhancements. In Chapter 2-3, the stat checks are strict; if your damage output is too low, you will run out of energy before the boss dies.
- Energy Generation: Audit your team composition. Are you using too many expensive, low-impact skills? If you are constantly out of energy, swap one high-cost support unit for a low-cost utility unit that provides passive energy generation or buffs.
- The Healing Limit: If your healer cannot keep up, you are likely taking too much avoidable damage. Re-evaluate your positioning. Every hit you dodge by moving or using cover is effectively "free healing" that allows your support unit to focus on the tank.
Strategic Decision-Making: The "Restart" Threshold
Not every run is winnable. Recognizing a "dead run" early saves you valuable stamina. If your primary tank loses more than 50% of their health before the second wave is cleared, you are unlikely to survive the boss’s final phase.
Successful commanders in Battlezone Saga: Gacha Diva use the first few attempts of a difficult stage like 2-3 as "reconnaissance runs." Observe the boss’s movement patterns and note which of your heroes draws the most aggro. Use this information to rearrange your formation or swap in a hero with an elemental advantage. Consistency in your team’s damage output is the key to breaking the boss’s final shield and ending the encounter efficiently. By maintaining discipline, managing your cooldowns, and respecting the grid mechanics, Chapter 2-3 will become a manageable victory.

Free Battlezone Saga: Gacha Diva Codes
Current active codes and how to redeem them.

Sarah Williams
Sarah specializes in RPG and collection games, explaining team building, character growth, and beginner-friendly ways to avoid expensive early mistakes.
COMMUNITY
Player Comments
49 players commented on this guide.
Good guide for Battlezone Saga: Gacha Diva players. The strategy part was useful.
The explanation is clear, especially for beginners.
I tried this today and it worked better than my old setup.
This saved me time in the early game.