
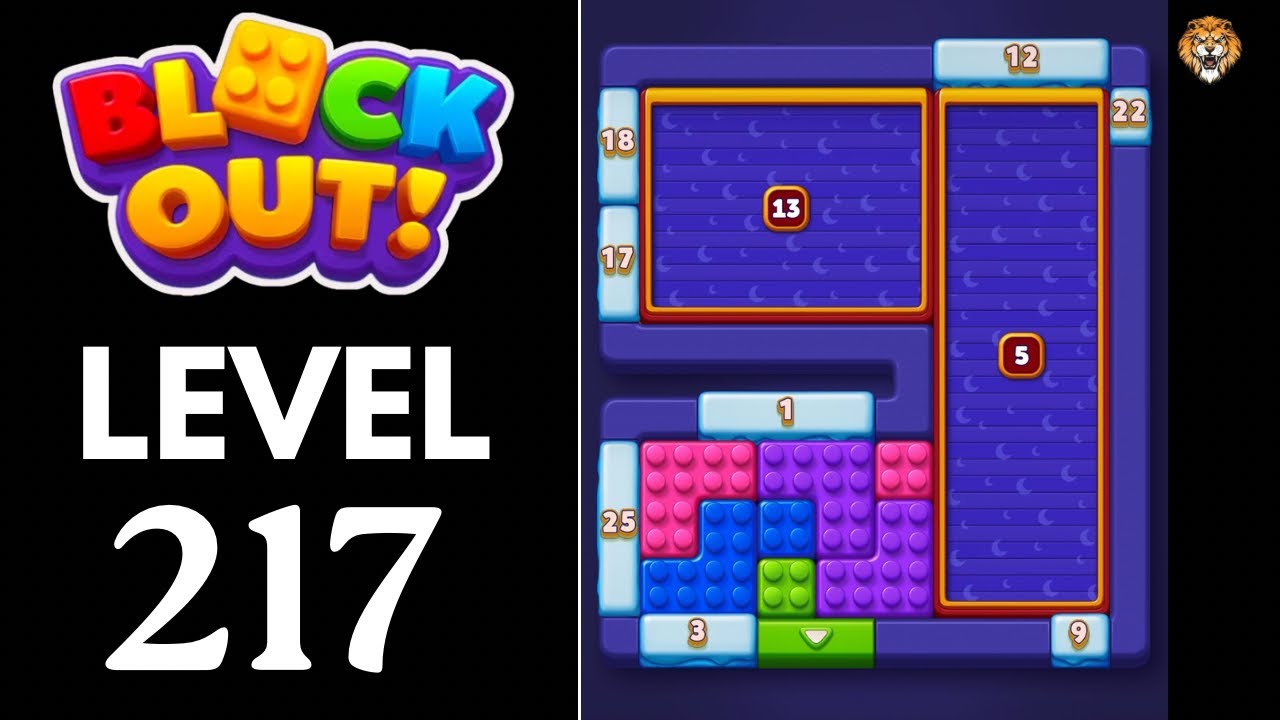
Completing Level 217 in Block Out is a test of spatial management and long-term planning. Unlike earlier stages that allow for trial and error, Level 217 features a high density of colors packed into a very restricted grid. If you attempt to sort blocks randomly, you will quickly encounter gridlock, where no further moves are possible because every column is topped by a different color.
Success in this level hinges on a "top-down" approach, where your primary goal is not just matching colors, but actively engineering empty space to facilitate future moves. By treating your empty columns as strategic buffer zones and prioritizing the reduction of stack heights, you can navigate the complexity of this level and clear the board efficiently.
Prioritize Clearing Top-Layer Blocks
The most common cause of failure in Level 217 is "depth-obsession"—the tendency to try and match colors buried deep within a stack while ignoring the blocks sitting on top. Because the level is so crowded, these top-layer blocks are your greatest obstacles. They essentially act as locks, preventing you from accessing the resources hidden beneath them.
To break through, you must perform a "top-layer audit" before every move. Identify which colors are sitting at the very top of each column. If a top block is a color that already has a home in a partially empty column, move it there immediately. By lowering the height of your tallest columns, you gain the "breathing room" necessary to reorganize the lower, more complex clusters. If you ignore these top layers, you will find yourself with no available moves, even if your color matches are technically correct.
Utilize Empty Columns as Buffer Zones
In Block Out, your empty columns are your most valuable currency. In Level 217, you should never leave an empty column unused if a block is obstructing a potential match. Think of these slots as "holding pens" where you can temporarily park a block that is currently in your way.
When you have a color that does not match the top of any other stack, moving it to an empty slot is not a wasted turn; it is a tactical necessity. This technique is essential for unlocking "buried" colors. If you have a cluster of three matching colors stuck under a different, mismatched block, move that top-most block to your buffer column. This immediately creates a target for the next move, allowing you to clear the matching cluster.
Pro Tip: Always strive to keep at least one column completely empty throughout the first half of the level. This ensures you always have a "neutral zone" to move a block that would otherwise trap you.
Manage Color Stacks to Prevent Gridlock
Gridlock occurs when you have mixed colors within the same column, forcing you to move individual blocks multiple times just to get to a single piece. To avoid this in Level 217, you must follow a strict hierarchy of operations:
- Match from the bottom: Always attempt to place blocks on columns that already contain the same color. This keeps your "active" height low and prevents color contamination.
- Avoid mixing: Never place a color into a column if it forces a different color to remain trapped underneath. If a move creates a "sandwich" (a color trapped between two different colors), undo it or find an alternative.
- Assess the ripple effect: Before moving a block, look at what will be exposed underneath. If moving a top block reveals a color that cannot be moved, you have just created a bottleneck. Prioritize moves that expose colors you can immediately clear.
When to Sacrifice Efficiency for Space
There are moments in Level 217 where you will face a choice between making a perfect match and simply clearing space. If your board is becoming too tall—meaning most columns are nearing the capacity limit—you must prioritize clearing space over completing a set.
Even if a move does not result in a match, moving a block to a different column to reduce the height of a stack can be the difference between clearing the level and losing your progress. Do not become obsessed with finishing a specific color group if it means leaving three other columns dangerously high. If the board is nearly full, your priority shifts from "organizing" to "stabilizing." Keep your columns at a manageable, uniform height to ensure you always have at least two potential moves available at any given time.
Advanced Tactics for the Final Phase
As you reach the final stages of Level 217, the remaining blocks will be easier to manage, but the risk of a "bad move" increases significantly because you have less room for error. In this late phase, a single misplaced block can bury a color you need, making it impossible to complete the final sets.
Follow these late-game rules:
- Double-check bottom colors: Before finalizing a move, look at the bottom-most color of every stack. These are your "anchor" colors. Ensure your moves don't bury an anchor color under a block that you won't be able to move for several turns.
- Clear the most common color first: If you are unsure which color to prioritize, look for the color that is most prevalent on the board. Clearing the most common color first will naturally create more empty space and reduce the complexity of the remaining blocks.
- Count your moves: While there isn't always a strict move limit, the "height limit" acts as a soft move counter. If you find yourself stuck, take a step back and analyze if you can rearrange your stacks to consolidate colors into fewer columns.
By maintaining this systematic reduction, you will reach the end of the puzzle without exhausting your moves or running out of vertical space. Remember: in Block Out, the puzzle isn't just about matching colors; it's about managing the flow of the board. Keep your columns tidy, your buffer zones open, and always think two moves ahead.
Free Block Out Codes
Current active codes and how to redeem them.

Sarah Williams
Sarah specializes in RPG and collection games, explaining team building, character growth, and beginner-friendly ways to avoid expensive early mistakes.
COMMUNITY
Player Comments
134 players commented on this guide.
This saved me time in the early game.
I tried this today and it worked better than my old setup.
Nice guide. I am checking the other Block Out articles next.
I wish I had read this before upgrading the wrong thing.