
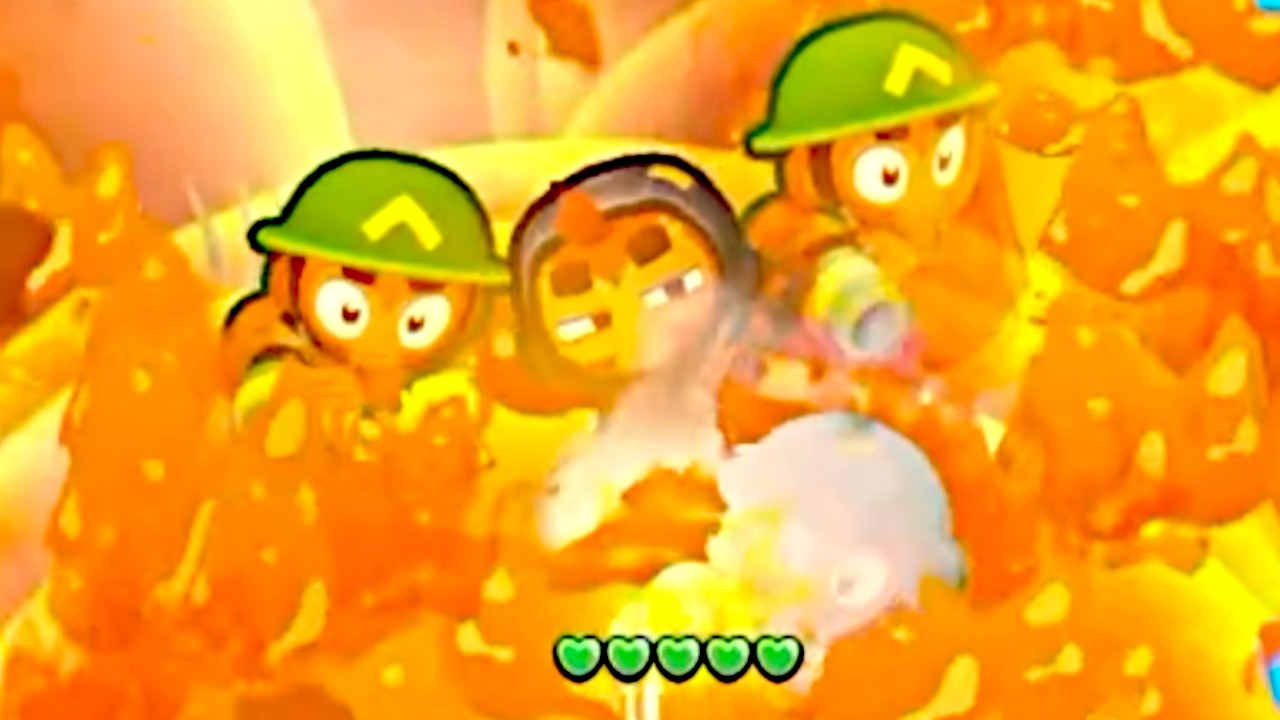
To maximize the Mortar in Bloons Blitz, prioritize attack speed and blast radius early in your run, set your manual reticle at upstream track intersections, and kite incoming Bloon clusters around the detonation zone. Because Mortar shells fire at a fixed reticle anywhere on the map, you can evade threats continuously without lowering your damage output.
Early Upgrade Priority Order
An un-upgraded Mortar fires slowly and covers a narrow radius, making it vulnerable to fast leaks. You must establish shell frequency and area coverage before investing in damage-over-time effects.
| Upgrade Priority | Upgrade Type | Combat Function |
|---|---|---|
| 1. Primary | Attack Speed / Rapid Reload | Reduces launch cooldown to prevent coverage gaps between swarms. |
| 2. Primary | Bigger Blast / Blast Radius | Expands the detonation circle to catch entire groups and loose Bloons. |
| 3. Secondary | Shell Velocity | Cuts shell flight time so detonations land before fast targets escape. |
| 4. Secondary | Burn Effects / Napalm | Leaves ground fire to strip layers from Lead and Ceramic Bloons. |
| 5. Utility | Concussive Force | Knocks back or stuns Bloons, keeping them trapped inside the impact zone. |
Once your fire cadence and blast diameter are stable, pick burn upgrades to deal with dense mid-game waves. Lingering napalm strips outer layers even if the direct explosion does not fully pop fortified Bloons.
Where to Place the Reticle
Do not drop your Mortar target directly on your hero. Instead, position the targeting reticle based on track geometry:
- Lane intersections: Place the reticle upstream where multiple track paths converge. This damages converging lanes before Bloons spread out into the open arena.
- Track bends: Center the reticle on tight corners. Bloons slow down relative to straight lines when navigating curves, increasing their exposure to falling shells.
- Emergency safety shifts: If fast Pink Bloons threaten to overwhelm your hero, temporarily pull the reticle closer to your character to clear immediate contact threats, then return it upstream.
How to Kite Around Mortar Shells
Because the Mortar bombards a stationary target area, you must actively steer chasing Bloons through that zone.
- Circle the strike perimeter: Run laps around the outer edge of your targeting marker rather than through its center.
- Lead pursuers through the core: Trailing Bloons follow your movement path directly across the blast point, taking continuous splash damage.
- Avoid center crossing: Never run straight through the center of the reticle while closely pursued, as a delayed shell impact leaves your hero vulnerable to contact damage.
Handling Heavy and Fortified Bloons
Against MOAB-class targets and heavy Ceramic rushes, direct burst damage alone may fail to eliminate the wave before it advances. Shift your reticle slightly ahead of heavy targets to account for their forward movement. Pairing continuous Mortar fire with auxiliary slowdown or knockback abilities keeps durable Bloons locked within consecutive explosions, stripping their outer layers before they split into faster swarms.

Free Bloons Blitz Codes
Current active codes and how to redeem them.

Emily Johnson
Emily writes practical mobile strategy guides with a focus on resource planning, base progression, and the early decisions that shape a long-term account.
COMMUNITY
Player Comments
139 players commented on this guide.
Good guide for Bloons Blitz players. The strategy part was useful.
Nice guide. I am checking the other Bloons Blitz articles next.
This guide answered the exact question I had.
I tried this today and it worked better than my old setup.