
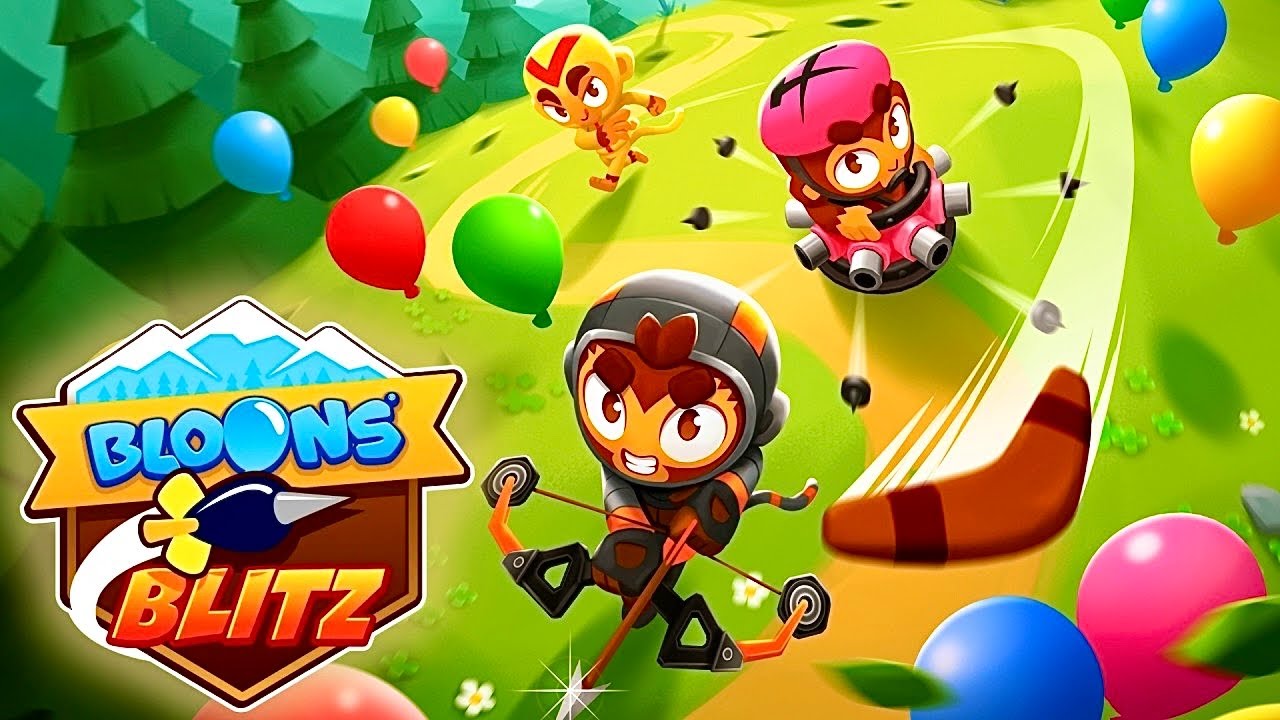
To survive dense enemy waves in Bloons Blitz, keep your hero in constant motion and kite Bloons around open space rather than standing in a static defensive position. Standing still allows enemy clusters to converge on your hero from multiple angles, leading to sudden defeat.
Maintaining continuous movement spreads out enemy clusters, prevents contact damage, and keeps open escape routes available during peak wave intensity.
Kiting Strategies for Wave Management
Kiting is the process of leading enemy groups across the map while staying just out of range of contact damage. Executing continuous movement patterns breaks tight enemy spheres into manageable trails.
- Run Circular Outer Loops: Move in wide circular patterns around the edges of open space. This forces Bloons to follow behind your hero in a single-file line rather than surrounding you.
- Attack the Lead Line: Focus your active attacks and main hero damage on the front edge of the trailing Bloon line to thin the group without taking damage from trailing enemies.
- Move Perpendicularly: When new clusters spawn, alter your trajectory to travel perpendicular to their line of movement. Walking directly toward an incoming swarm increases your collision risk.
- Exploit Map Geometry: Funnel trailing Bloons through narrow corridors or map choke points. Tight spaces align enemies into straight lines, maximizing the performance of piercing attacks and line-based abilities.
Arena Positioning and Center Control
Your hero's location within the arena determines how quickly you can react to new enemy spawns. Remaining near map borders limits your movement options and makes cornering likely.
- Clear Center Space Early: Priority number one during wave transitions is opening up the middle of the map. Central placement provides 360-degree visibility of incoming threats and maximum space for evasive maneuvers.
- Identify Edge Danger Signals: If enemy density pushes your hero against a wall or border asset, stop your loop pattern immediately.
- Blast a Re-entry Route: Fire your strongest area-of-effect (AoE) abilities directly into the Bloons blocking your path back toward the center of the arena.
- Resume Perimeter Loops: Once back in open space, re-establish your circular movement path around the perimeter of the cleared area.
Synchronizing Ability Timing with Repositioning
Activating abilities while stationary leaves your hero vulnerable once the effect ends. Coordinate high-impact ability usage directly with your physical movements across the map.
| Scenario | Hero Movement Action | Ability Deployment |
|---|---|---|
| Trapped Against Map Boundary | Move directly toward the thinnest point of the walling swarm | Fire area-of-effect (AoE) abilities forward to burn an exit path |
| Defensive Ability Finishing Cooldown | Steer your hero toward the dense center of a target group | Trigger the defensive ability right as you enter impact range |
| Enemies Funneled into Choke Points | Align hero directly opposite the narrow corridor opening | Use piercing attacks into the single-file line of Bloons |
Free Bloons Blitz Codes
Current active codes and how to redeem them.

Emily Johnson
Emily writes practical mobile strategy guides with a focus on resource planning, base progression, and the early decisions that shape a long-term account.
COMMUNITY
Player Comments
86 players commented on this guide.
Nice guide. I am checking the other Bloons Blitz articles next.
The explanation is clear, especially for beginners.
This saved me time in the early game.
This guide answered the exact question I had.