
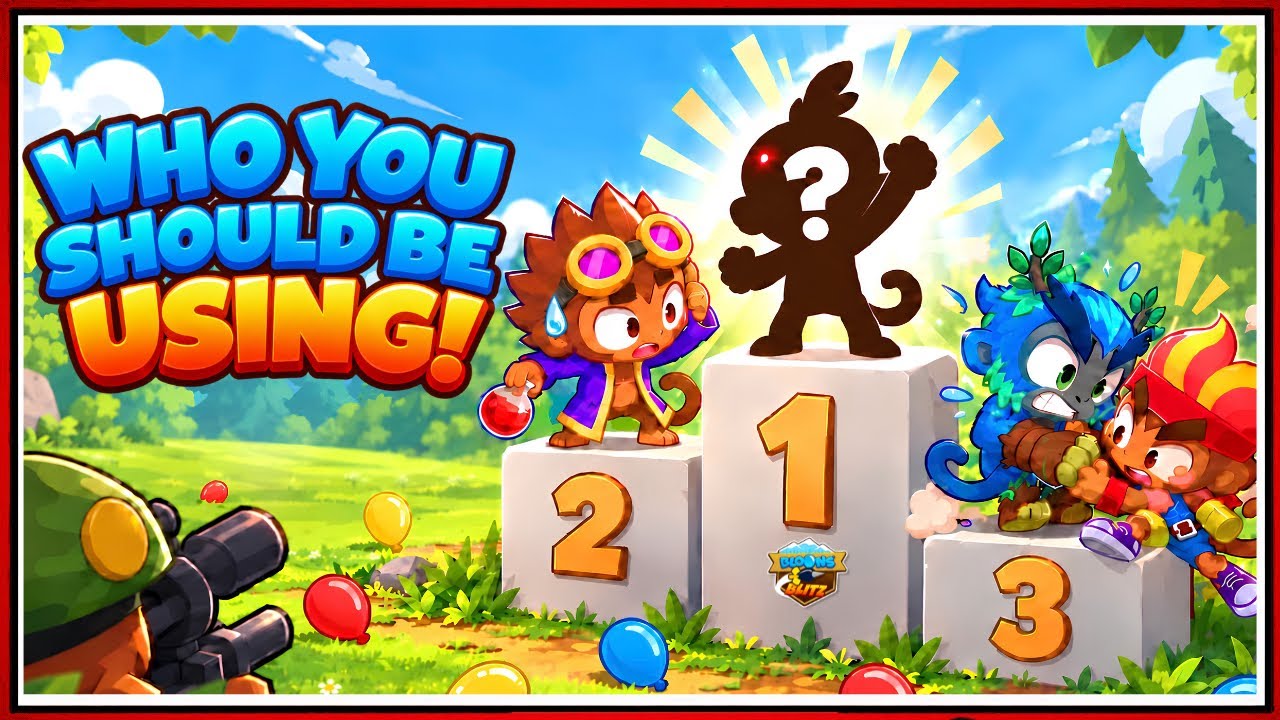
To consistently clear runs in Bloons Blitz, select Quincy as your starting hero and draft high-pierce, multi-directional units like the Boomerang Monkey, Super Monkey, and Tack Shooter. Survival in this roguelike mode depends on clearing escape routes through dense bloon swarms while constantly moving, making units with delayed targeting or single-target limits dangerous to rely on.
Hero Rankings: Quincy vs. Gwendolin
Your hero choice determines how easily you navigate the opening minutes while building an initial defense:
- Quincy (S-Tier): The most reliable starter in the game. Quincy features a long baseline range, rapid fire rate, and straight projectile trajectories. This direct damage profile allows you to carve exit lanes through advancing packs without waiting on ability cooldowns.
- Gwendolin (A-Tier): Gwendolin provides high area-of-effect burn damage across a wide frontal cone, which rapidly strips ceramic bloon layers. Her shorter engagement range forces you to kite much closer to incoming swarms, increasing the risk of taking collision damage.
Bloons Blitz Monkey Tier List
| Tier | Monkey | Primary Role | Key Strength | Main Limitation |
|---|---|---|---|---|
| S | Super Monkey | Screen-wipe DPS | Unmatched continuous projectile density | High draft cost and upgrade requirements |
| S | Boomerang Monkey | Wave control | Multi-angle curved flight paths and high pierce | Requires circular kiting for maximum efficiency |
| S | Tack Shooter | Point-blank defense | 360-degree burst coverage | Zero long-range threat projection |
| A | Bomb Shooter | Dense cluster burst | Eliminates clustered ceramic packs | Slower projectile speed can miss fast pink bloons |
| A | Ninja Monkey | Target tracking | High-speed shurikens with natural homing | Lacks full 360-degree protection when surrounded |
| A | Alchemist | Debuff and splash | Acid pools melt multi-layer formations | Weak isolated single-target damage |
| B | Dart Monkey | Early stabilization | Cheap straight-line popping power | Falls off severely against late-game health pools |
| B | Sniper Monkey | Priority target removal | Instant, map-wide single-target hits | Easily overwhelmed by large swarms |
| B | Ice Monkey | Crowd control | Freezes nearby swarms to buy time | Low base damage requires secondary DPS to pop targets |
| C | Mortar Monkey | Heavy artillery | High explosive radius | Delayed travel time leads to frequent missed shots |
| C | Glue Gunner | Slow utility | Decelerates charging bloon lanes | Inadequate popping power prolongs wave timers |
S-Tier Picks: Run-Defining Anchors
Units in S-tier solve the core threats of late-game density and sudden rushes:
- Super Monkey: Serves as the ultimate late-game carry. Once upgraded, its continuous fire tears through fortified clusters and MOAB-class threats before they reach your inner ring.
- Boomerang Monkey: Exceptional across every round. Its curving projectiles hit bloons repeatedly across multiple angles, giving you safe room to maneuver while running circular loops around spawn points.
- Tack Shooter: The premier defensive panic button. When bloon swarms collapse directly onto your position, its radial spread damages every target within melee distance simultaneously.
A-Tier Picks: High Area Damage and Support
A-tier units excel when paired alongside an S-tier anchor to address specific enemy formations:
- Bomb Shooter: Essential for cracking dense ceramic bloon formations that absorb standard darts.
- Ninja Monkey: Shuriken tracking guarantees consistent hits against erratic bloons, functioning as a reliable secondary DPS source.
- Alchemist: Acid pools soften thick waves. Pairing an Alchemist's splash debuffs with the fast firing rate of a Tack Shooter quickly eliminates grouped threats.
Lower Tiers: Early Starters and Low-Impact Traps
Lower-tier units either fall off rapidly or introduce mechanical liabilities during active kiting:
- B-Tier Drop-Offs: The Dart Monkey clears the first few waves easily but lacks the pierce to survive later rounds without excessive investment. The Sniper Monkey cannot handle sheer enemy volume, and the Ice Monkey merely delays swarms rather than clearing them.
- C-Tier Liabilities: The Mortar Monkey struggles because manual targeting or stationary reticles conflict with continuous character movement. The Glue Gunner slows down waves but deals minimal damage, needlessly prolonging rounds and crowding the arena.
Recommended Drafting Strategy
- Lock Quincy to secure safe kiting and consistent early single-target damage.
- Draft a Boomerang Monkey or Tack Shooter on your first level-up to establish reliable 360-degree perimeter protection.
- Add area-of-effect splash via the Bomb Shooter or Alchemist by the mid-game to melt dense ceramic clusters.
- Draft the Super Monkey as your late-game win condition once your survival baseline is secure.
- Skip low-damage utility units like the Glue Gunner and Mortar Monkey to keep your weapon slots focused on direct popping power.
Free Bloons Blitz Codes
Current active codes and how to redeem them.

Emily Johnson
Emily writes practical mobile strategy guides with a focus on resource planning, base progression, and the early decisions that shape a long-term account.
COMMUNITY
Player Comments
28 players commented on this guide.
I wish I had read this before upgrading the wrong thing.
This saved me time in the early game.
This guide answered the exact question I had.
The tips are practical and easy to follow.