
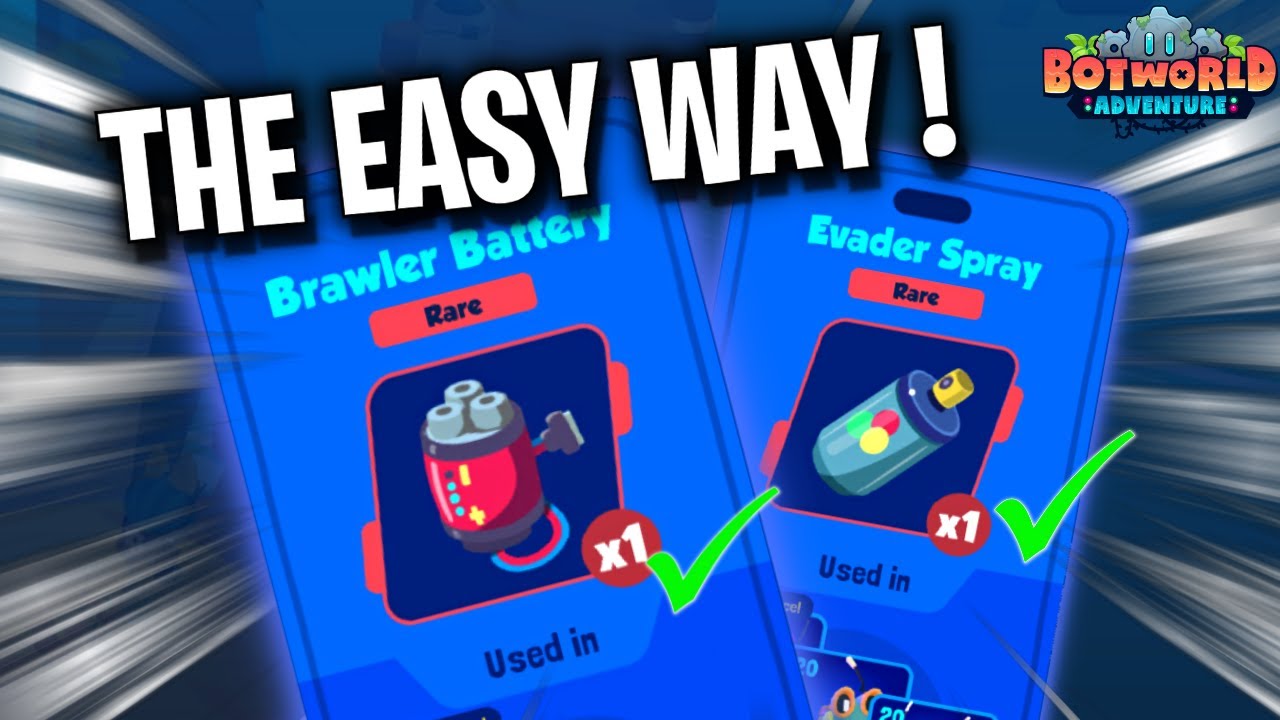
To find and farm specific scraps in Botworld Adventure, open the upgrade or crafting menu, tap the missing material's icon, and select the small information button to view its exact drop locations and enemy sources. Once you know where the scrap spawns, travel to the designated zone to gather ground containers, defeat matching wild bot types, and sweep high-tier Danger Zones.
Check the In-Game Item Tracker
The built-in item detail window eliminates aimless wandering by displaying verified drop tables for any missing crafting component.
- Open your bot upgrade screen, ability crafting menu, or boat workshop project.
- Tap the icon of the component you are missing.
- Tap the small "i" information icon on the item card.
- Review the listed biomes, enemy archetypes, or resource nodes that yield that item.
Basic alloys and early plating spawn near starting areas such as Scraptown and the coastal plains. Complex items like processors, specialized bot frames, and advanced wires require traveling to higher-level frontier regions identified by the tracker.
Loot Ground Containers and Danger Zones
Ground containers spawn across all open-world maps and respawn whenever you leave and re-enter an area.
| Container Type | Primary Contents | Risk Level | Farming Strategy |
|---|---|---|---|
| Loose Scrap Piles | Common metals, basic wires | Low | Collect along zone perimeters without engaging wild bots |
| Standard Chests | Uncommon components, coins | Low to Medium | Clear guarding bots before opening |
| Danger Zone Crates | Rare bot frames, high-tier scrap | High | Enter high-risk pockets with a combat-ready squad |
Danger Zones feature higher enemy levels and more aggressive bots, but the containers inside hold elevated scrap tiers and rare frames that rarely appear in safe zones. If your roster is strong enough to handle tougher encounters, route your runs directly through these zones.
Target Matching Bot Roles and Bandits
Wild bots drop scrap tied to their combat class. When hunting specific chassis or class-based parts, fight encounters featuring that exact bot type:
- Role-Specific Wild Bots: Chasers, brawlers, and snipers yield mechanical components and plating tailored to their respective roles.
- Bandits and Rival Botmasters: Hostile squads guard valuable scrap packages and drop curated high-grade caches upon defeat.
Engage bandit squads when your team is at full health to secure higher-grade bundles, and skip non-matching wild mobs to preserve combat readiness.
Buy Bottleneck Materials from Hub Merchants
NPC shopkeepers in towns and trading posts rotate their stock on regular schedules, selling bot frames, raw scrap, and crafting parts for gold.
Check merchant stocks every time you return to base to offload salvaged items. Avoid spending gold on common materials that can be gathered freely off the ground, but purchase scarce chassis components, rare wires, and complex cores to bypass progression walls immediately.
Conserve Energy on Farming Runs
To maximize scrap yields per excursion, plan a continuous loop across known container locations before returning to your boat:
- Avoid Unnecessary Fights: Steer around roaming wild bots while collecting loose ground scrap and unsecured chests to prevent squad chip damage.
- Equip Disruption Abilities: Use utility bot abilities to escape aggressive packs if cornered near a container.
- Minimize Repair Costs: Deploy fast-clearing team setups when combat is unavoidable to reduce incoming damage, keeping your botpack battery and squad intact until your haul is complete.
Free Botworld Adventure Codes
Current active codes and how to redeem them.

Emily Johnson
Emily writes practical mobile strategy guides with a focus on resource planning, base progression, and the early decisions that shape a long-term account.
COMMUNITY
Player Comments
133 players commented on this guide.
Nice guide. I am checking the other Botworld Adventure articles next.
This helped me understand strategy much better.
Can you add more details about strategy in a future update?
This saved me time in the early game.