
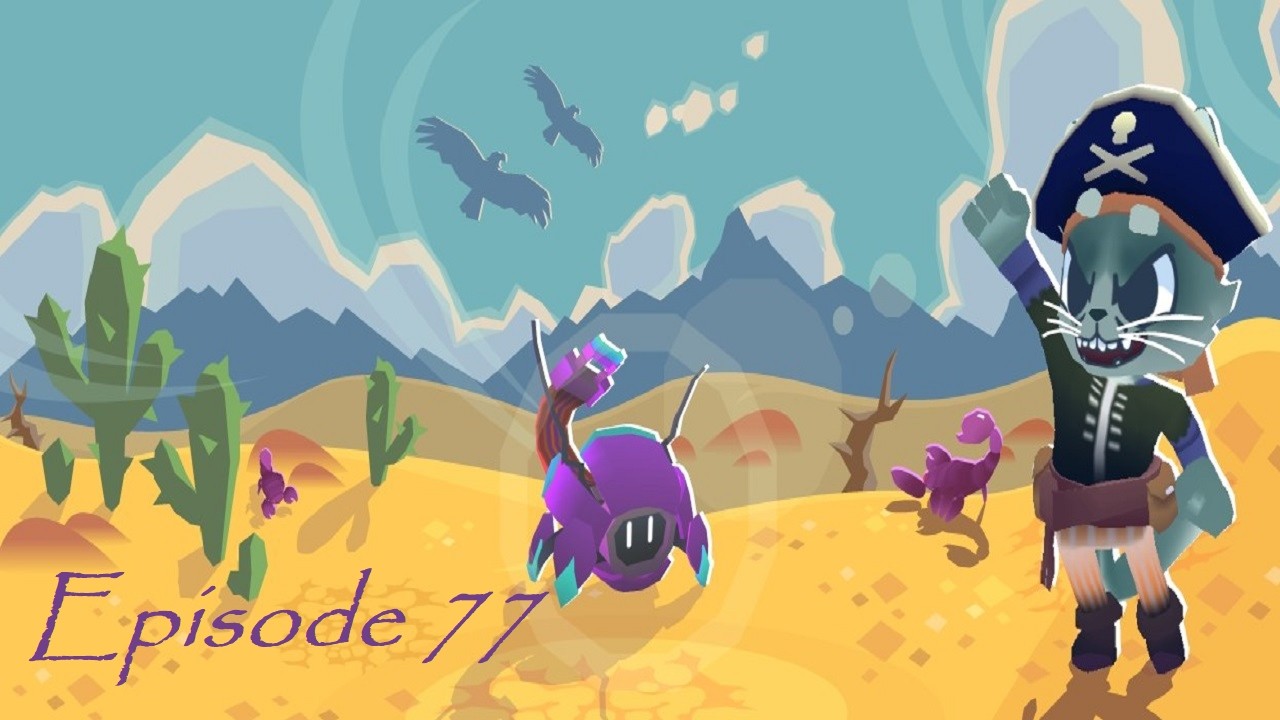
To win battles and prevent squad wipes in Molten Rock in Botworld Adventure, deploy durable frontline anchors to intercept aggressive melee swarms, preserve your pack ability energy for defensive utility, and lure wild bots away from adjacent patrol routes before initiating combat.
Molten Rock features narrow terrain corridors and aggressive enemy squads that rapidly punish poorly positioned teams. Maintaining control over unit placement and ability timing ensures your squad survives extended exploration runs.
Deploying Frontline Anchors and Crowd Control
Wild bot squads in Molten Rock frequently field fast melee brawlers and chasers that target the nearest available unit immediately upon deployment. Placing squishy ranged bots such as Longshot or Mort into open combat lanes without an interceptor leads to quick eliminations before they can charge their ultimate abilities.
Stabilize your opening deployment by leading with resilient defensive tanks:
- Bullwark: Deploys immediate shields to absorb opening burst spikes and protect teammates from direct hits.
- Thumper: Delivers localized knockbacks and area disruption to peel aggressive melee units away from your backline.
Position your frontline tank slightly ahead and diagonally offset from your damage dealers. This diagonal angle creates a clear line of fire while preventing enemy splash damage from striking both your frontline anchor and ranged units simultaneously.
Complement your tank with crowd control bots to control the pace of combat:
- Frosty: Freezes incoming chargers in place, giving your damage dealers time to burn through enemy health pools.
- Chainer: Pulls distant or spread-out targets directly into your designated kill zone, allowing area-of-effect abilities to hit multiple targets at once.
Managing Pack Abilities and Energy Economy
Pack energy recharges slowly over the course of an encounter. Spending all your energy on expensive direct-damage pack abilities early in a fight leaves your squad defenseless if an enemy charges a high-damage skill or reinforcements arrive.
Reserve low-cost utility pack abilities to react to tactical threats as they appear:
- Targeted Stun: Interrupt dangerous enemy channeled abilities or halt rapid chasers before they reach your backline.
- Gust: Push hostile melee bots away from vulnerable snipers, forcing enemies to re-target your frontline tank.
- Defensive Barrier: Apply extra shielding to your lead tank during high-damage enemy attack spikes to sustain their battlefield presence without wasting energy on emergency healing.
Let your deployed bots deal the majority of standard damage. Restrict your pack abilities to repositioning units, interrupting channels, and shielding critical targets.
Countering Enemy Threat Archetypes
Enemies in Molten Rock utilize flanking maneuvers, stealth, and long-range fire that can bypass a basic frontline. Counter these behaviors by adjusting unit spacing and holding specific counters.
| Threat Archetype | Enemy Behavior | Tactical Counter | Squad Positioning Rule |
|---|---|---|---|
| Fast Chasers | Rush directly toward low-health ranged bots | Targeted Stun pack ability or Frosty freeze | Deploy an off-tank directly adjacent to vulnerable ranged bots |
| Heavy Brawlers | Advance slowly with high health and melee burst | Sustained ranged focus fire and knockback peel | Maintain a defensive perimeter around your primary tank |
| Area Splatters | Fire delayed explosive rounds into dense clusters | Displacement pack abilities like Gust | Maintain wide spacing between your backline units |
| Long-Range Snipers | Fire high-damage projectiles from arena edges | Chainer pull or rapid gap-closing bots | Break line of sight using arena terrain or flank immediately |
When facing potential flankers, adopt a staggered deployment. Placing an off-tank or durable bruiser behind your primary ranged attacker forces flanking bots to engage a durable unit rather than eliminating your damage dealers.
Zone Pathing and Managing Patrol Aggro
Molten Rock's narrow volcanic passages create overlapping patrol zones where engaging one enemy pack can pull adjacent wild bots into the battle. Double encounters place severe strain on your bot health pools and pack battery.
- Observe patrol loops: Wait behind terrain obstacles until a roaming pack moves away from your intended target before starting a fight.
- Fight in open clearings: Engage targets away from narrow bottlenecks to ensure full control over your unit drop locations.
- Know when to extract: If an encounter inflicts severe damage on your squad, retreat to a safe extraction point or boat teleporter to repair. Continuing an exploration run with heavily damaged bots increases the risk of a wipe, resulting in lost scrap canisters and wasted travel time.
Free Botworld Adventure Codes
Current active codes and how to redeem them.

Sarah Williams
Sarah specializes in RPG and collection games, explaining team building, character growth, and beginner-friendly ways to avoid expensive early mistakes.
COMMUNITY
Player Comments
72 players commented on this guide.
Good guide for Botworld Adventure players. The strategy part was useful.
This saved me time in the early game.
I tried this today and it worked better than my old setup.
Nice guide. I am checking the other Botworld Adventure articles next.