
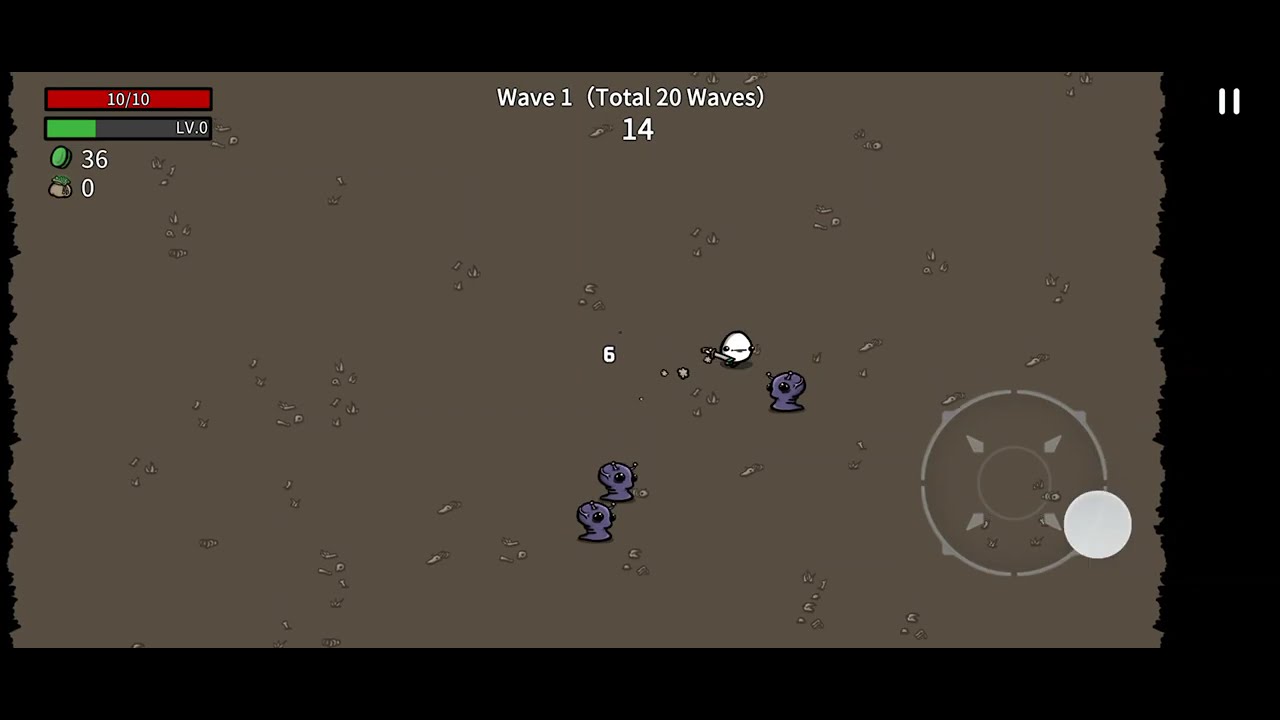
Brotato:Premium is a high-intensity arena shooter where your ability to synthesize character traits, weapon synergies, and economy management determines your survival against endless alien waves. To succeed, you must move beyond basic survival and understand the mathematical underpinnings of your Potato’s scaling. Whether you are struggling to clear Wave 20 or trying to optimize high-difficulty runs, mastering the interplay between your stats and the shop economy is the key to victory.
Understanding Core Stats and Scaling Mechanics
Every build in Brotato:Premium is governed by how effectively you scale your stats. While it is tempting to spread your points evenly, success usually comes from specialization.
- Damage Scaling: Focus on your primary damage type (Melee, Ranged, or Elemental). Increasing this stat provides the best ROI for your early-game materials.
- Attack Speed vs. Damage: For weapons with high base damage (like the Sniper or Rocket Launcher), prioritize flat Damage. For weapons with low base damage but high fire rates (like SMGs or Pistols), prioritize Attack Speed.
- Life Steal vs. HP Regeneration: Life Steal is generally superior for fast-firing weapons, as it rewards aggression. HP Regeneration is better for tanky, slow-moving builds like the Bull or characters that focus on "Armor" and "Max HP" stacking.
The Art of Shop Economy and Rerolls
Your shop management is the engine of your run. In the early game (Waves 1–5), your priority should be securing six weapons of the same class to activate set bonuses.
- Weapon Consistency: Aim to have your final loadout of six weapons by Wave 5. Don't fall into the trap of holding onto "starter" weapons for too long if they don't fit your build’s endgame scaling.
- Reroll Discipline: Avoid excessive rerolling in the first three waves. You need those materials to buy items. Save your rerolls for the mid-game, where specific items (like "Baby with a Beard" or "Hunting Trophy") can fundamentally change your run’s viability.
- The "Lock" Feature: Use the lock function to hold onto key items that you cannot afford yet. However, don't lock items for more than one wave; if you can’t afford it by the next shop phase, let it go to keep your economy fluid.
Strategic Character Selection and Traits
Each of the diverse characters in Brotato:Premium requires a unique approach to survival. Understanding a character’s "penalty" is just as important as understanding their "bonus."
- The Bull: This character thrives on explosion damage and health. Focus entirely on Max HP, Armor, and Explosion Damage. You do not need weapons, which allows you to funnel all your materials into stat-boosting items.
- The Ghost: With high Dodge and low HP, the Ghost is a glass cannon. Focus on reaching the 60% Dodge cap as quickly as possible. Once you hit the cap, your survivability relies on never getting hit, so prioritize high damage output to clear the screen before enemies get close.
- The Well-Rounded: The best character for learning the game. Use this character to practice balancing defensive stats (Armor, Dodge, HP) with offensive output. Aim for a 50/50 split between offensive and defensive items by Wave 15.
Mastering Wave Dynamics
Every wave in Brotato:Premium is a test of your DPS (Damage Per Second) and movement. By Wave 10, your build needs to be able to clear enemies as fast as they spawn. If you find yourself running away more than shooting, your damage output is too low.
- Kiting Patterns: Always move in wide circles. Moving in straight lines makes you vulnerable to projectiles. By kiting in a circle, you clump enemies together, which makes your AOE (Area of Effect) weapons significantly more efficient.
- Prioritize Ranged Enemies: Ranged enemies are the primary cause of run-ending damage. Learn the spawn patterns of these units and prioritize them before they form a firing line.
- Loot Management: Don’t stop moving to pick up materials. The game’s vacuum mechanic will pull them toward you as you move. Prioritize staying alive over collecting every single material drop.
Common Mistakes to Avoid
Even experienced players often fall into these common traps that lead to sudden death in later waves:
- Over-investing in Luck: While Luck is important for finding better items, it does not keep you alive. If you are dying before Wave 15, cut back on Luck and invest in survivability stats like Armor or Life Steal.
- Ignoring Range: Many players forget the Range stat. If your weapons can’t hit enemies until they are practically touching you, you are forcing yourself into a high-risk scenario. Adding 20–30 points of Range can make the game significantly easier.
- Forcing a Build: Sometimes, the shop won't give you what you want. Don't reroll until you are broke trying to find a specific weapon. Adapt to the items you are given. If the game offers you "Elemental" items, pivot your build to support that strategy.
The Path to Tier 4 Weapons
Transitioning your build in the late game is essential. In the early waves, Tier 1 and Tier 2 weapons are fine, but by Wave 15, you should be aggressively upgrading your weapons to Tier 3 and 4.
- The Power Spike: A Tier 4 weapon doesn't just deal more damage; it often provides better utility, such as increased knockback or larger projectile sizes.
- Merging: Always prioritize merging your current weapons before buying new, low-tier ones. Consolidating your inventory into high-tier gear is the most efficient use of your material budget in the final act of the game.
Final Thoughts on Progression
Brotato:Premium is designed to be challenging, but it is also fair. Every death is a learning opportunity to analyze your stat distribution. If you fail a run, look at your stats—did you have enough Armor? Was your damage too low for the elite? Use these insights to refine your build for the next run. By focusing on consistent scaling, efficient shop management, and smart kiting, you will consistently survive the final waves and conquer the highest difficulties.

Free Brotato:Premium Codes
Current active codes and how to redeem them.

Emily Johnson
Emily writes practical mobile strategy guides with a focus on resource planning, base progression, and the early decisions that shape a long-term account.
COMMUNITY
Player Comments
38 players commented on this guide.
I tried this today and it worked better than my old setup.
Can you add more details about resources in a future update?
I wish I had read this before upgrading the wrong thing.
This saved me time in the early game.