
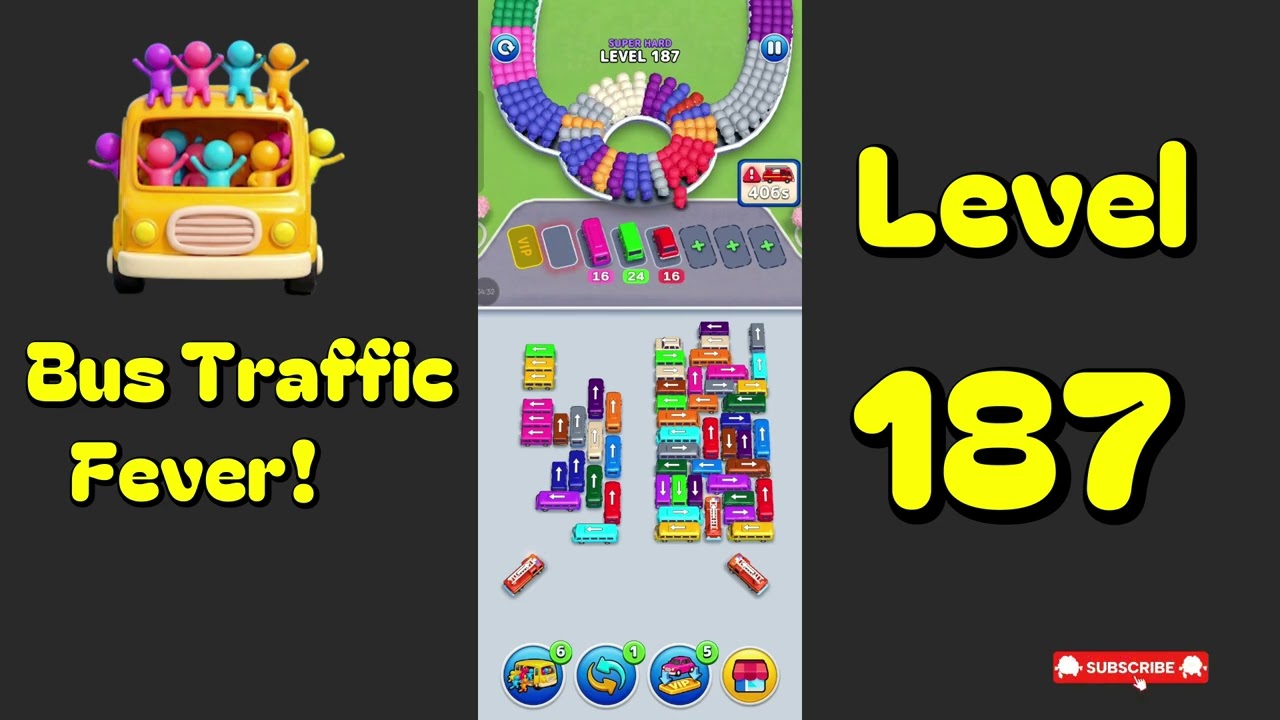
Level 187 in Bus Traffic Fever! is widely considered a "mini-boss" stage because it introduces tighter grid constraints and more complex color-sorting requirements than the preceding levels. To solve this stage, you must transition from simple reactive play to proactive traffic management. The key to success lies in identifying the "front-line" buses—those closest to their color-coded exits—and systematically clearing them to create the space required to reorganize the rest of the board.
The Mechanics of Level 187 Congestion
In Bus Traffic Fever!, movement is dictated by your ability to clear a direct path to the exit. Level 187 is designed to trick players into "cluttering" the board. When you move a bus into a lane that isn't fully clear, you risk creating a bottleneck where a bus of Color A is blocked by a bus of Color B, which in turn is blocked by a bus of Color C.
The grid in Level 187 is intentionally restrictive. You have limited depth in your parking lanes, meaning you cannot simply shuffle buses indefinitely. Every move must serve a dual purpose: either clearing a vehicle entirely from the board or creating a "buffer zone" in an empty lane that allows you to move a blocked bus out of a primary traffic artery.
Step-by-Step Priority Strategy
To conquer this level, follow this systematic approach:
- Survey the Front Row: Identify every bus that has a clear, unobstructed line of sight to its exit. These are your "Priority 1" moves. Clearing these immediately provides the most significant increase in board space.
- Clear Vertical Columns First: If you have a choice between clearing a horizontal block or a vertical column, prioritize the vertical. Vertical lanes are the most common source of gridlock because they often serve as the main thoroughfare for multiple bus colors.
- Identify Bottleneck Buses: Look for the buses buried deepest in the lanes. Determine which colors are currently preventing them from moving. If a Red bus is blocked by two Blue buses, your immediate goal is to find space to move those Blue buses so the Red one can eventually reach its exit.
- Execute "Cycle" Moves: If you have no direct exits, use your empty spaces to shuffle buses of the same color into a single lane. This consolidation frees up other lanes for different colors.
Managing Lane Congestion: The "Three-Move Rule"
A common mistake in Bus Traffic Fever! is tunnel vision—focusing entirely on one color and ignoring how that impacts the rest of the board. If you move all buses of one color at once, you will often find that you have essentially "bricked" the level because the remaining buses have no room to maneuver.
Use the Three-Move Rule: Before making any move, look three steps ahead. Ask yourself: "If I move this bus here, does it block the exit path for a bus I need to move next?" If the answer is yes, you are creating a bottleneck. Instead, look for a move that maintains the "flow" of the board, keeping the center lanes open as much as possible to allow for future swaps.
Advanced Tactics for Complex Puzzles
Level 187 requires you to master the art of the "Sacrificial Move." Sometimes, you must move a bus into a lane that seems counter-intuitive just to clear the path for a different, more important bus.
- The Swap Strategy: Use your empty parking slots to temporarily park a bus that is blocking an exit. Once the exit path is clear, move the priority bus out, then move the "sacrificial" bus back into its correct lane.
- Color Batching: Always aim to group colors. If you have two buses of the same color, keep them together. When you eventually clear a path for that color, you will be able to move multiple buses in quick succession, which significantly lowers your move count and prevents board clutter.
- Re-evaluating Stalls: If you find yourself unable to move any buses, do not immediately restart. Take a moment to look at the board from the perspective of the exit points backward. Which bus is the "anchor" (the one preventing all other movement)? Sometimes, moving a seemingly unimportant bus from a side lane is the exact unlock needed to shift the anchor.
Avoiding Common Pitfalls
- The "Dead-End" Trap: Avoid moving a bus into a lane that has no exit path unless you have a plan to move it out immediately. A bus parked in a dead-end lane is a wasted move that often requires another move to undo.
- The Rush Factor: There is no timer in Bus Traffic Fever! levels. Players often lose Level 187 by rushing. Take the time to trace the path of each bus with your finger or cursor before committing to the move.
- The "Color Pile-up": Don't mix colors in the same lane unless absolutely necessary. Mixing colors is the fastest way to hit a game-over state where no further moves are possible.
Final Decision Making
As you near the end of Level 187, the board will look much clearer, but the risk of a "trapped" bus increases. In the final phase, prioritize buses that are the furthest from their exits only if you have a clear, straight path for them. If a bus has to navigate through a crowded section, leave it for last.
By keeping the center of the board fluid and focusing on clearing the front-most vehicles first, you will find that Level 187 is much more manageable than it initially appears. Maintain your patience, keep your lanes organized by color, and prioritize the flow of traffic over quick, impulsive moves.

Free Bus Traffic Fever! Codes
Current active codes and how to redeem them.

Sarah Williams
Sarah specializes in RPG and collection games, explaining team building, character growth, and beginner-friendly ways to avoid expensive early mistakes.
COMMUNITY
Player Comments
129 players commented on this guide.
Good guide for Bus Traffic Fever! players. The strategy part was useful.
This helped me understand strategy much better.
The explanation is clear, especially for beginners.
This guide answered the exact question I had.