
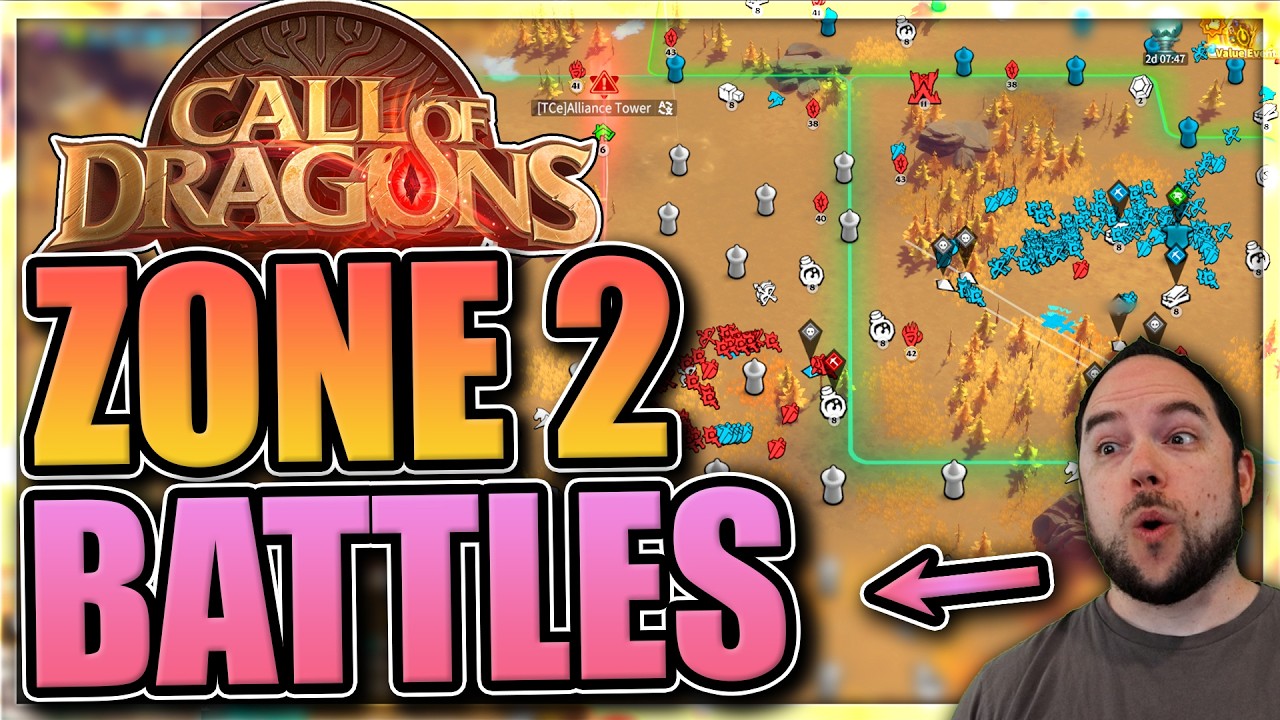
To dominate Zone 2 in Call of Dragons, you must shift your focus from individual progression to synchronized alliance warfare. The key to success is controlling the map’s restrictive 3D terrain by securing chokepoints and utilizing AOE-heavy commanders to force enemy retreats.
Understanding the Stakes of Zone 2 Combat
In the Many Blades, One Heart season of Call of Dragons, Zone 2 represents the first major crucible for your alliance. Unlike the open, relatively forgiving landscape of your starting zone, Zone 2 is defined by its claustrophobic terrain and high-value territorial objectives. Here, the map is fractured by mountain passes, narrow corridors, and specific choke points that effectively dictate the flow of the entire season.
The primary objective in Zone 2 is not just to defeat enemy units, but to exert "territorial pressure." Because space is limited, your alliance must prioritize clearing paths to strategic nodes. Players who attempt to fight in isolation or "tunnel-vision" on individual resource tiles often find themselves surrounded and cut off. Effective play requires you to treat every march as an extension of your alliance’s collective force; if you are not positioned to support your teammates, you are essentially a liability to the front line.
Mastering Troop Positioning and Movement
The 3D terrain in Call of Dragons is your greatest weapon or your worst enemy. In Zone 2, mobility is restricted by mountains and narrow paths, making traditional "flanking" maneuvers difficult.
- Utilize Elevation and Chokepoints: Always aim to hold higher ground or the mouth of a pass. When you hold the exit of a narrow corridor, you force the enemy to feed units into your line one by one, allowing your AOE effects to hit maximum value.
- The Role of Flying Units: Heroes like Elio or units with flight capabilities are essential for bypassing ground-based bottlenecks. Use them to harass enemy backlines or healers, but never commit them so deeply that they become isolated from your main infantry support.
- Avoid the "Poke War" Trap: It is a common mistake to engage in constant, low-impact skirmishes. These trades drain your stamina and resource banks without yielding territory. Wait for your alliance leadership to signal a "push" or "rally," and ensure your march arrival is perfectly synchronized with your allies.
Synchronizing Hero Skills for Large-Scale Battles
In the high-density combat of Zone 2, your commander loadout should favor Area of Effect (AOE) and crowd control (CC) over single-target burst damage. When hundreds of units are clustered in a narrow pass, a single well-placed ultimate can turn the tide of an entire engagement.
- Prioritize AOE Commanders: Commanders who can apply debuffs (such as reduced march speed or defense) are invaluable. By slowing an enemy's retreat, you allow your alliance’s heavy hitters to secure more kills.
- Staggered Ultimate Activation: If you are controlling multiple marches, do not dump all your rage skills simultaneously on one target. Stagger your active skills to ensure a constant stream of debuffs or damage, which prevents the enemy from recovering and forces their morale to break.
- Rage Management: In sustained combat, the alliance that hits their ultimate skills first—and most frequently—wins. Focus on gear and skill trees that prioritize rage generation to ensure your legions remain as lethal as possible during prolonged pushes.
Managing Resource Consumption and Healing
Zone 2 warfare is an expensive endeavor. The increased troop count and frequent clashes will inevitably lead to a spike in hospital bills and resource consumption. You must balance your aggression with your logistical capacity.
- The Hospital Threshold: Never fight until your hospital is overflowing. If your capacity is nearing its limit, rotate your marches back to a safe zone. A dead unit is a permanent loss; a wounded unit is merely a temporary delay.
- Smart Relocation: If your alliance has established a foothold, use your teleports to move your base closer to the active front. This minimizes travel time for reinforcements and allows you to return to the fray quickly after healing, maintaining constant pressure on the enemy.
- Stamina Discipline: Treat your stamina as a tactical resource. Never exhaust your total stamina pool on minor skirmishes. You need to keep a reserve for emergency defensive maneuvers or for the final push during a coordinated objective capture.
Strategic Alliance Coordination and Communication
The Many Blades, One Heart season is designed to reward groups that function as a single unit. Individual hero strength is secondary to the quality of your communication.
- Follow the Pings: If your alliance leadership marks a pass for capture, move to that location immediately. Being present at the right time is more impactful than having a maxed-out hero who arrives late to the fight.
- Defensive Rotations: If you are on the front line and your troops are heavily damaged, communicate this to your alliance. A well-coordinated group will rotate fresh units into your spot while you pull back to heal. This "relay" style of combat is what allows alliances to hold ground for hours against numerically superior foes.
- Supply Chain Efficiency: Use your gathering marches to secure resources in the safer, internal sections of the zone. This ensures that while your combat legions are fighting for territory, your economy remains stable enough to support the next wave of troop training.
Summary of Mistakes to Avoid
- Overextending: Pushing too far into enemy territory without support is the fastest way to lose high-tier units.
- Ignoring Terrain: Attacking uphill or into a narrow bottleneck against a prepared enemy is a recipe for disaster.
- Resource Neglect: Failing to keep up with hospital and training costs will eventually force you to retreat, regardless of how well you perform on the battlefield.
By focusing on group cohesion, managing your resources, and utilizing the unique 3D terrain of the map, you can effectively navigate the challenges of Zone 2. Remember: in Call of Dragons, the alliance that communicates best and fights as one will always emerge victorious over the uncoordinated many.

Free Call of Dragons Codes
Current active codes and how to redeem them.

Emily Johnson
Emily writes practical mobile strategy guides with a focus on resource planning, base progression, and the early decisions that shape a long-term account.
COMMUNITY
Player Comments
26 players commented on this guide.
This guide answered the exact question I had.
Nice guide. I am checking the other Call of Dragons articles next.
This helped me understand strategy much better.
The tips are practical and easy to follow.