
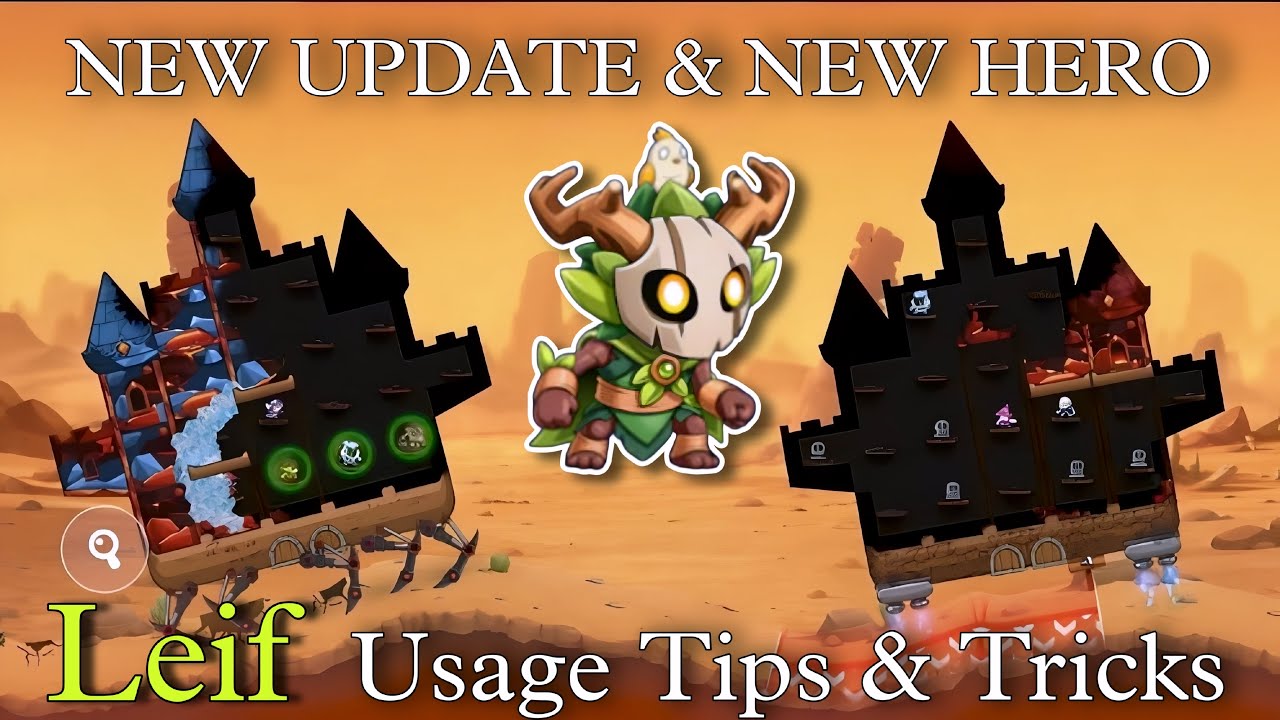
To dismantle fortified keeps in Castle Busters using Leif, deploy him at mid-range from the enemy castle and target internal structural intersections rather than outer walls. Leif fires projectiles in a high parabolic arc that bypasses front-facing defensive barriers, allowing his explosive splash damage to strike core support columns directly and trigger full castle collapses.
Positioning Leif for High-Arcing Shots
Leif’s primary asset is his ability to ignore horizontal outer defenses by dropping ordnance straight down onto internal structures. However, his steep trajectory requires precise distance management:
- Mid-Range Positioning: Place Leif at a moderate distance from the target. This aligns the peak of his projectile’s arc with the vulnerable inner floors of the castle.
- Close-Range Risk: Deploying Leif too close to an enemy tower flattens the trajectory relative to the structure's height. This causes shots to overshoot the target entirely or hit upper roof decorations.
- Long-Range Risk: If deployed too far away, the arc becomes too shallow, causing the shot to impact the outer curtain wall and waste the deployment cooldown.
Adjust your placement based on tower height: taller enemy builds require slightly more distance to clear top perimeter walls safely.
Target Selection and Structural Cascades
Leif deals area-of-effect (AoE) splash damage upon impact rather than single-point sniper damage. To maximize structural damage, aim for central junctions rather than isolated exterior blocks.
| Target Type | Aim Location | Outcome |
|---|---|---|
| Tall "Turtle" Towers | Base foundation blocks | Destroys ground support, causing all upper levels to collapse regardless of reinforcement. |
| Dense Block Clusters | Center of structural mass | Triggers a chain reaction that weakens multiple adjacent support beams simultaneously. |
| Layered Keeps | Central support pillars & floor intersections | Destroys primary load-bearing nodes, causing higher un-targeted floors to cave in. |
Wait for an opponent to commit resources into dense block clusters or central support columns before firing. Hitting load-bearing junction points triggers a structural cascade, dropping higher floors without requiring individual hits on every block.
Deployment Timing and Unit Synergy
Leif’s long reload time makes every shot a high-stakes commitment. Avoid deploying him as a frontline starter or spamming his attack at the beginning of a match.
- Send Secondary Units First: Deploy faster, cheaper units to draw enemy defensive fire and bait out shield abilities or barrier placements.
- Create a Gap or Distraction: Allow your secondary units to chip away at outer barricades or force the opponent to spend gold on defensive repairs.
- Deploy Leif as a Disruptor or Finisher: Fire Leif once key internal pillars are exposed or when the castle is already structural damaged.
- Cover the Reload Window: Keep secondary units on the field to absorb incoming fire while Leif undergoes his long reload downtime.
By landing repeated shots on a central pillar, you create a "dead zone" within the enemy keep. This forces rival players into costly, panic-driven repairs that drain their gold reserves while leaving their overall structure vulnerable.

Free Castle Busters Codes
Current active codes and how to redeem them.

Emily Johnson
Emily writes practical mobile strategy guides with a focus on resource planning, base progression, and the early decisions that shape a long-term account.
COMMUNITY
Player Comments
43 players commented on this guide.
Can you add more details about strategy in a future update?
I wish I had read this before upgrading the wrong thing.
I tried this today and it worked better than my old setup.
Nice guide. I am checking the other Castle Busters articles next.