
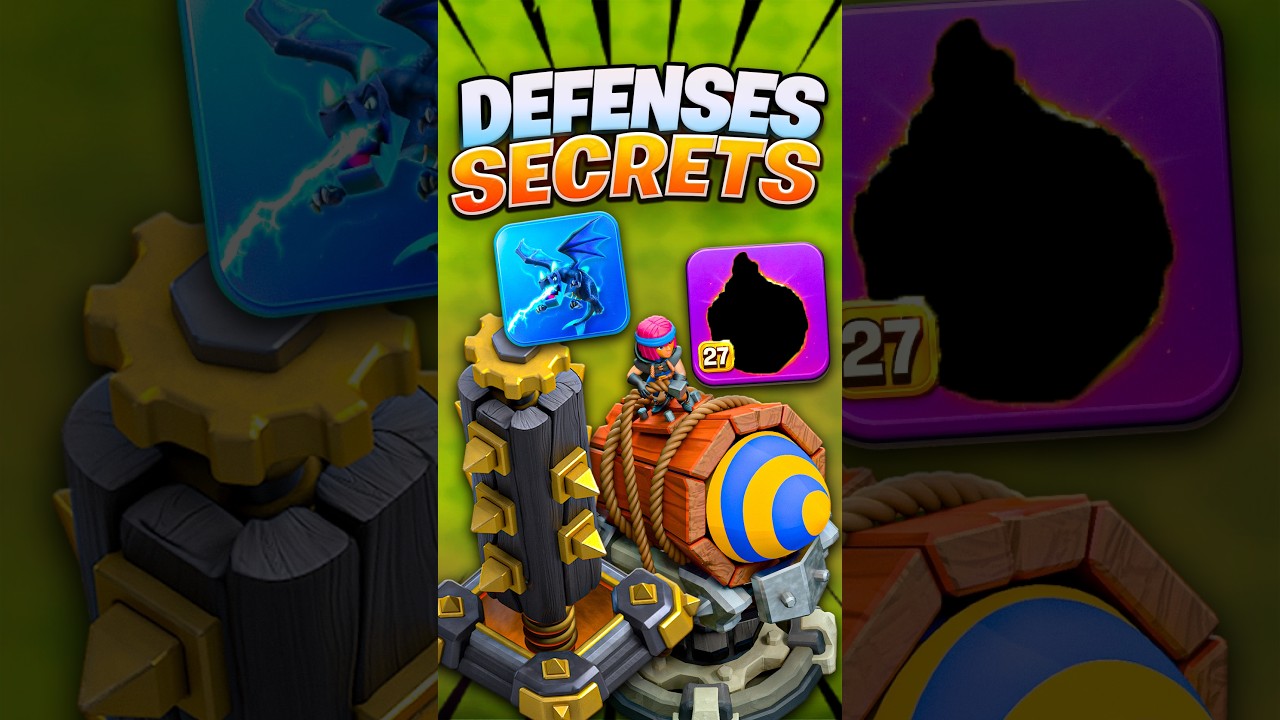
To neutralize the Firecracker Tower in Clash of Clans, exploit its physical rocket flight time with distraction units, avoid placing visible troops next to cloaked units, and use Earthquake Spells only when catching multiple core defenses. The Firecracker Tower delivers saturated area-of-effect rocket volleys that target both ground and air units, severely punishing clumped armies such as Balloons, Electro Dragons, and Root Riders supported by Valkyries.
Understanding its core interactions allows attackers to path cleanly through defensive compartments without losing support units.
Key Firecracker Tower Mechanics
1. Earthquake Spell Scaling
Earthquake Spells inflict percentage-based damage calculated from a structure's maximum hit points. Because the Firecracker Tower possesses high durability, an initial Earthquake strips a substantial portion of its health bar, softening it for follow-up Lightning Spells or hero equipment.
- Diminishing returns: Stacking multiple Earthquake Spells directly onto the Firecracker Tower yields sharply reduced damage.
- Spell efficiency: Do not commit Earthquake Spells solely to damage an isolated Firecracker Tower. Only invest the spell capacity if the radius also clips adjacent high-priority defenses, such as an Inferno Tower, Monolith, or Clan Castle.
2. Invisibility and Splash Detonation
When an active target enters stealth—through an Invisibility Spell, Sneaky Goblin passive abilities, or the Archer Queen's Royal Cloak—the Firecracker Tower immediately stops acquiring new target locks on that unit and seeks the closest visible target. However, pre-existing volleys ignore stealth transitions:
- In-flight rockets: Rockets fired before stealth activates continue traveling to the target's original coordinate and detonate for full splash damage upon landing.
- Collateral splash: If an uncloaked tank stands adjacent to an invisible troop or hero, incoming rockets targeting the visible unit will splash onto and damage the cloaked units. Invisibility Spells must cover the entire surrounding group cleanly, or visible units must be separated from stealth pockets.
3. Projectile Travel Time and Target Delays
The Firecracker Tower uses physical munitions rather than instant hit-scan beams. This flight duration introduces specific timing windows that attackers can exploit:
- Dodging volleys: Extremely fast units—such as Headhunters, Minions, or a Royal Champion boosted by Haste—can move out of the blast coordinate before maximum-range rockets land.
- Wasted volleys: If a targeted unit dies while rockets are in flight, the remaining munitions do not retarget mid-air. They hit the ground where the unit fell.
- Fodder distraction: Deploying low-health swarms, such as Barbarians or Skeletons, lures the tower into firing full volleys that harmlessly impact expired units, allowing primary damage dealers to push ahead unharmed.
Countering the Firecracker Tower
Deploying armies directly into an unsuppressed Firecracker Tower risks losing fragile support troops such as Bowlers and Healers. Use these tactical responses based on your army composition:
| Spell or Tactic | Tactical Application | Key Requirement |
|---|---|---|
| Freeze Spell | Cancels active rocket volleys and resets the attack cycle. | Cast immediately when the firing animation begins. |
| Invisibility Spell | Forces the tower to retarget onto distant secondary tanks. | Ensure no visible friendly troops stand inside the splash radius. |
| Overgrowth Spell | Disables the tower entirely during deep core pushes. | Use when routing heroes around flanking compartments. |
| Staggered Tanking | Absorbs initial rocket bursts using high-durability lead units. | Send an Ice Golem or Lava Hound ahead of main groups. |
Defensive Spacing Guidelines
When placing the Firecracker Tower in your village layout, isolate it from symmetrical spell value:
- Avoid ZapQuake clusters: Keep the Firecracker Tower more than four tiles away from the Town Hall, Monolith, or Scattershots so attackers cannot weaken multiple major structures with a single Earthquake.
- Anchor secondary rings: Position the tower behind non-defensive resource storages and trash buildings deep within the core. This keeps it out of reach of exterior hero snipes while forcing attackers to take continuous splash fire.
- Trap perimeters: Place Giant Bombs and Red Air Bombs around the tower to disrupt Sneaky Goblin funnels and targeted Battle Blimp drops.

Free Clash of Clans Codes
Current active codes and how to redeem them.

Michael Smith
Michael covers live-service games, events, reward systems, and efficient daily routines, turning frequent updates into clear actions for players.
COMMUNITY
Player Comments
63 players commented on this guide.
This saved me time in the early game.
Can you add more details about strategy in a future update?
Nice guide. I am checking the other Clash of Clans articles next.
I wish I had read this before upgrading the wrong thing.